Domoticz cz. 4: podłączenie termometru DS18B20 do Raspberry Pi
Temperature readout is one of the first sensor we add to domoticz. It’s a very simple task and allows to connect multiple thermometers via the 1-wire bus. 1-wire means that thermometer has a single data wire, on top of VCC and GND. This wire is used to send back data to 1-wire controller and then it gets verified.
What will you need?
Hardware:
- thermometer DS18B20 (Dallas) – comes in variety of housings – usually it’s a chip with 3 pins. It’s good to measure from -55 degrees Celsius and up to +125, but it’s accurate till about +95 – +100.
- 4,7kOhm resistor – used to pull up to VCC the data pin
- Raspberry Pi (any model – A, B, B+, 2, 3 or new Zero)
Software:
- domoticz – the same we installed in part one
Let’s do it!
This thermometer is able to perform very well on a long cable, being powered just by RPi using the PIN +3,3V. It’s OK to get 20 meters of calbe with 5 such thermometers, to check on recuperator and chimney. Recuperator has 2 inputs and two outputs – this allows to use the ‘custom’ mode of drawing the temp graphs to check on it’s performance.
Now first thing is to change the way our Wheezy, Jessie, Buster - on newer - Raspbian starts. Add to /boot/config.txt this line:
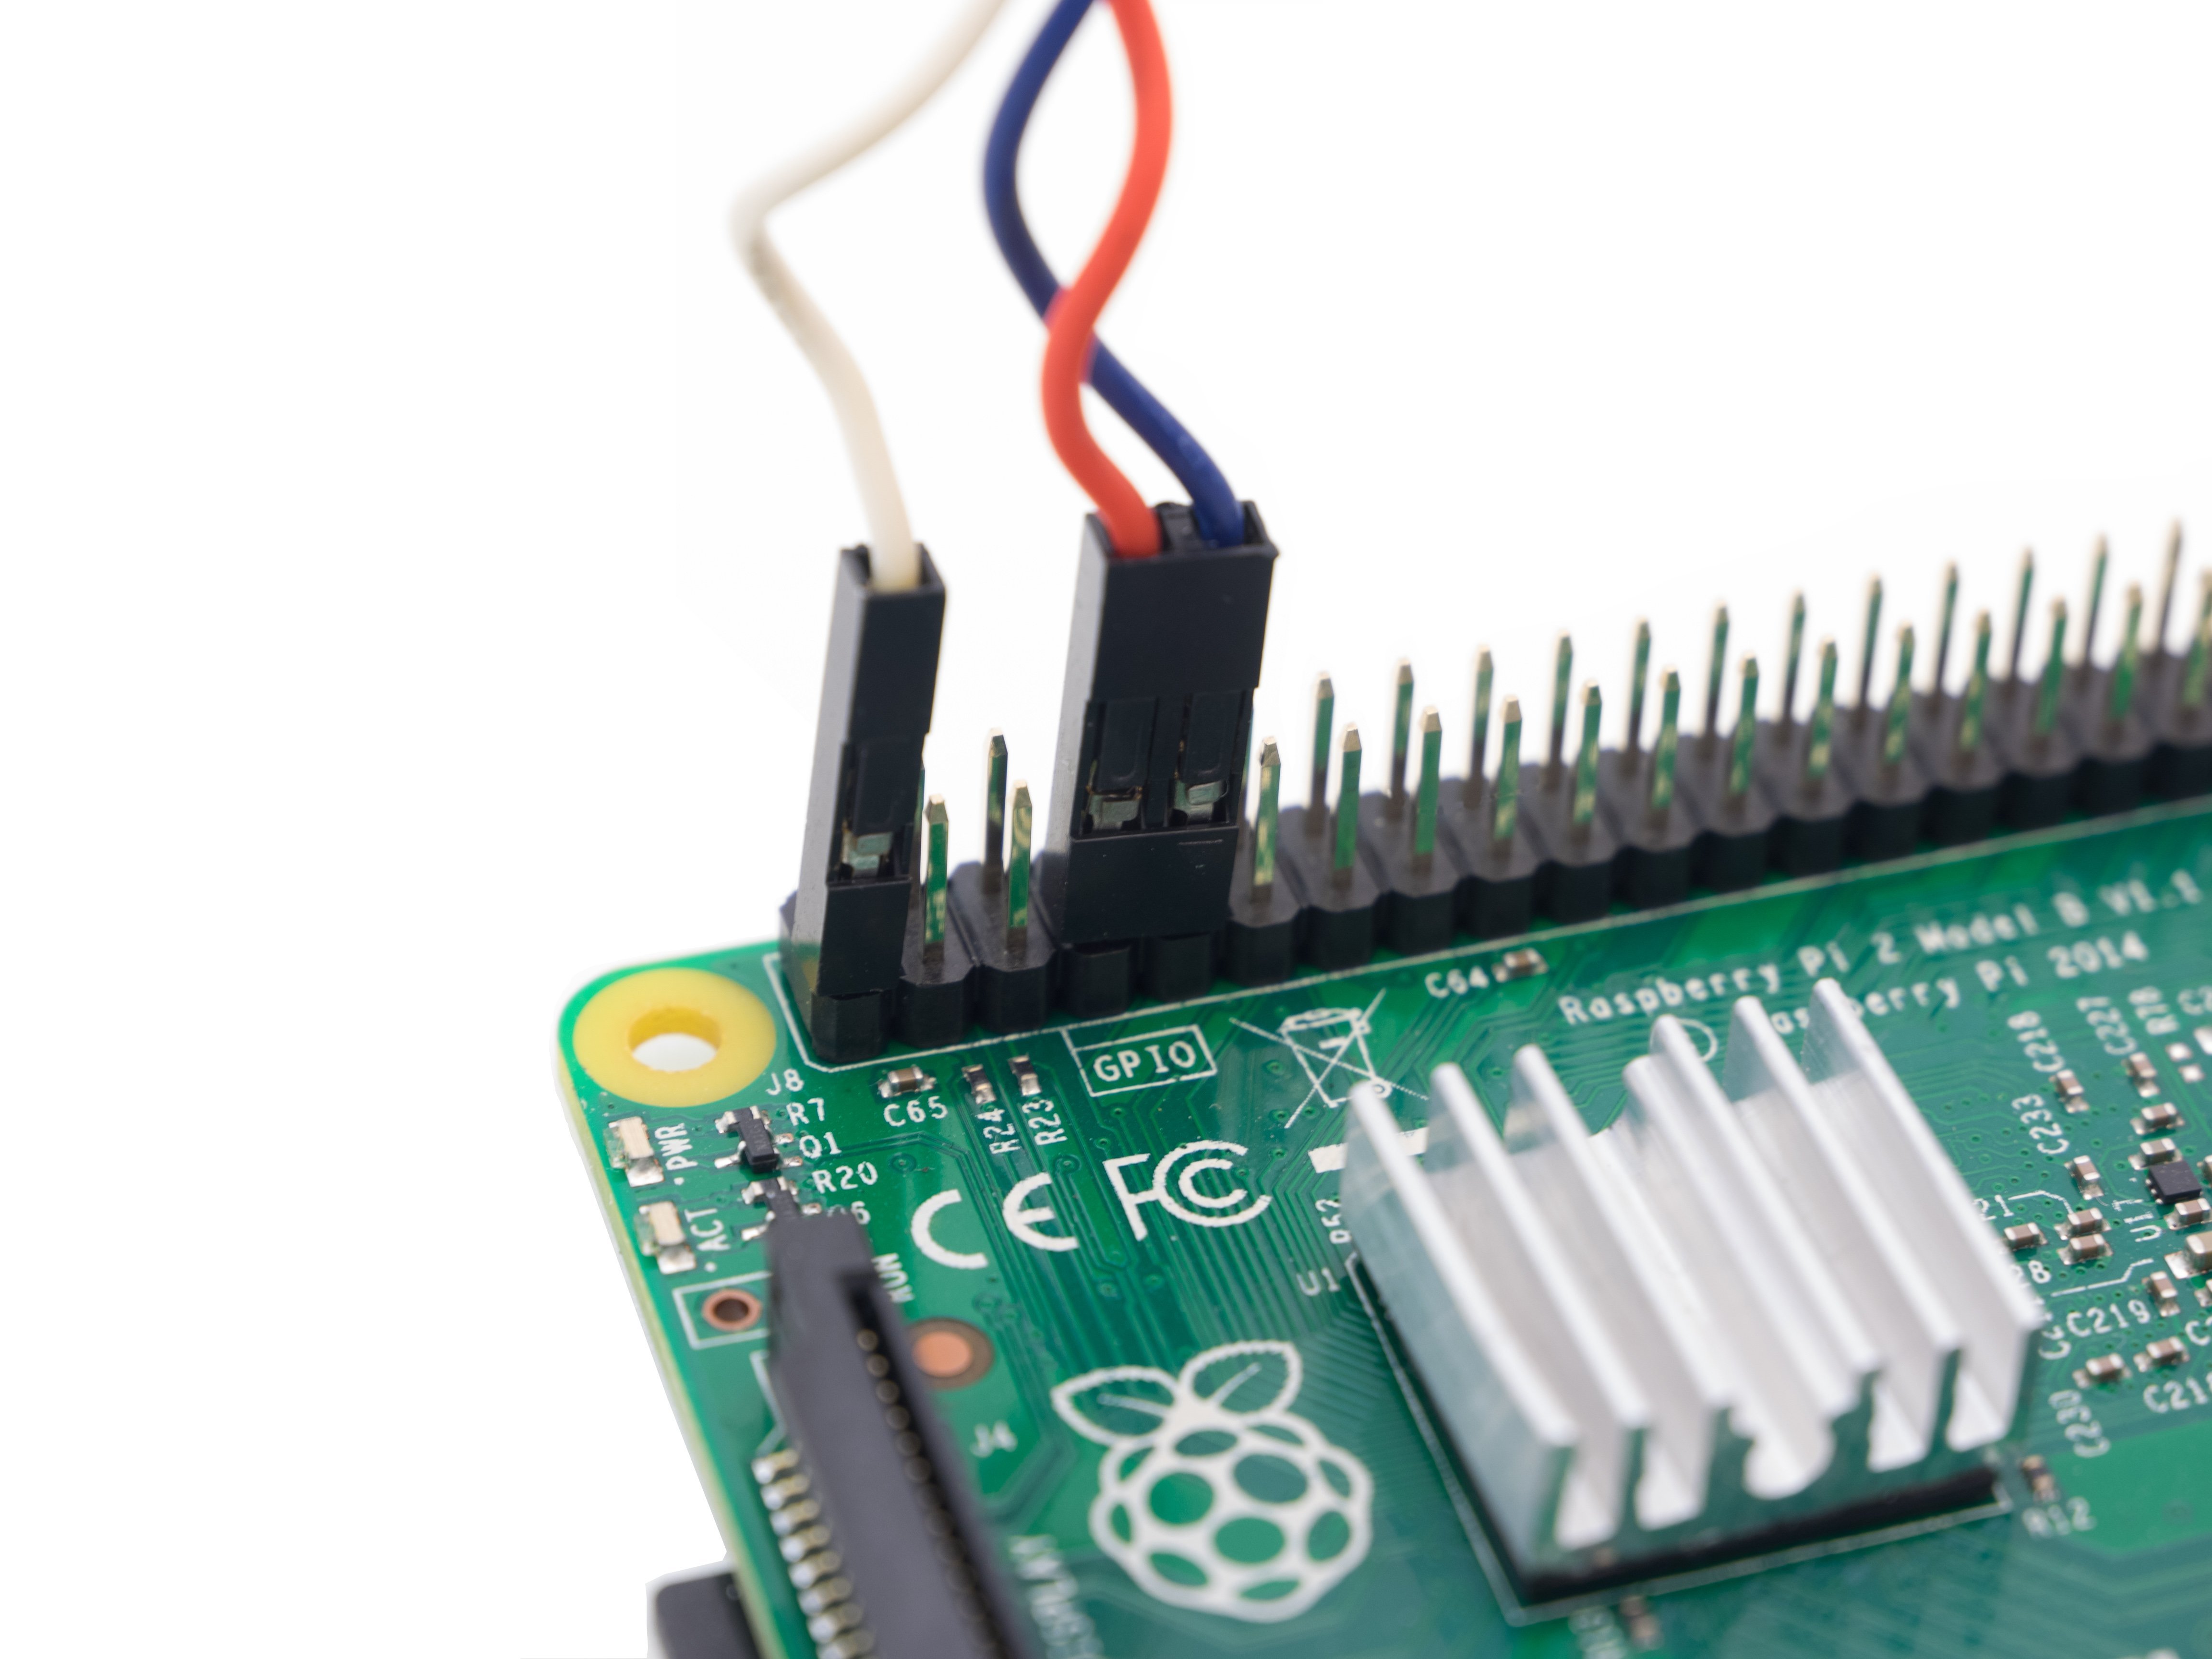
dtoverlay=w1-GPIO,gpiopin=4Now reboot RPi and connect the thermometer – add the 4,7kOhm resistor between the (red) data pin and the +3,3V (white) – just like on the first picture. This will make the signal crisp & clear on the 1-wire bus. The GND is using (blue) cable. All set? Connect to Raspberry Pi in this way:

Pin +3,3V to +3,3V, Pin Data (the middle on the thermometer) to GPIO#4 on RPi, and GND to GND of RPi (blue). If you have more (i.e. 5) connect them in parallel.
Now – let’s use console to find out if RPi can see the thermometer on the 1-wire bus:
cat /sys/bus/w1/devices/28-*/w1_slaveNow you should get RAW readout of the temperature – this example shows the real system with 5 thermometers:
3d 01 4b 46 7f ff 0c 10 75 : crc=75 YES
3d 01 4b 46 7f ff 0c 10 75 t=19812
3b 01 4b 46 7f ff 0c 10 e6 : crc=e6 YES
3b 01 4b 46 7f ff 0c 10 e6 t=19687
39 01 4b 46 7f ff 0c 0c 5e : crc=5e YES
39 01 4b 46 7f ff 0c 0c 5e t=19562
35 01 4b 46 7f ff 0c 10 5f : crc=5f YES
35 01 4b 46 7f ff 0c 10 5f t=19312
26 02 4b 46 7f ff 0c 0c b7 : crc=b7 YES
26 02 4b 46 7f ff 0c 0c b7 t=34375
You should expect just one entry for single thermometer. The part crc=xx YES – tells you that we have good readout.
All that’s left is to add the 1-wire to domoticz, using: Settings->Hardware:

Our themometer(s) will be at once visible via Settings->Devices:

This is really all – add them to make’em visible in Temperature tab!

This work is licensed under a Creative Commons Attribution-NonCommercial-NoDerivatives 4.0 International License (c) 2014-2024 Łukasz C. Jokiel, [CC BY-NC-SA 4.0 DEED](https://creativecommons.org/licenses/by-nc-sa/4.0/)