Domoticz Part. 7: Heating your house with Z-Wave
We already do know how to install Domoticza. But how easy is to control heating in your house/flat? After full season of testing radiator control – I can recommend a very interesting and useful heating control system that you can setup in your home or apartment. All just by means of adding radiator thermostats with Z-Wave radio.
What will you need?
Software
- Up to date, installed Domoticz
Hardware
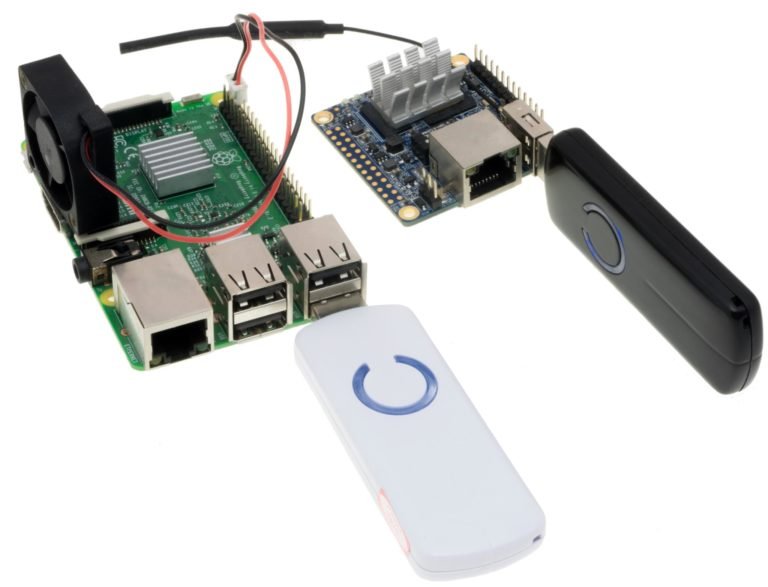
- Raspberry Pi, Orange Pi or other – with Linux operating system
- One free USB 2.0 or newer port
- Aeon Labs Z-Stick either S2 (black) or Gen5 (white) or – if you have good experience with other – any other Z-Wave controller compatible with Domoticz i.e.: intensted by me RaZberry. They need to work in the EU mode using 868,42 MHz frequency. If you live in other parts of the world – please check your Z-Wave version, they vary from continent to country. More about it in the “Let’s do it!” secition
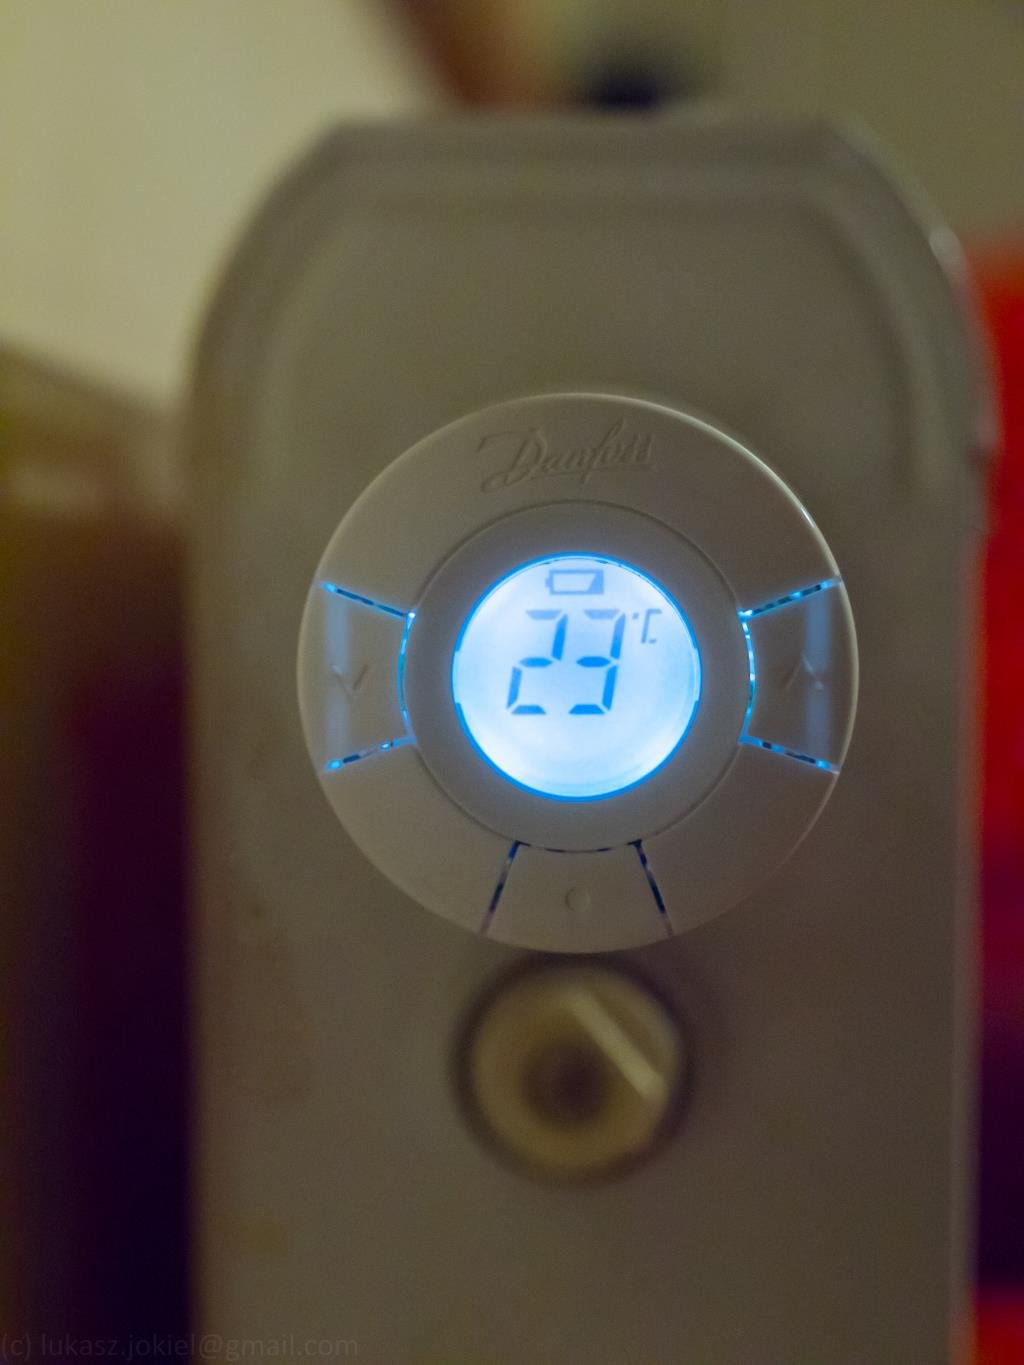
- Radiator thermostats for your radiator – the Danfoss Living Connect Z-Wave version – I’ve got the: “014G0013” EU version. I did not use other, those pop-up a lot in used section in auction portals. Readers of the blog raport that 014G0541 version is incompatible
- AA batteries (two for each thermostat)
- OPTION: USB extension cord
Z-Wave – crash course
Z-Wave is one of the home automation solutions out on the market. Allows you to build a mesh network with multiple devices, that repeat signal using the 868,42 MHz frequency in EU. Other countries use different frequency so do mind it when buying devices.
Main Z-Wave pros:
-
easy setup in Domoticz just like in a commercial home automation systems – it’s a standard
-
huge variety of devices
-
quite secure, with encryption, use at least version 500 of Z-Wave
-
the standard assures long life and many vendors, setup consistency
-
works with battery powered devices (that wake up and raport) and active mains powered (which are queried)
-
adheres to CE
-
just works!
-
Cons:
-
it’s an expensive system, so used devices are the way to start
-
they are hardly DIY, but does it always has to be like this?
What are we trying to do here and what to expect?
Installing the thermostats and control using Domoticz should allow us to:
- be able to remotely control temperature in each room with thermostats
- to optimally use the generated heat, by means of thermometers in the thermostat controllers
- set plans for temperature controll – i.e.: lowering in the night in sleeping room
- remotely heat-up the house hours before we get back from vacation
- security of opening the valve fully in case of battery failure
- information about the battery state and need for replacement
We’re not going to control the heat generator (firnace ;) – it’s a complicated task that needs some good thought.
Let’s do it!
What is the best Z-Wave network controller? Needs to be in good price range and stable. It’s true for both controllers form Aeon Labs: Z-Stick S2 and Z-Stick Gen5 (black and white on the picture). The white Gen 5 is recommended, but the black S2 will also do a good job. After inserting into free USB port, we should see it in the Hardware tab of domoticz – for version S2, black – use port /dev/ttyUSB0, and for Gen5, the white – use the /dev/ttyACM0 port:

Let’s wait until the red “Setup” at the top by the stick’s name turns blue.
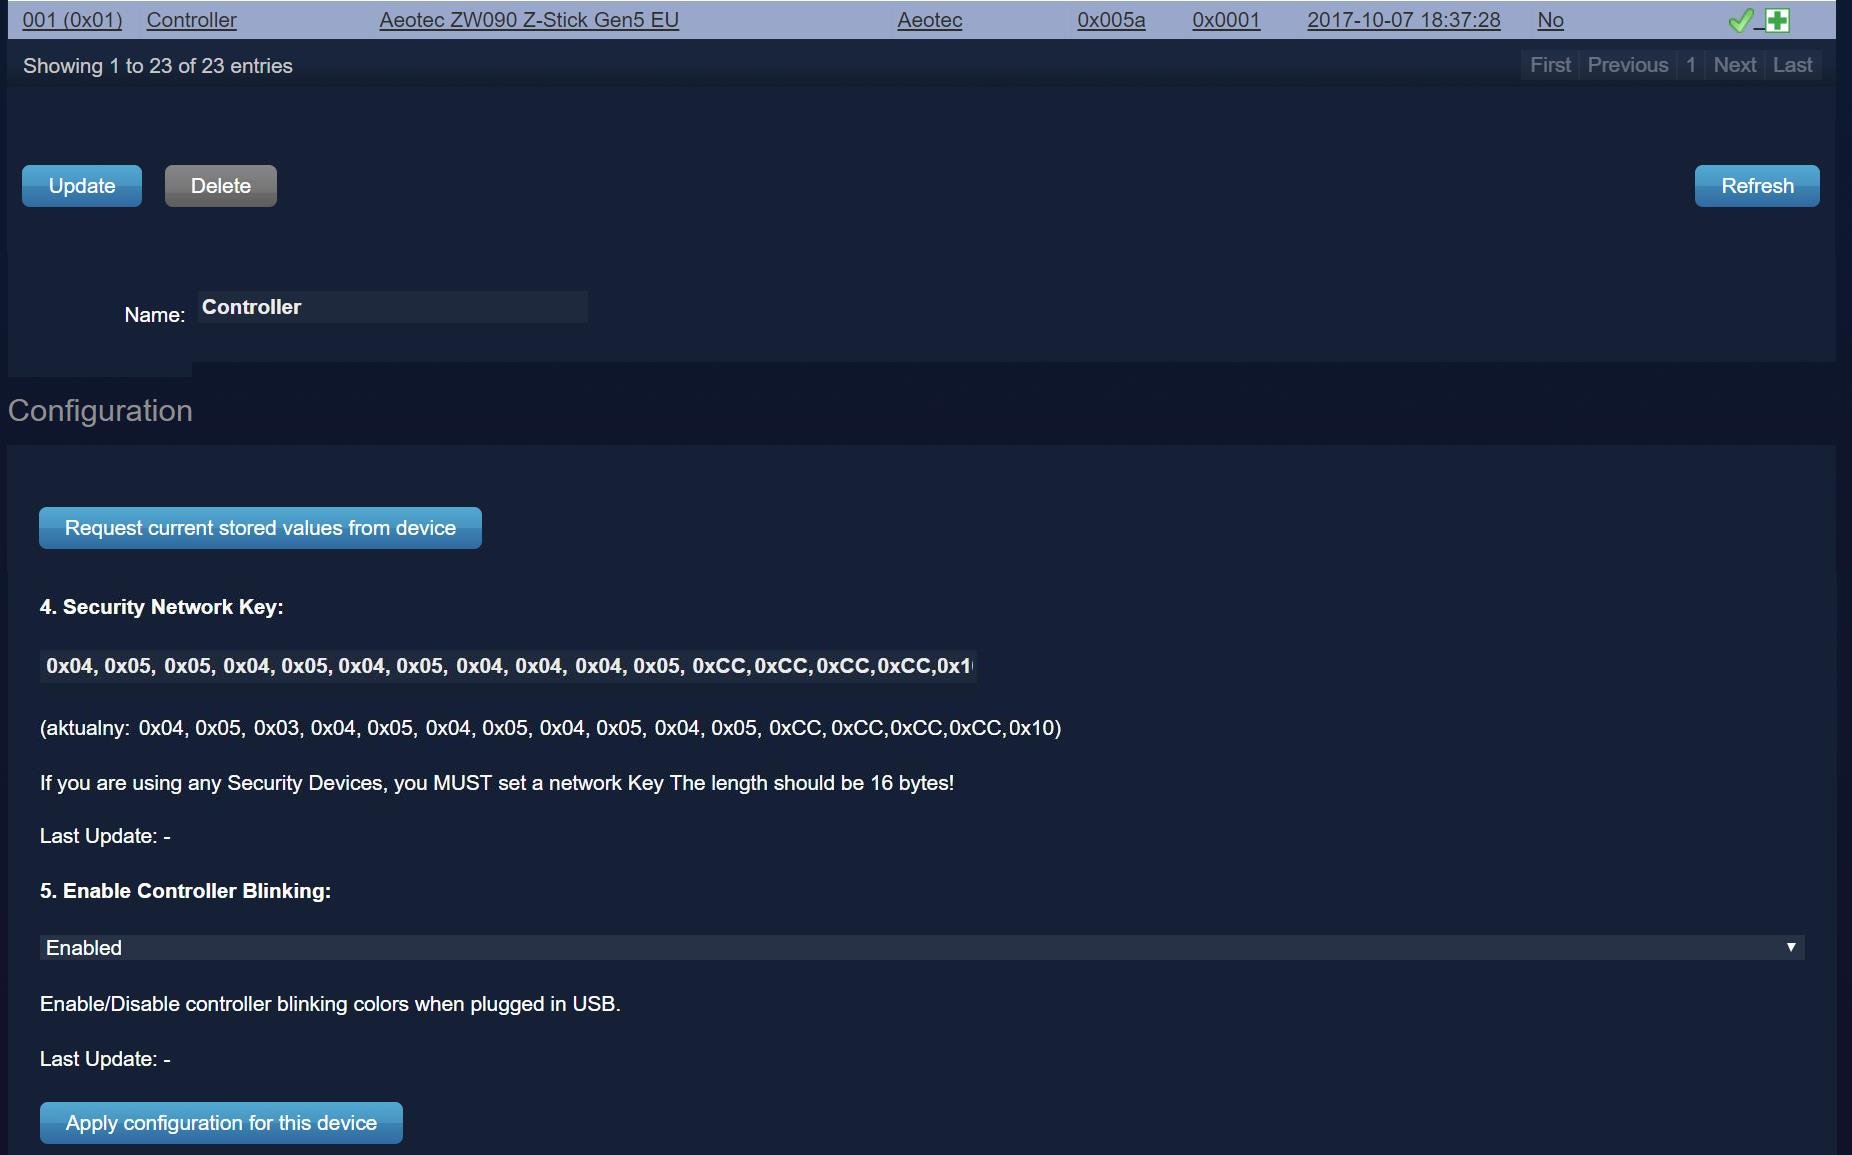
Enter the “Setup” at the Aeon Labs stick controller and first thing is to change the security key to something more random than the default then, click “Apply”:
Grab the first thermostat from Danfoss. Make sure you’ve installed the AA batteries properly (some versions have non intuitive springs). If the device lit’s blue – we can come back to domoticz.
Heading back – choose the “Setup” by Aeon controller from Hardware menu and then from the Z-Wave management menu (on your right)- “INCLUDE NODE SECURE”:

Next press for one sec the main button with dot. After a while domoticz should show that “Thermostat” device was added to the network. It will show up on the Z-Wave list and also in the main menu – Devices – usually as few devices. Mind the Noide ID as the identifier for multiples thermostats.
We can now change the wake-up time – the battery powered Z-Wave devices SHOULD NOT ne pooled, but wake up, send data, update config and sleep again. By default it’s – 300 seconds, but if you’re OK that your radiators will have half hour latency – you can change it by choosing the thermostat and set the timeout to 1200 seconds:
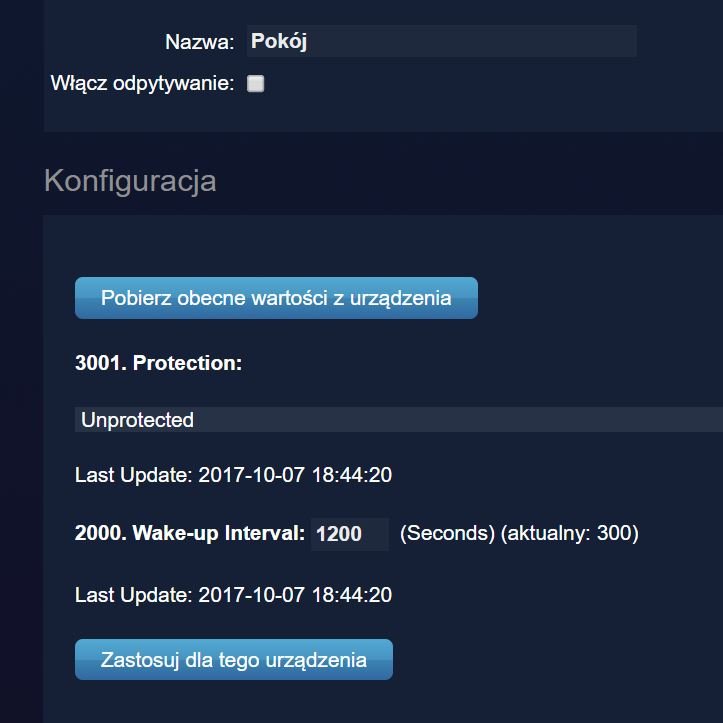
Then apply using “Apply configuration for this device”
Take a look at the Danfoss manual – it’s time to properly hook up the thermostat to the radiator. Hold the main button on thermostat, unit it enters the installation mode. Consult your friendly plumber if you want to be sure that you’ve correctly installed it. Press the button one more time to exit installation mode.
Find your devices in “Devices” menu:

Add them to main menu using the green arrow and head to “Utility”.Choose the “fire” icon and set the desired temperature (Pokój i Room in Polish):

We have now 21 degrees Celsius – check on the device if it’s set (remember about 300 sec wake cycle – or even 1200 sec. It’s a good idea to change it now for testing and setup purposes) .
Now check if the manual settings on the thermostat itself is represented in domoticz.
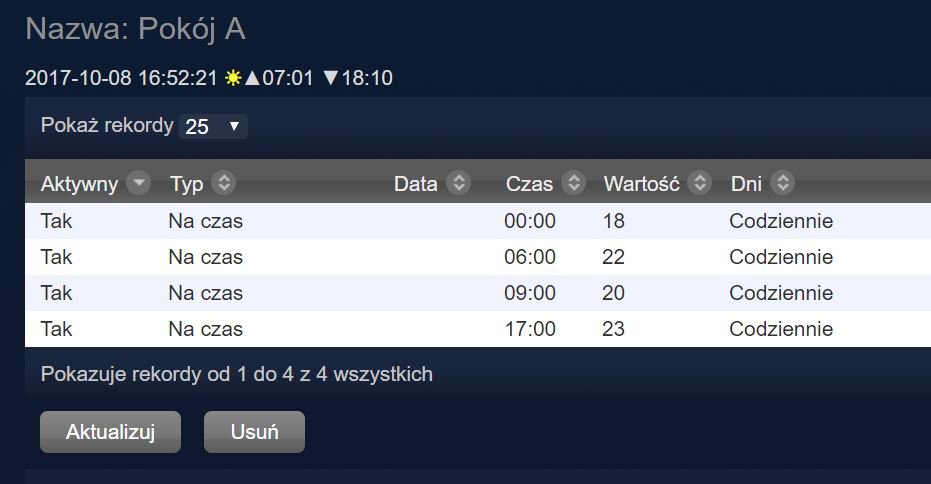
If all works well, the last thing do is to setup the test time using the clock and then go and configure the Timers. Here’s an example:
That’s it – keep cool… I mean keep it warm&cozy!

This work is licensed under a Creative Commons Attribution-NonCommercial-NoDerivatives 4.0 International License (c) 2014-2024 Łukasz C. Jokiel, [CC BY-NC-SA 4.0 DEED](https://creativecommons.org/licenses/by-nc-sa/4.0/)