Measuring Air Quality using sensors from Bosch: BME680 and AMS: CCS811 – IAQ, TVOC, ECO2
Measurement of basic environmental data in our apartment – temperature and humidity is one of the most popular applications of commonly available sensors for Raspberry Pi (RPi), Orange Pi (OPi) and ESP8266.
Then we added ability to measure the SMOG otuside and inside and today we will deal with two new and very interesting air quality sensors.
CAUTION: Don’t forget the basics of safety – we will be dealing with hazardous substances – they might be not only poisonous but also flammable!
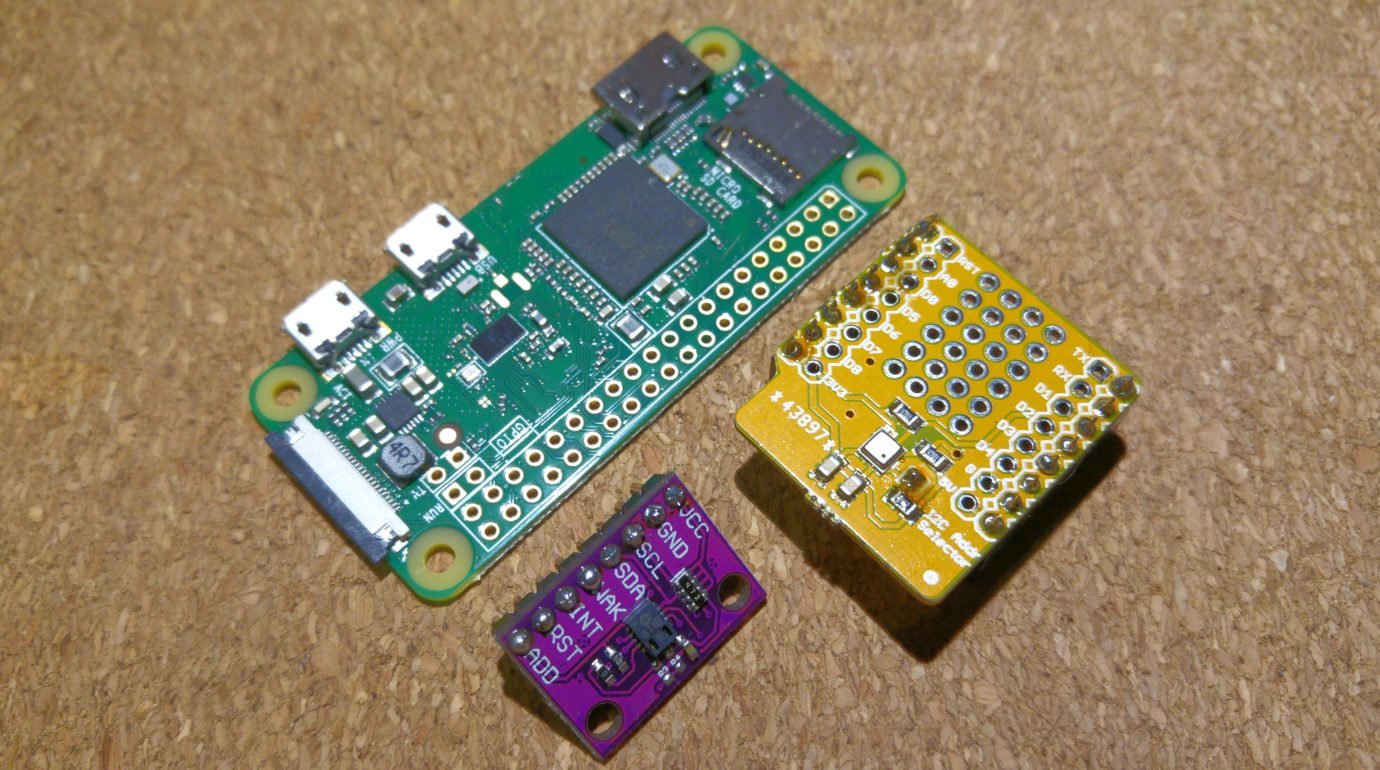
The Bosh BME680 sensor
This is the gas sensor of volatile organic compounds (source: Wikipedia):
- Paints and coatings – a major source of man-made VOCs are coatings, especially paints and protective coatings. Solvents are required to spread a protective or decorative film. Approximately 12 billion litres of paints are produced annually. Typical solvents are aliphatic hydrocarbons, ethyl acetate, glycol ethers, and acetone. Motivated by cost, environmental concerns, and regulation, the paint and coating industries are increasingly shifting toward aqueous solvents
- Chlorofluorocarbons and chlorocarbons which are banned or highly regulated, were widely used cleaning products and refrigerants. Tetrachloroethene is used widely in dry cleaning and by industry.
- The use of fossil fuels produces VOC’s either directly as products (e.g., gasoline) or indirectly as byproducts (e.g., automobile exhaust gas).
- Benzene – one VOC that is a known human carcinogen is benzene, which is a chemical found in environmental tobacco smoke, stored fuels, and exhaust from cars. Benzene also has natural sources such as volcanoes and forest fires. It is frequently used to make other chemicals in the production of plastics, resins, and synthetic fibers. Benzene evaporates into the air quickly and the vapor of benzene is heavier than air allowing the compound to sink into low-lying areas. Benzene has also been known to contaminate food and water and if digested can lead to vomiting, dizziness, sleepiness, rapid heartbeat, and at high levels, even death may occur.
- Methylene chloride can be found in adhesive removers and aerosol spray paints. In the human body, methylene chloride is metabolized to carbon monoxide. If a product that contains methylene chloride needs to be used the best way to protect human health is to use the product outdoors. If it must be used indoors, proper ventilation will help to keep exposure levels down. In the United States, methylene chloride is listed as exempt from VOC status.
- Perchloroethylene is a volatile organic compound that has been linked to causing cancer in animals. It is also suspected to cause many of the breathing related symptoms of exposure to VOCs. Perchloroethylene is used mostly in dry cleaning. While dry cleaners recapture perchloroethylene in the dry cleaning process to reuse it, some environmental release is unavoidable.
- MTBE was banned in certain states within the US around 2004 in order to limit further contamination of drinking water aquifers (groundwater) primarily from leaking underground gasoline storage tanks where MTBE was used as an octane booster and oxygenated-additive.
- Formaldehyde – mMany building materials such as paints, adhesives, wall boards, and ceiling tiles slowly emit formaldehyde, which irritates the mucous membranes and can make a person irritated and uncomfortable. Formaldehyde emissions from wood are in the range of 0.02–0.04 ppm. Relative humidity within an indoor environment can also affect the emissions of formaldehyde. High relative humidity and high temperatures allow more vaporization of formaldehyde from wood-materials.
As for the BME680 – it is not a new design, but there is not much information nor actual sensor breakout boards – except for the Adafriut or Nettigo – Wemos D1 shield for DIY enthusiast.
The Nettigo version that I’m using is also compatible with the popular implementation of ESP8266 – the Wemos D1 mini and pro. At the same time, as Nettigo notes – installing the sensor directly above ESP8266 can impact the temperature readings – because BME680 contains the temperature, humidity and pressure sensors known from the BME280.
What will you need for BME680 sensor?
Hardware:
- the BME680 sensor (i.e. from Nettigo)
- Raspberry Pi (any with working I²C)
Software:
- The https://github.com/pimoroni/bme680 library
Connecting the BME680 sensor to Raspberry Pi
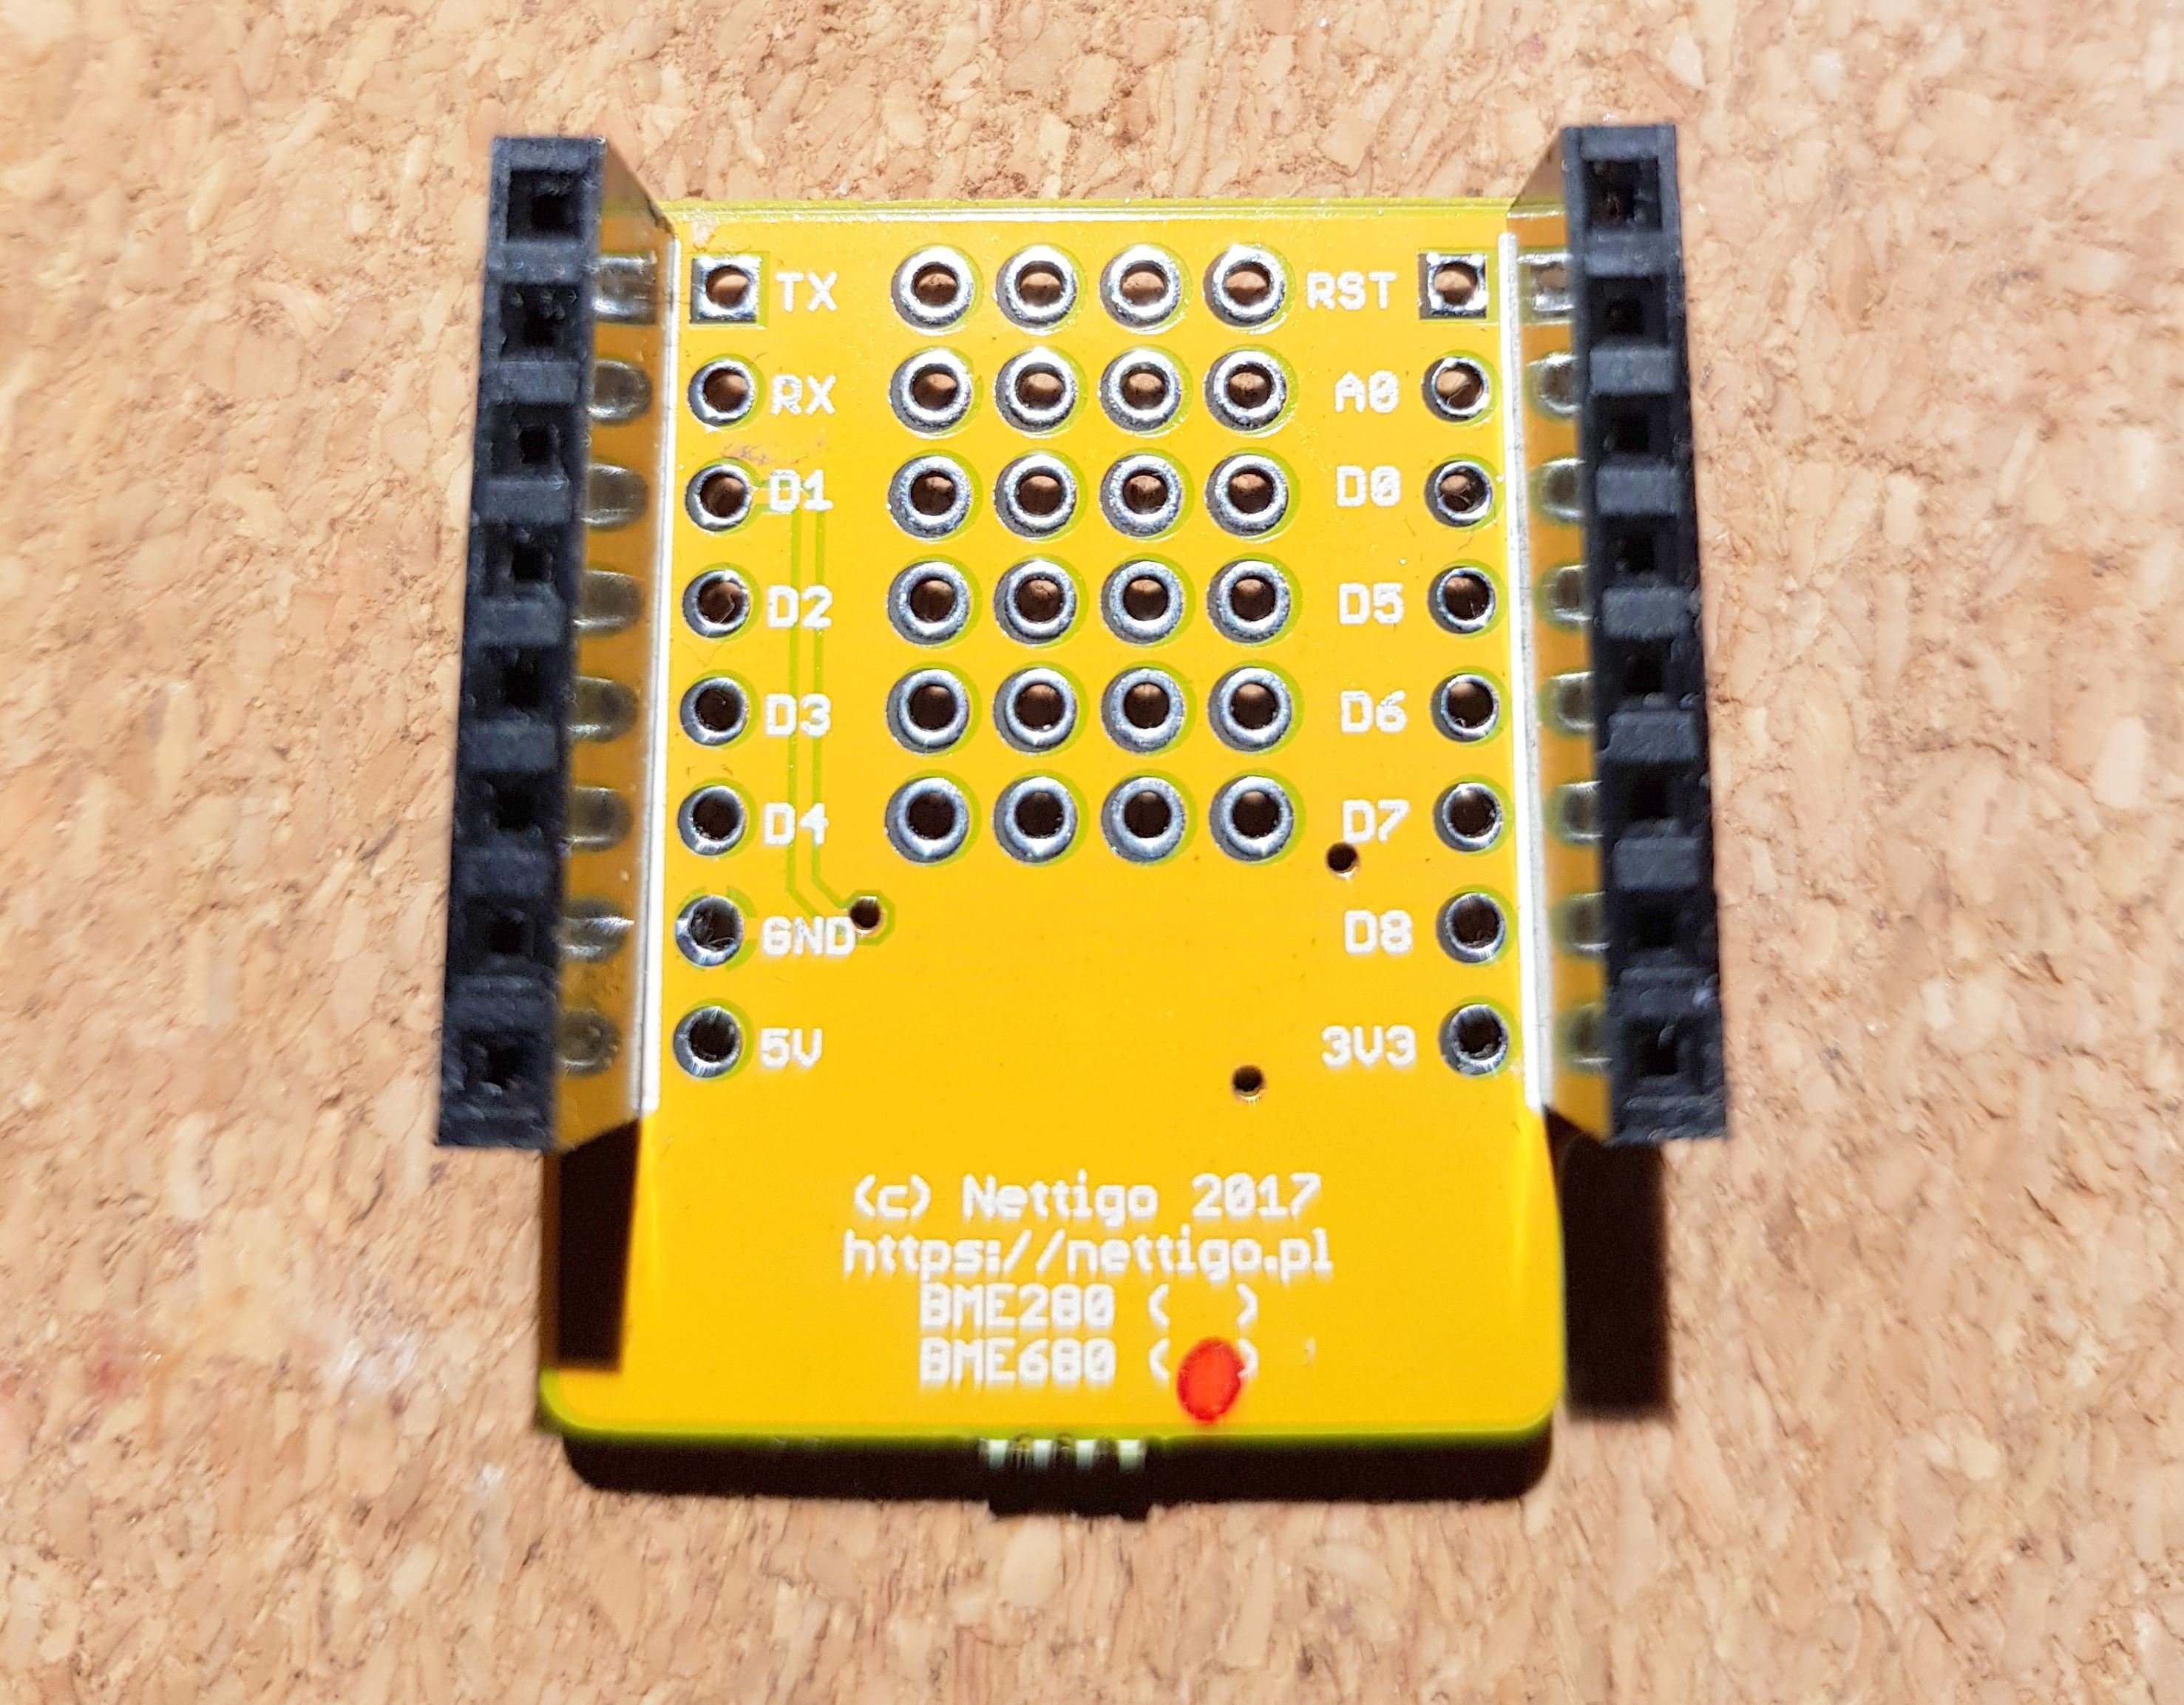
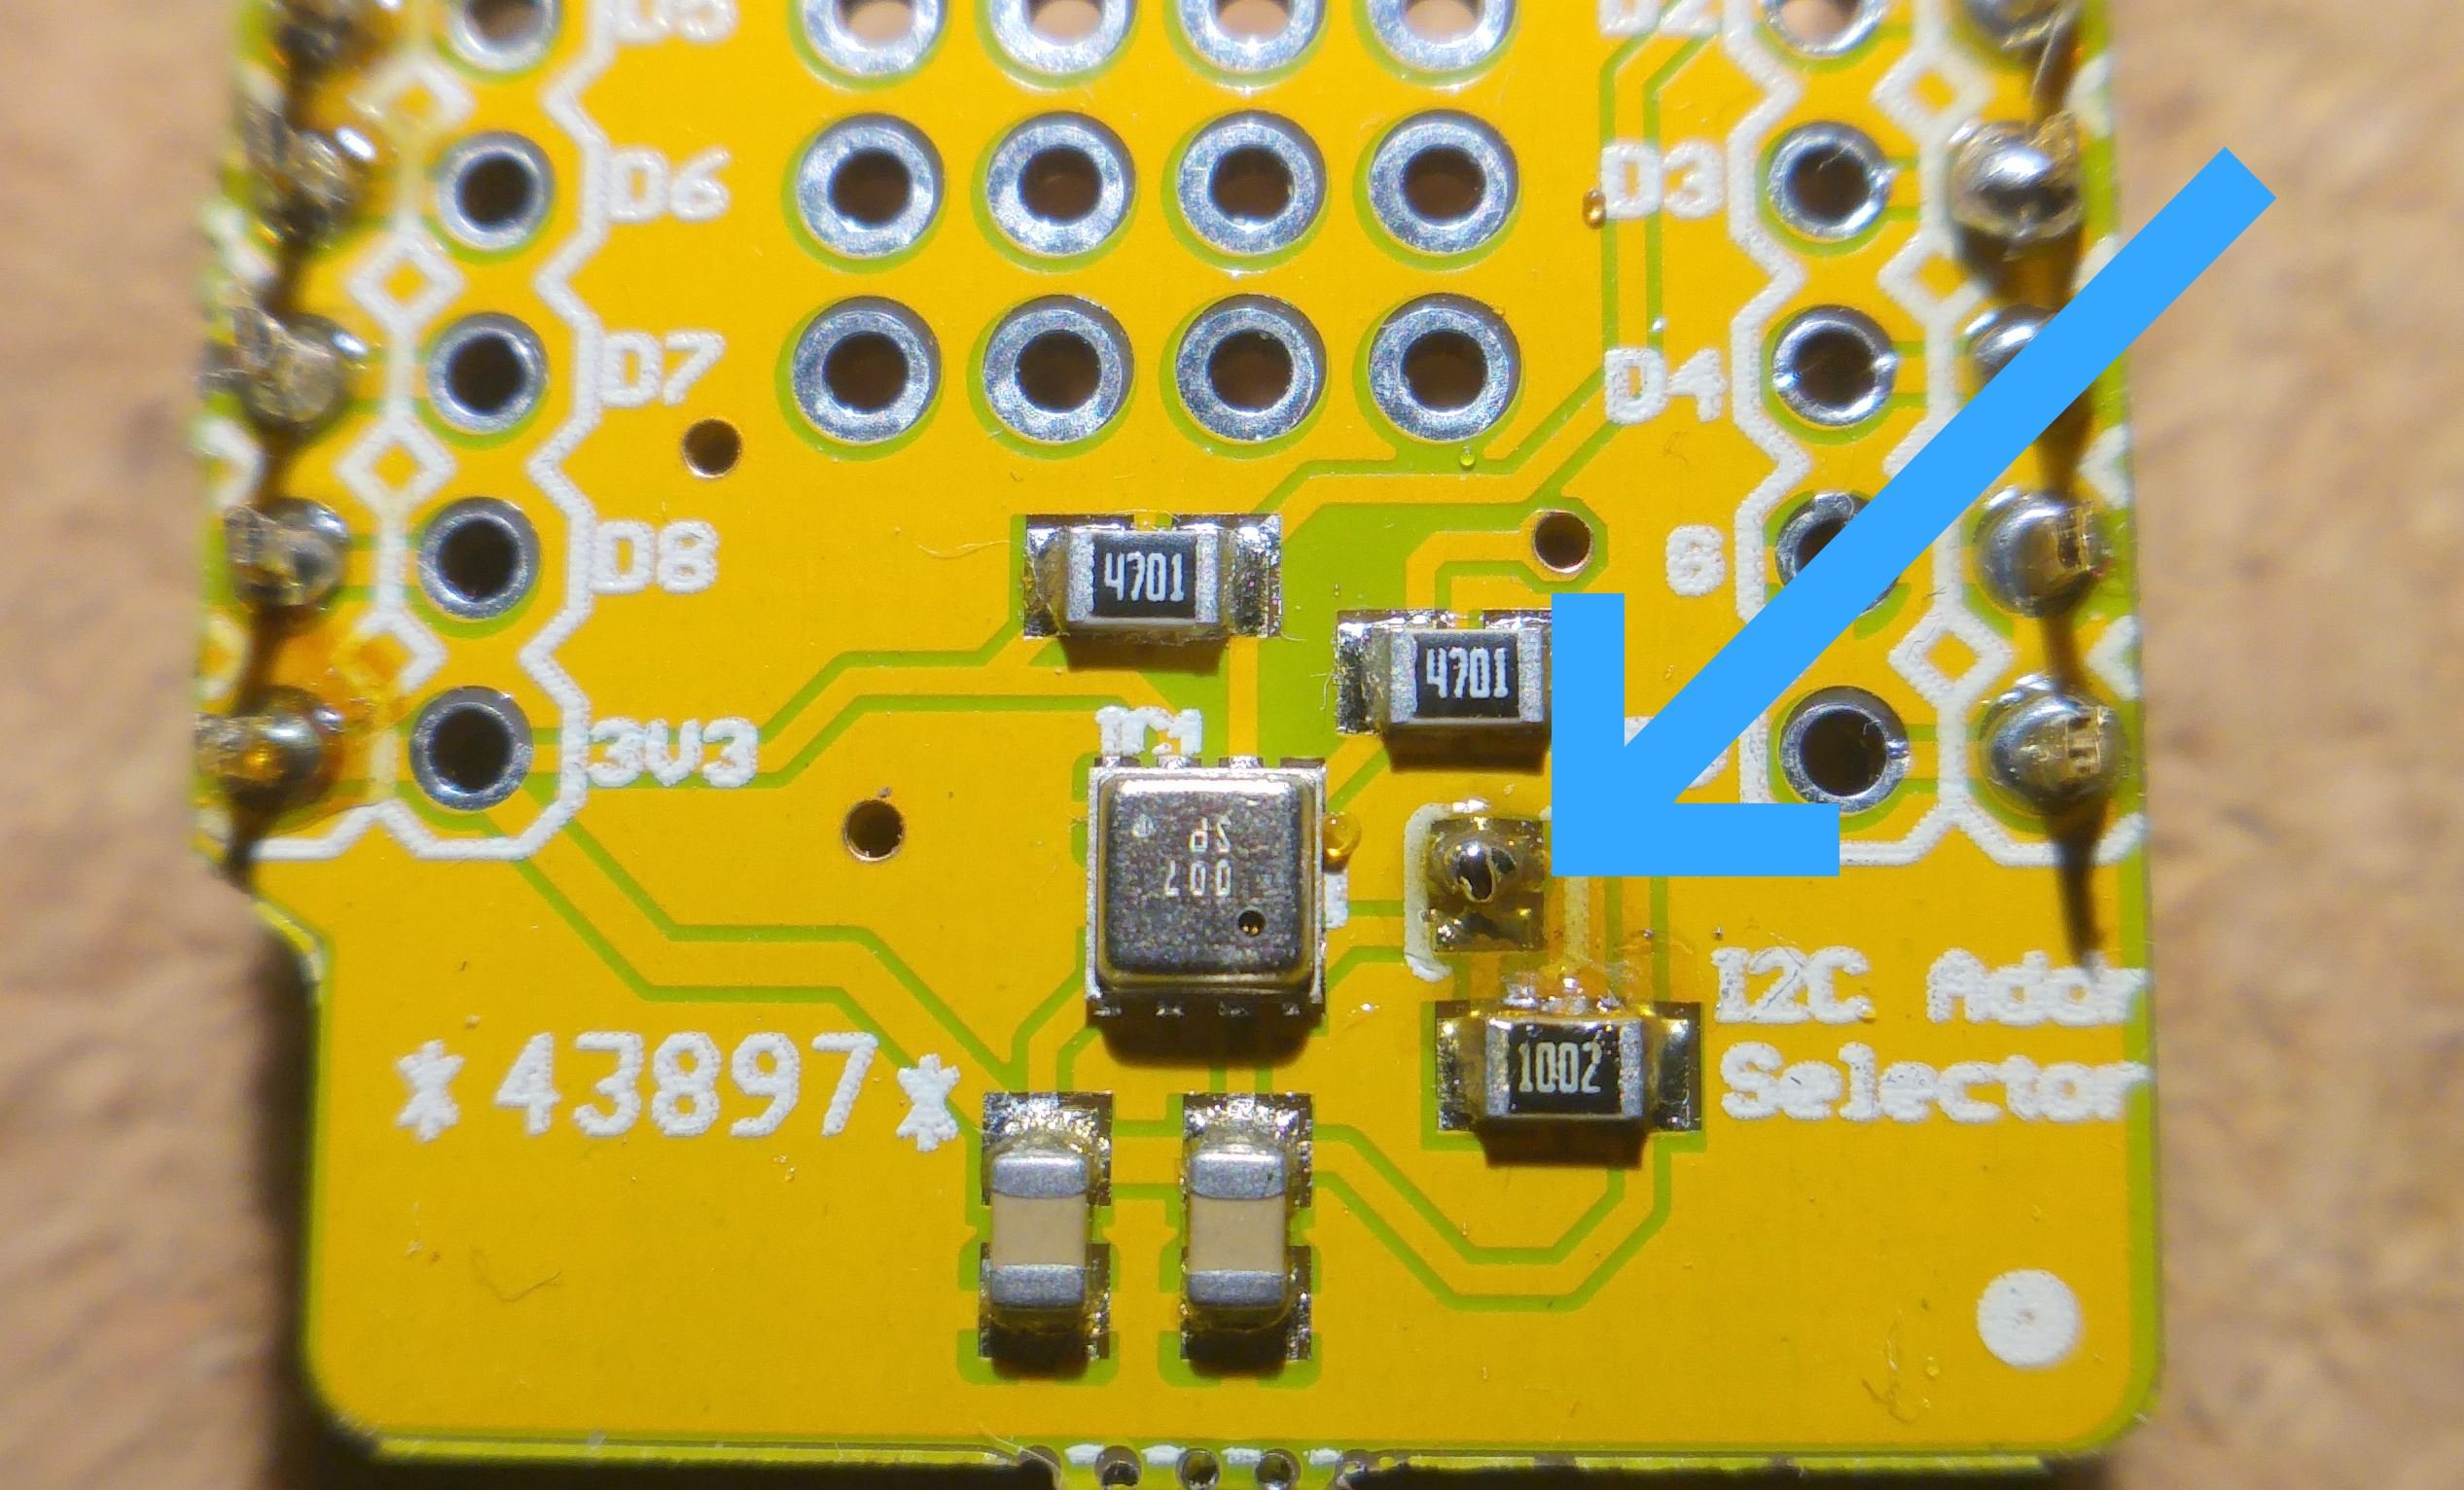
Let’s start by modifying the sensor – if we purchased at Nettigo – we need to change the default address by shorting the appropriately marked solder pads.
We make sure that our RPi with raspbian has the I²C bus enabled:
sudo raspi-config Go to “Advanced”, turn on the I²C bus and reboot your RPi.
Then connect the jumper cables – that’s very easy:
- D1 BME680 to SCL RPi
- D2 BME680 to SDA RPi
- GND BME620 to GND RPi
- 3,3V BME620 To 3,3V RPi
Install the library from: https://github.com/pimoroni/bme680:
mkdir -p BME680
cd BME680
curl https://get.pimoroni.com/bme680 | bash
Go to “examples” folder and run the example code:
cd examples
python indoor-air-quality.py
After around 5 minutes we should get the IAQ.
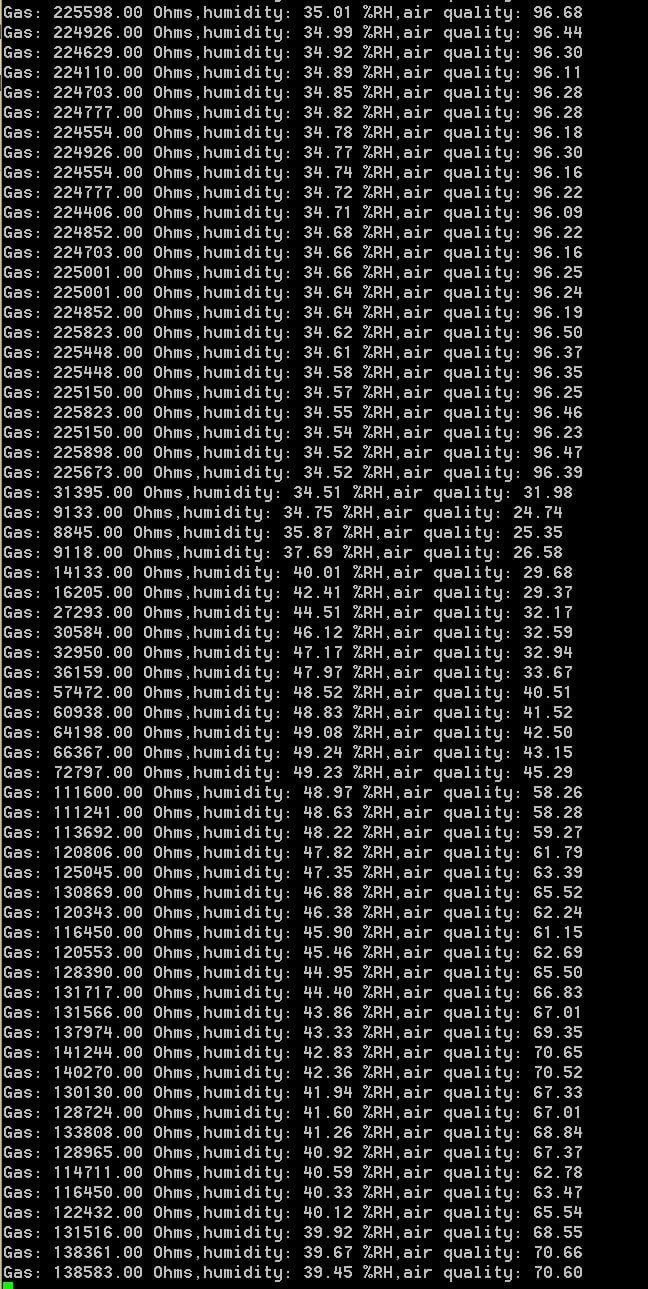
In order to check the sensitivity you can use cotton cloth saturated with Isopropyl alcohol, or markers (i.e. permanent) – which contain volatile compounds resembling toluene or acetone and observe the speed of detection and return to the normal state.
The reading can be interrupted by CTRL + C, then – try the other examples: read-all.py and temp-press-hum.py.
The AMS AMS CCS811 sensor
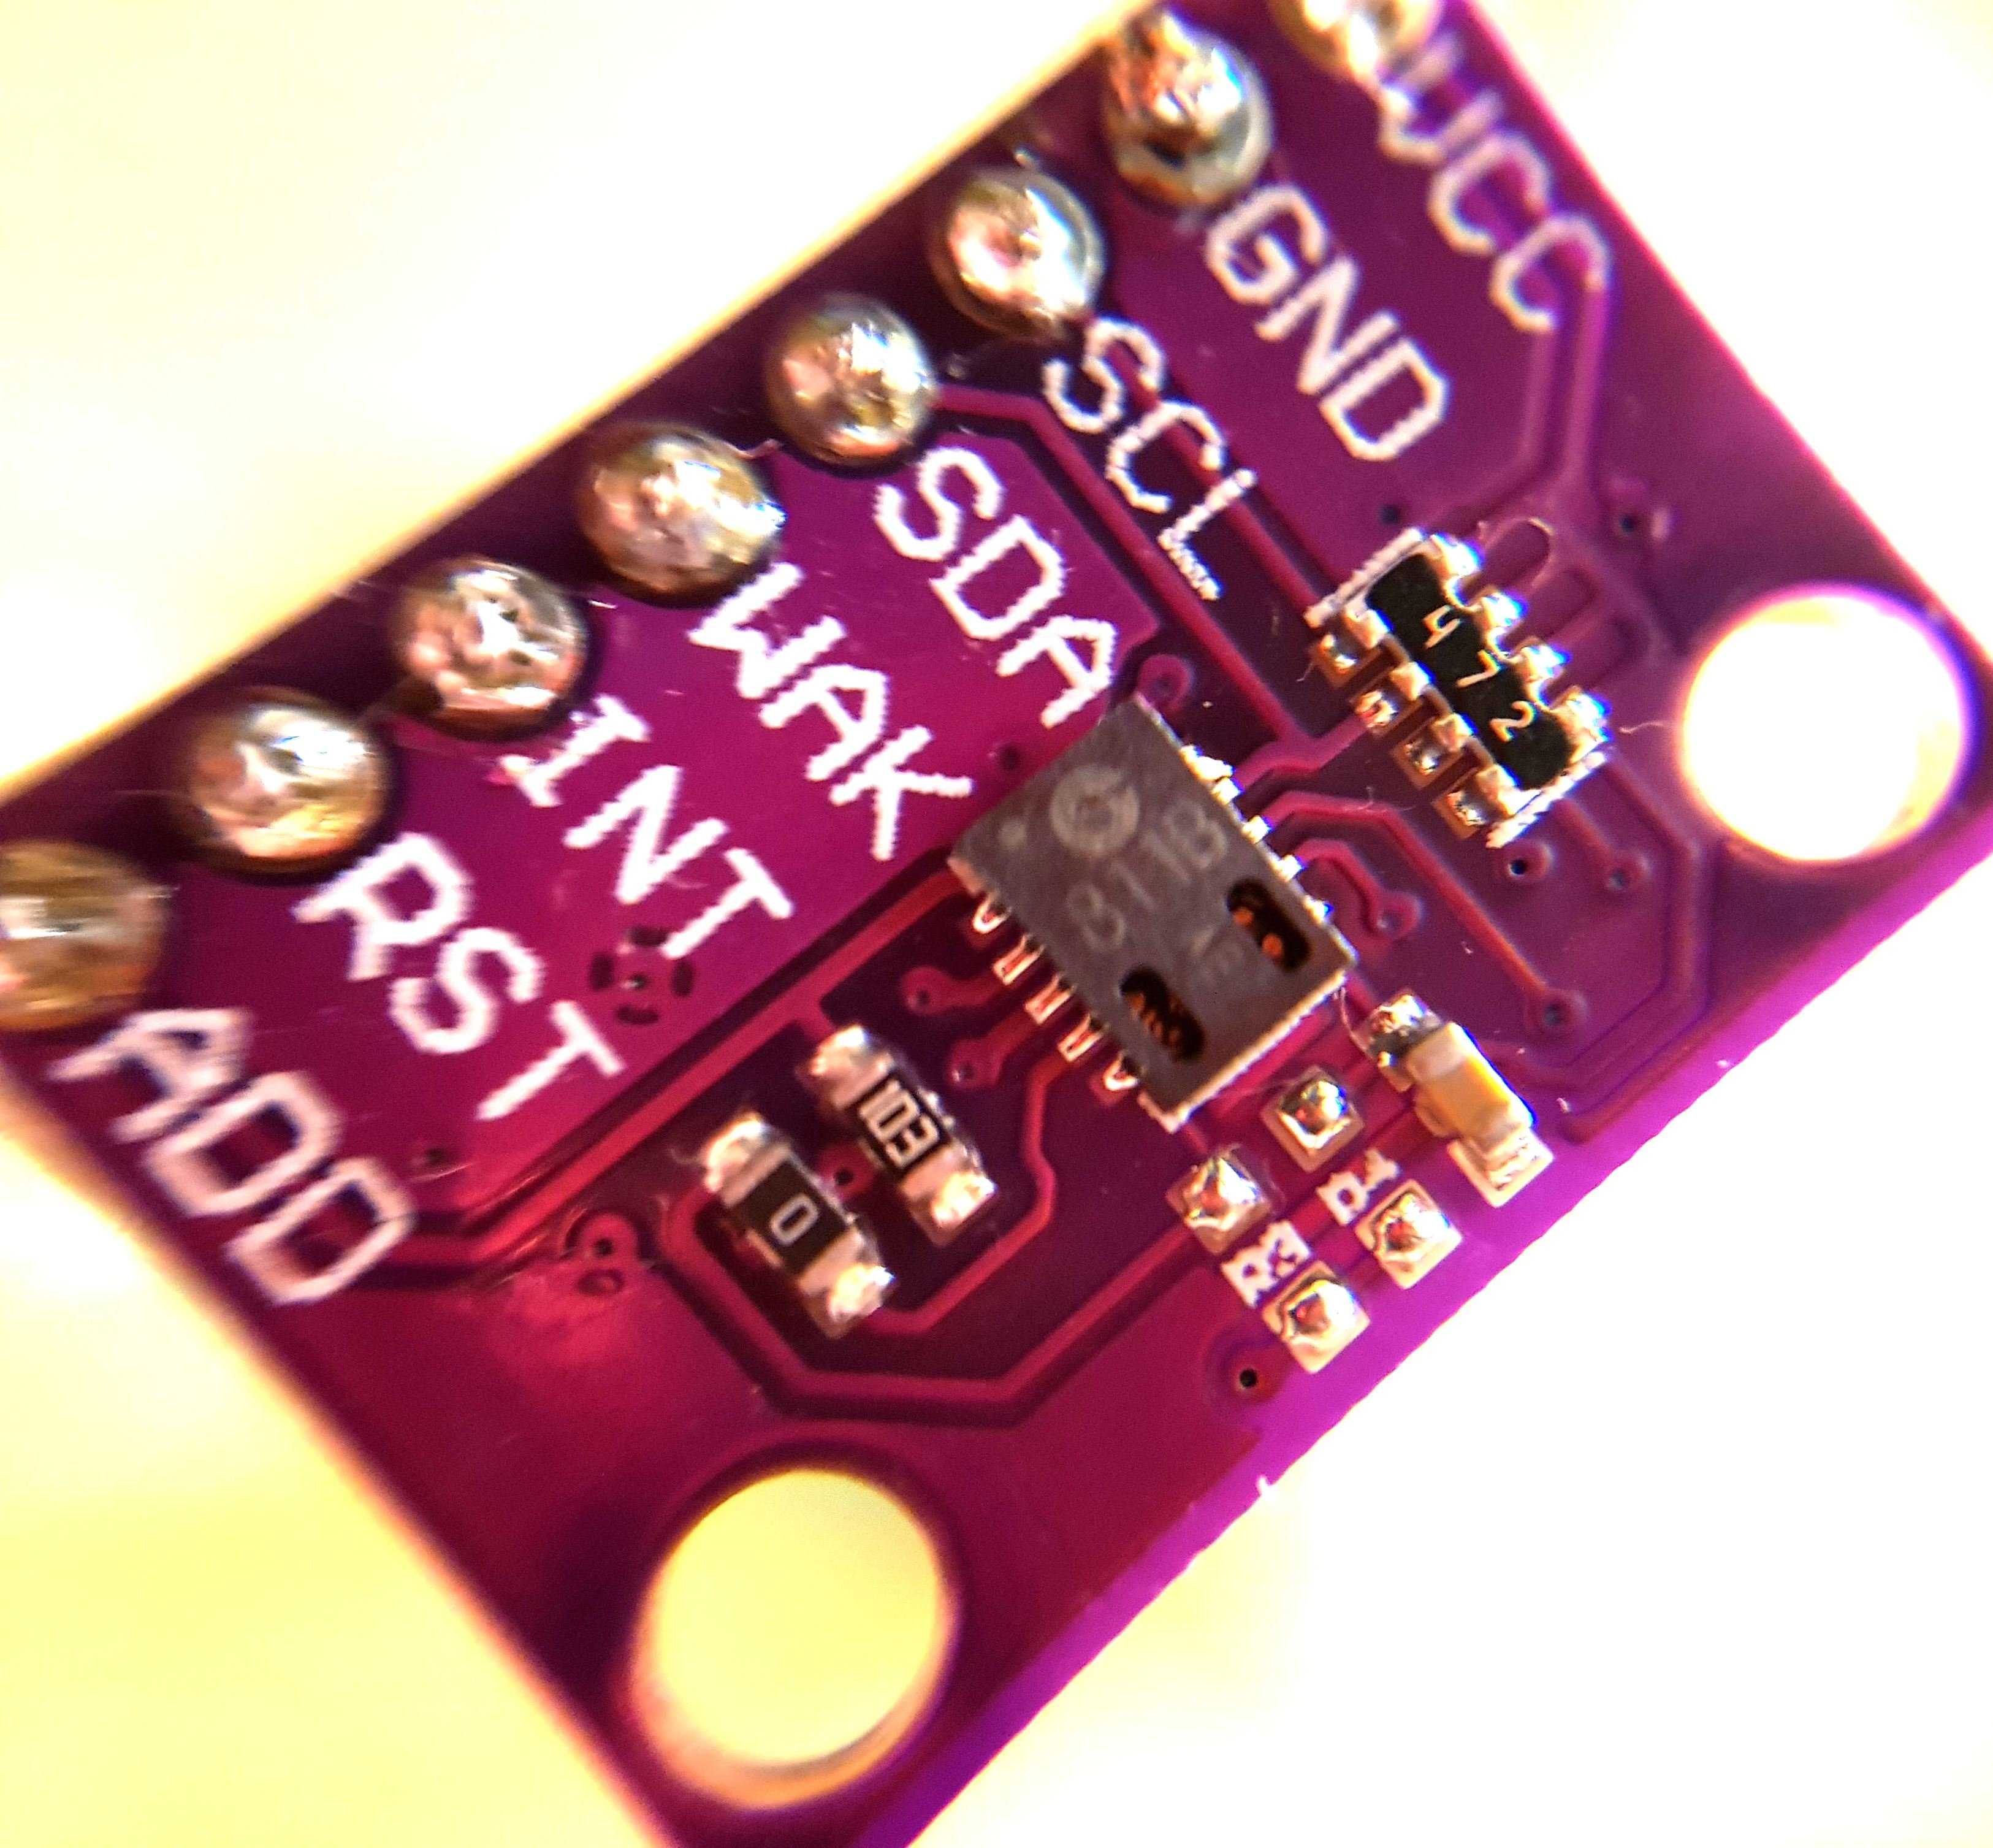
The CCS811, just like the Bosch BME680 has the ability to measure VOC (total VOC – TVOC) and the equivalent of calculated carbon dioxide (eCO2). It is therefore a very good addition to the previous sensor that allows you to verify the VOC detection. It works on the same I²C bus and can be connected in parallel with the previous sensor for RPi. Due to its consumption of about 60mW – then you should get an external supply of 3.3V with the appropriate current performance.
What will you need for the CCS811 sensor?
Hardware:
- the CCS811 sensor
- Any Raspberry Pi with working I²C bus
Software:
- The https://learn.adafruit.com/adafruit-ccs811-air-quality-sensor/raspberry-pi-wiring-and-test library
Connecting the sensor to Raspberry Pi
- SCA CSS811 to SCA RPi
- SCL CSS811 to SCL RPi
- GND CSS811 to GND RPi
- WAKE CSS811 to GND RPi
-
3,3V CSS811 to 3,3V RPi
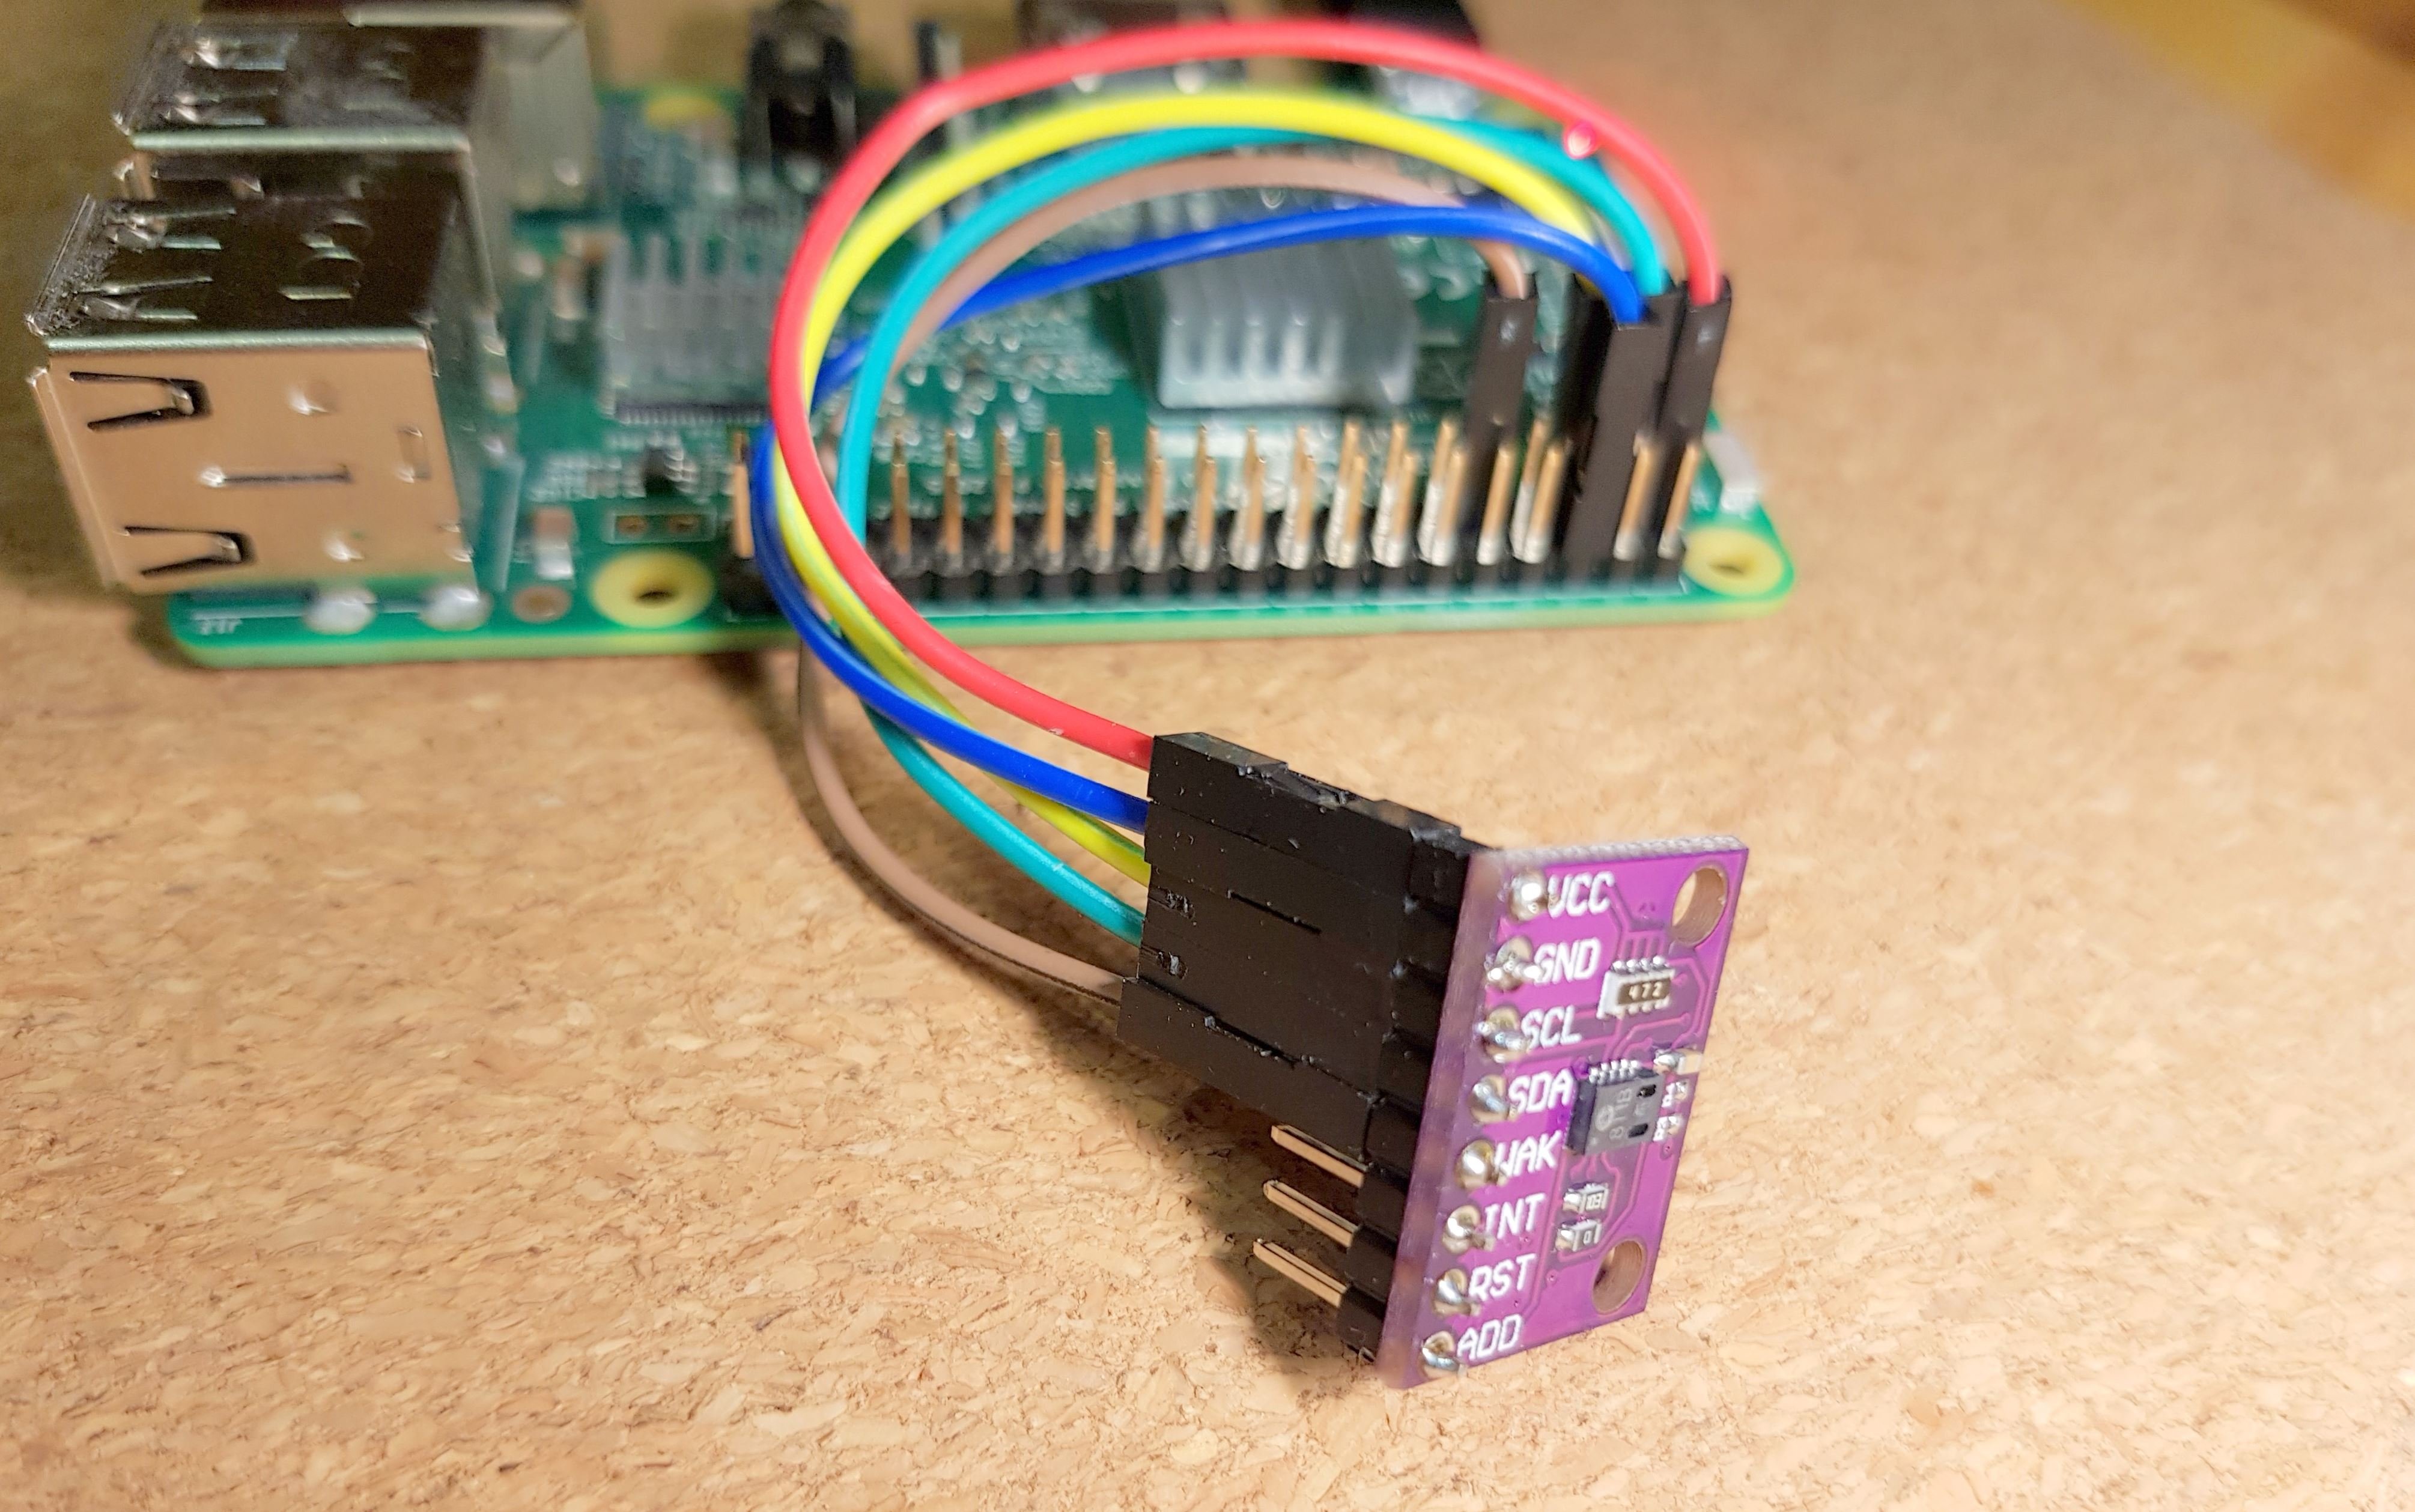
Then we have to make a change – slow down the I²C bus so that RPi works properly with the sensor. This means that any other device connected in parallel may have a problem with the operation (not the BME680 tough):sudo nano /boot/config.txt
Add at the end of file the line:
dtparam=i2c_baudrate=10000 Reboot your RPi, check if the 5a is displayed:
sudo i2cdetect -y 1If the sensor has not been detected – check whether you have definitely provided the appropriate baudrate for the I²C bus and restarted your RPi.
Once we see “5a”, we can proceed to the installation:
sudo apt update
sudo apt install git build-essential python-pip python-dev python-smbus
git clone https://github.com/adafruit/Adafruit_Python_GPIO.git
cd Adafruit_Python_GPIO
sudo python setup.py install
After installing the appropriate libraries and GPIO support for Python, we proceed to downloading and installing the library for the CSS811 sensor:
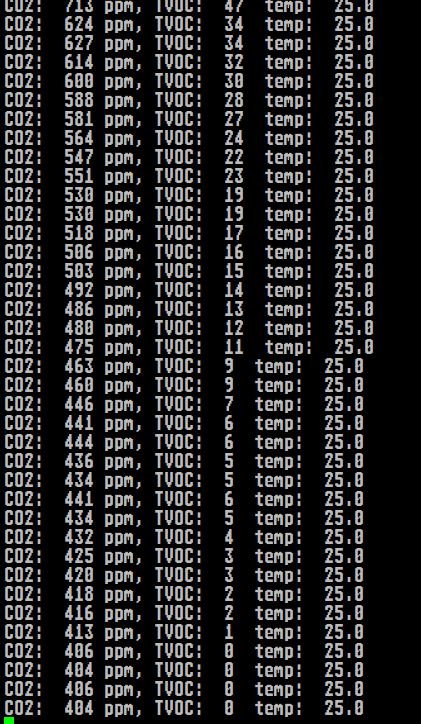
sudo pip install Adafruit_CCS811 All that is left is to install demonstration program that reads the data from the sensor. It is recommended to run it for at least 24 hours to “burn in” because it will raport inflated values at the beginning. Of course, we can treat it gently with gases, but I do not recommend sprinkling directly onto the sensor (isopropyl alcohol) – a cotton swab will be much better.
Install:
cd ~/
git clone https://github.com/adafruit/Adafruit_CCS811_python.git
cd Adafruit_CCS811_python/examples
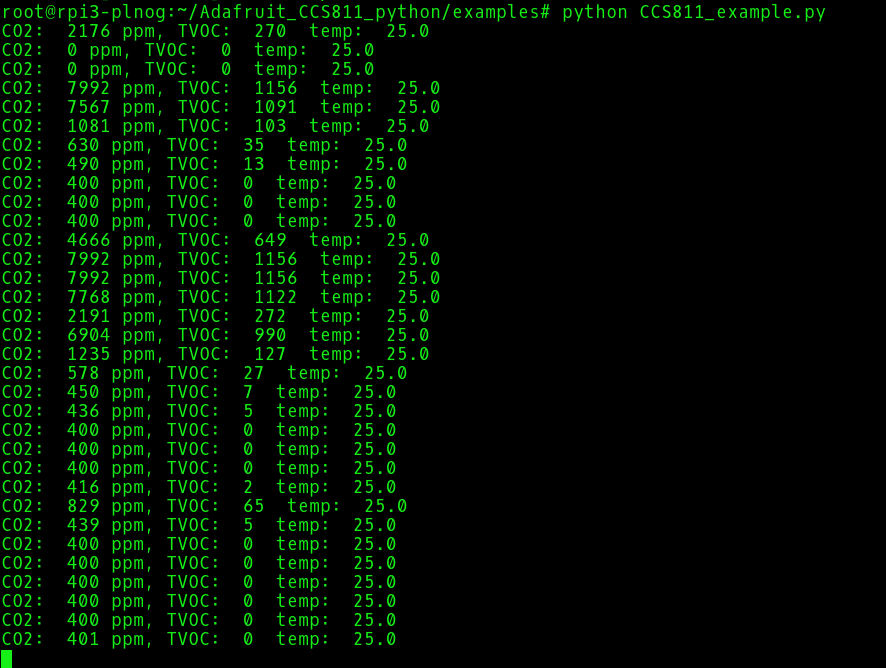
sudo python CCS811_example.py
This should give you:
This is the marker (toluen):
The python examples are very easy to read and understand and we can use them to update sensor in domoticz or InfluxDB/Grafana just like last time.
Now I’m building this:
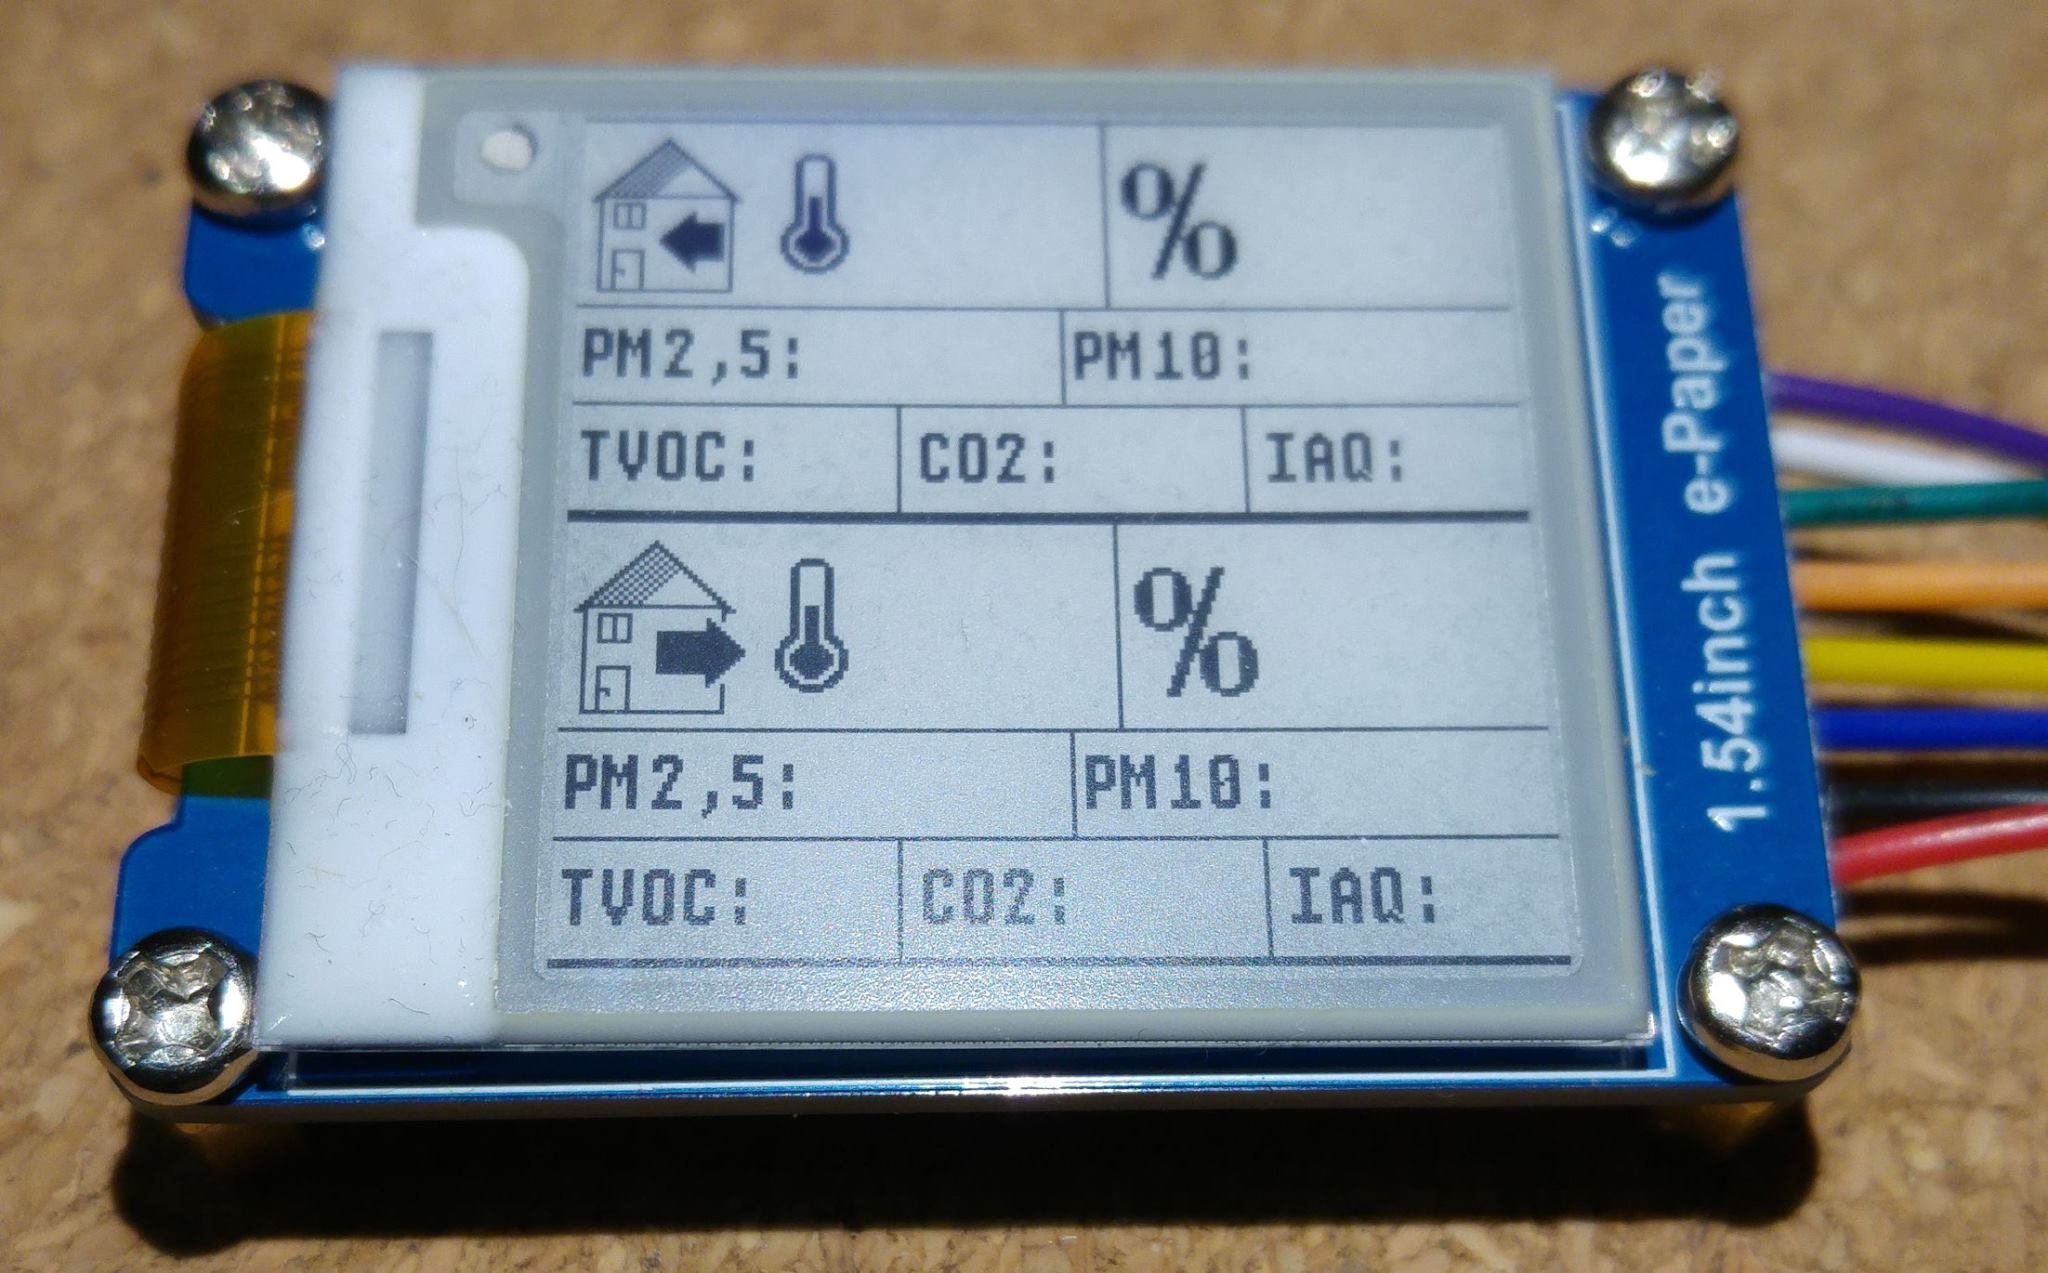
This is it!

This work is licensed under a Creative Commons Attribution-NonCommercial-NoDerivatives 4.0 International License (c) 2014-2024 Łukasz C. Jokiel, [CC BY-NC-SA 4.0 DEED](https://creativecommons.org/licenses/by-nc-sa/4.0/)