The 0,96″ OLED SSD1306 display for Raspberry Pi
Quick and visually compelling projects don’t come easy ? Naaah, just like last time – let’s get on a very nice and easy project – attaching display onto Raspberry Pi. As we were chating on the Malinowe Pi Group, Hubert Wu pointed me to a OLED 128×64 display, monochrome. With a quite decent resolution of 128×64 and based on OLED technology this is a nice 0.96 inch display. Well, my first computer was running at Hi-Res of 640×400 and monochrome too. Priced at $3-$5 pops-up as: ”0.96″ I2C IIC Serial 128X64” in popular stores and is clearly based on original Adafruit SSD1306 – which would be my first choice!
Update: 2019-03-30 Our reader, Paweł Kopacz, noticed that pip, setuptools and wheel are also needed****
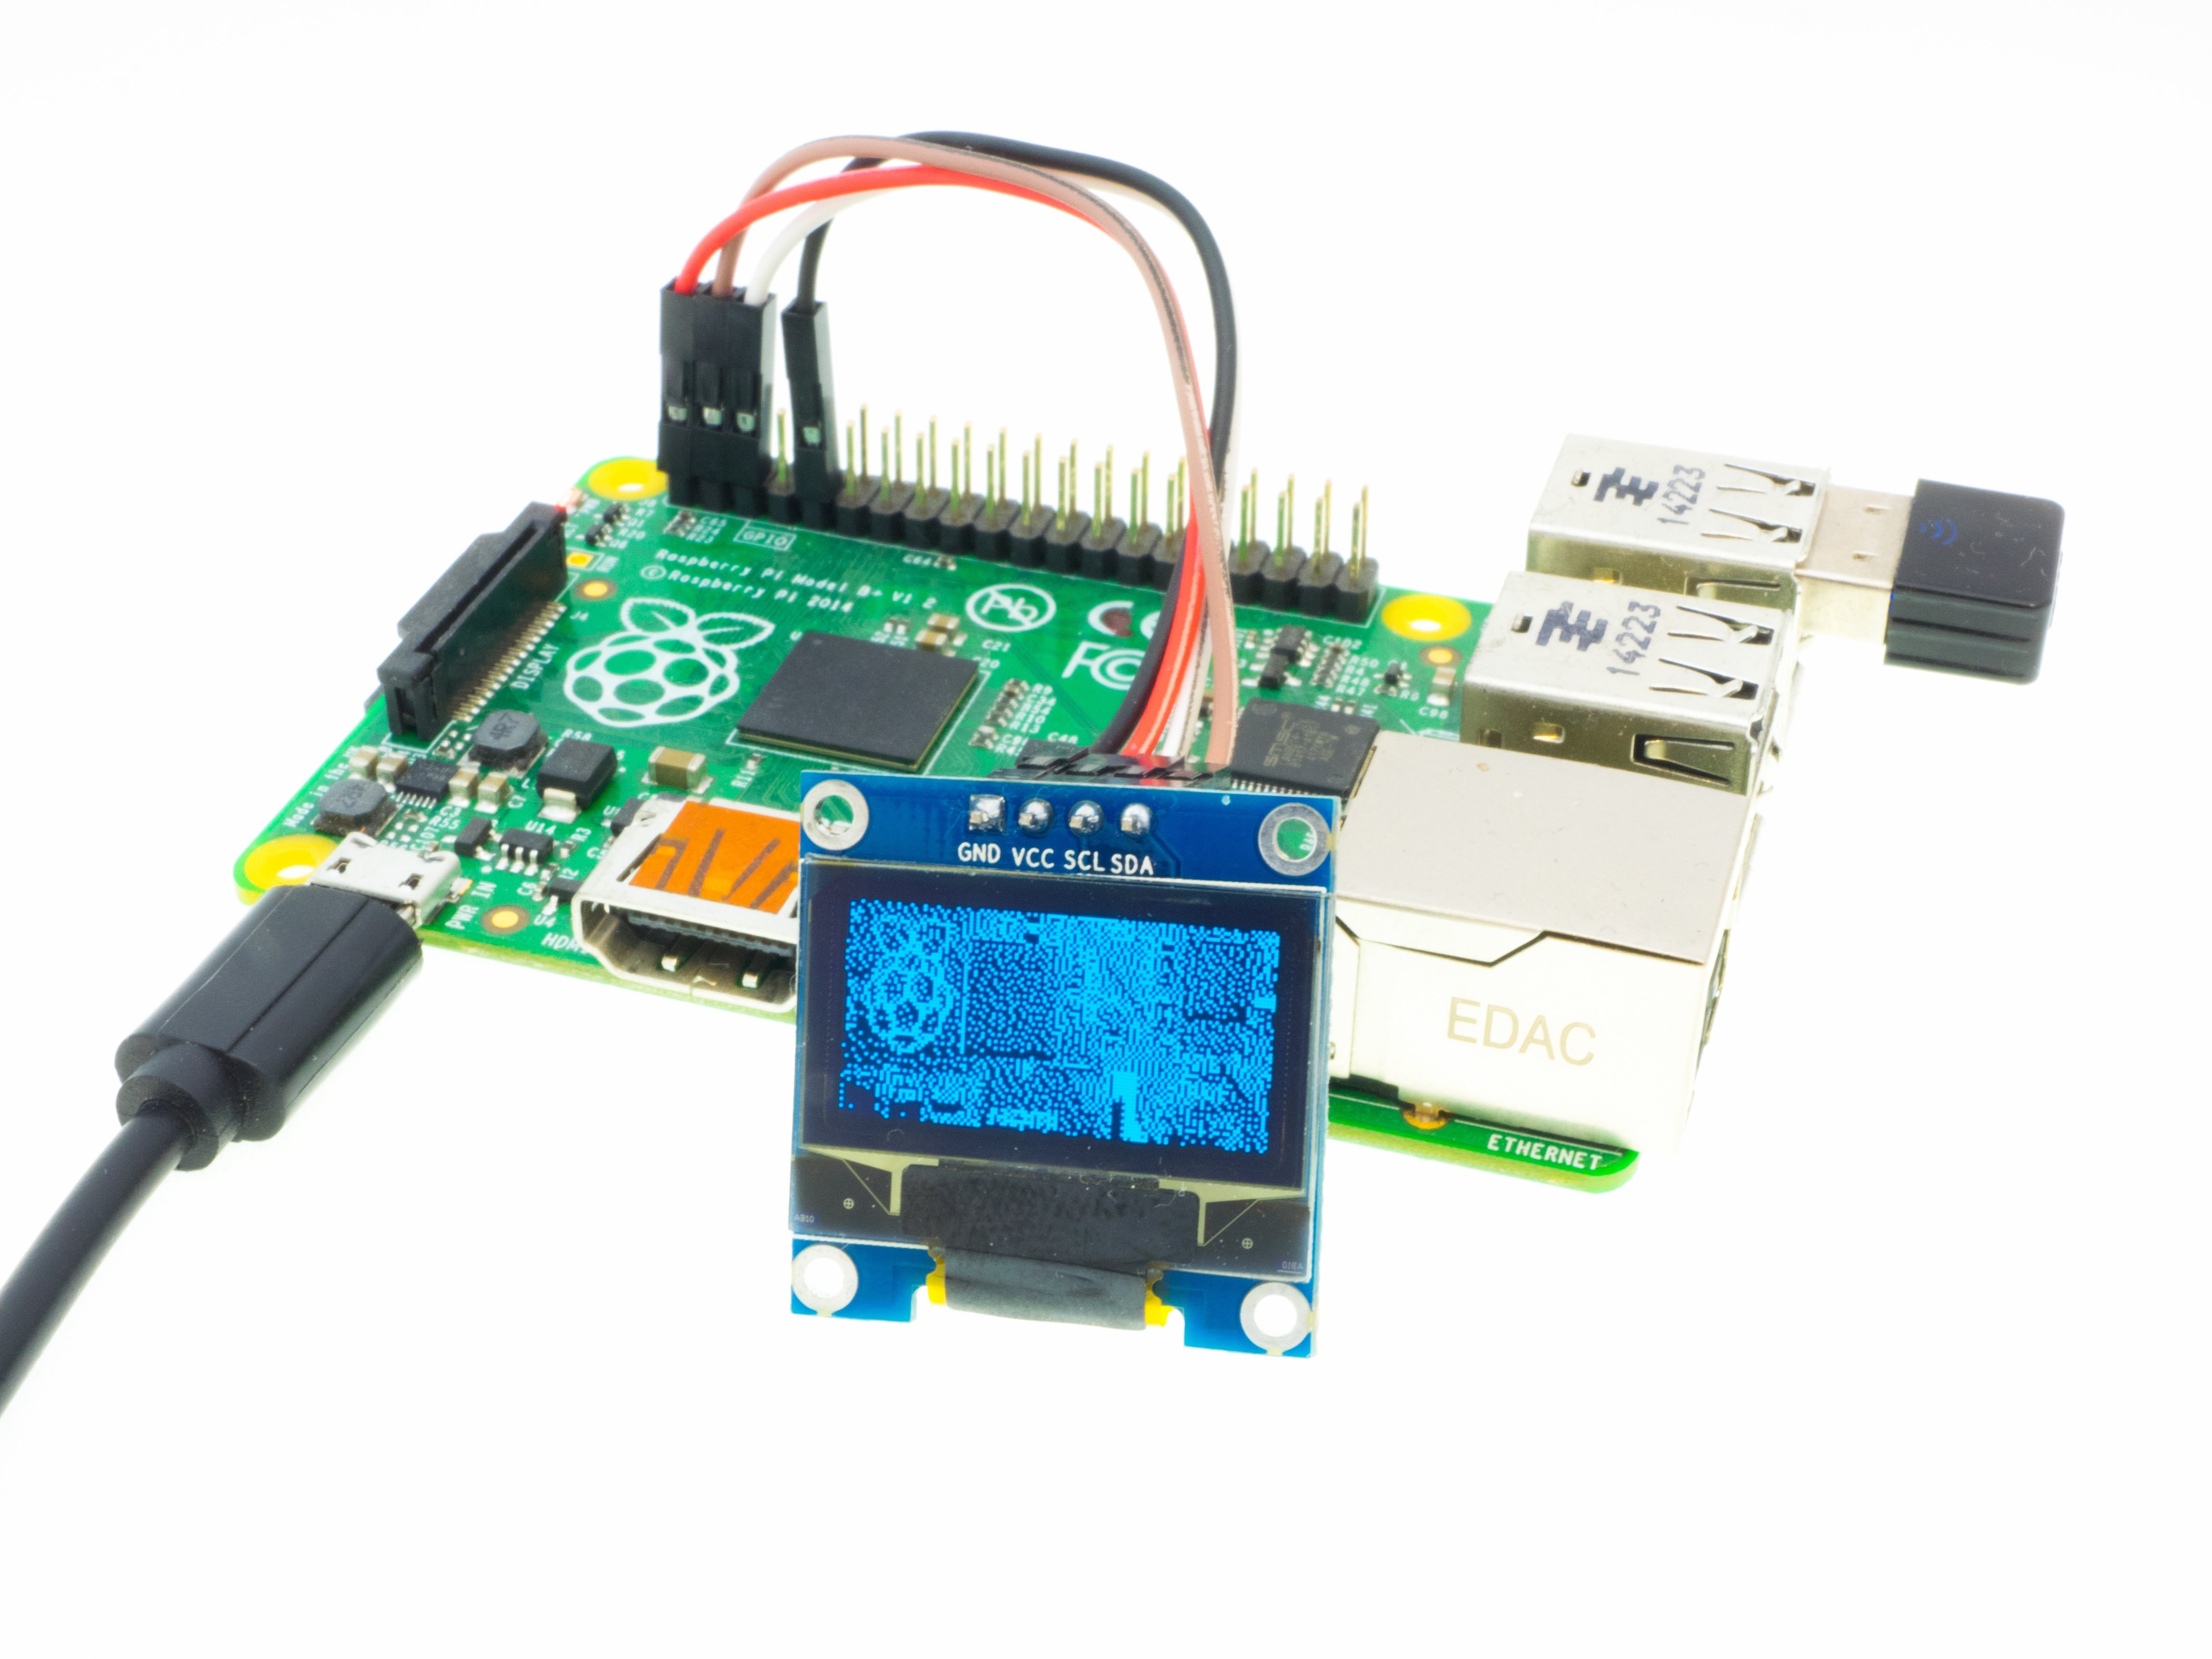
What will you need?
Software:
- git, python-devel, python-pip (installable under RaspberryOS or Raspbian on RPi)
- Library with examples from Adafruit: Adafruit_Python_SSD1306
Hardware:
- Raspberry Pi – 1B, 1A, 2B, 3B, 4B – any will do with installed Raspbian (mini Raspbian is OK)
- Adafriud OLED SSD 1306 or compatible
Usage
This external display connected to RPi (and which is independent from HDMI or Composite video outputs), is very useful for small projects – and for me – when need to know what the IP address is 🙂
Connecting
First let’s connect power – VCC and GND to 3,3 and GND on RPi, then SDA and SCL to GPIO0 (GPIO 2 @ RPi B+, 2 i 3) and GPIO1 (GPIO 3 @ RPi B+, 2 i 3):
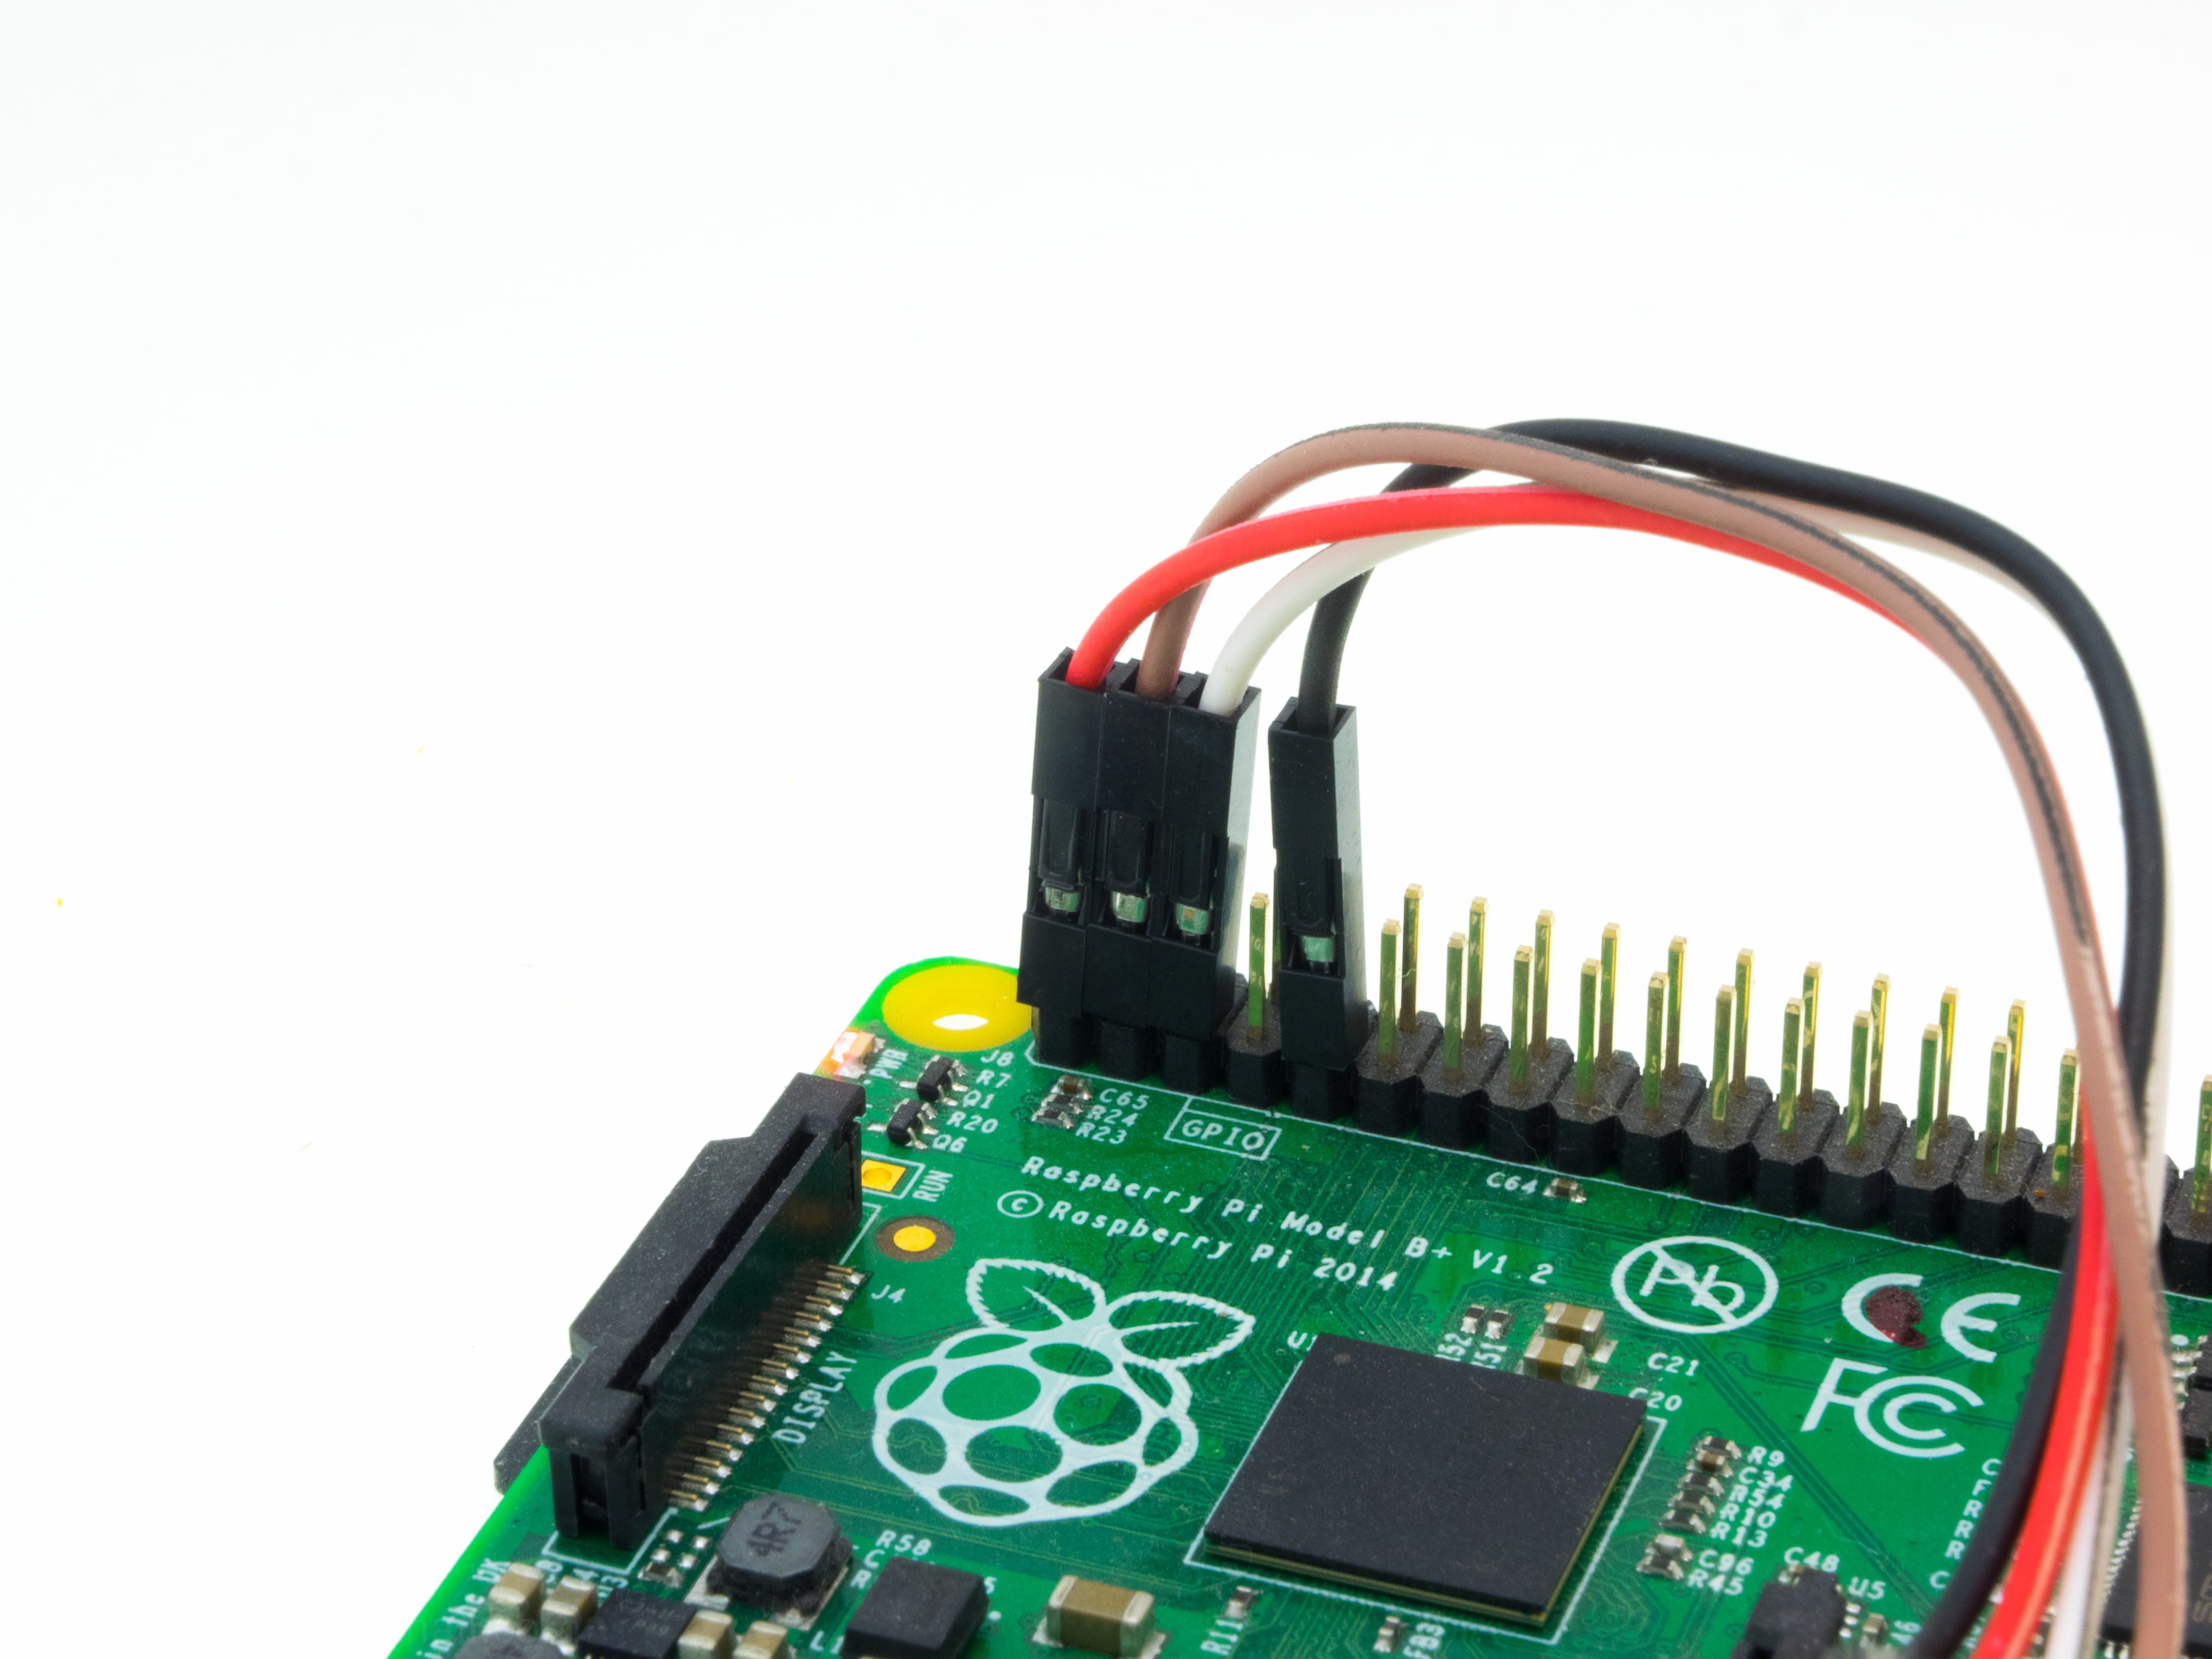
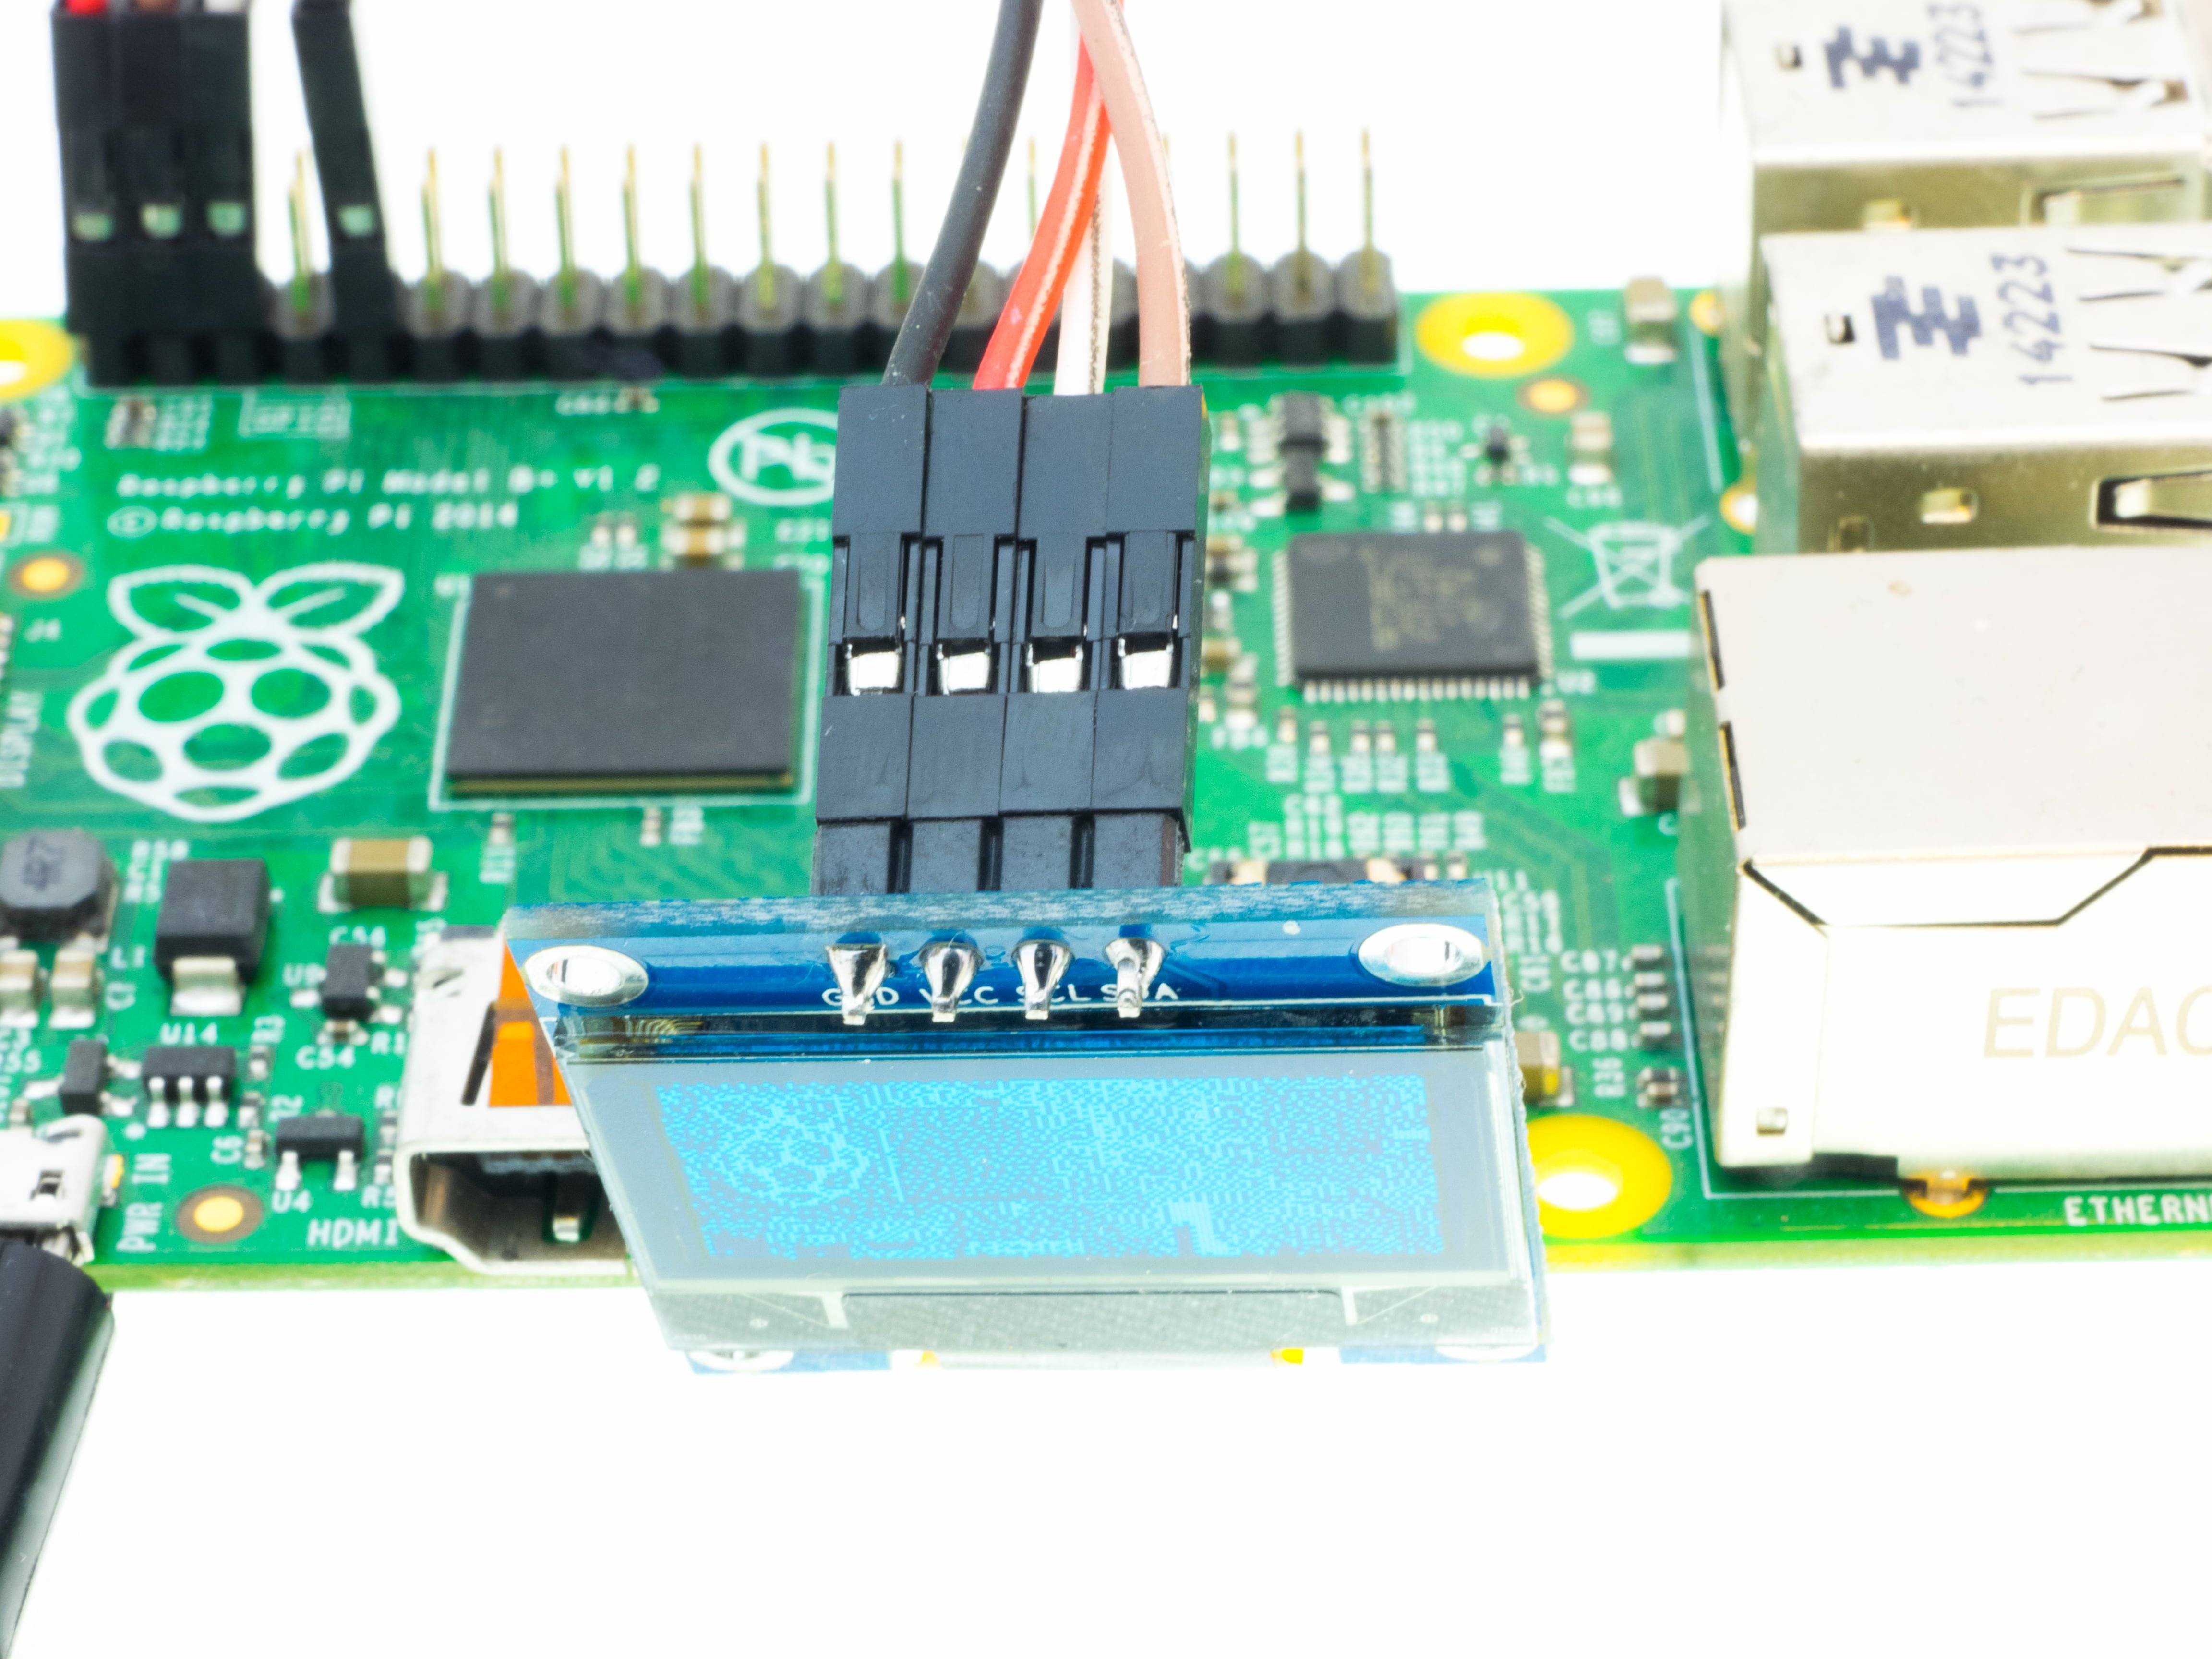
The wiring is quite simple and all pins are adjacent (well we omit GPIO4!). During first wiring attempt i mixed up VCC and GND! RPi greeted me with low light on it’s green LED, but all was fine after proper wiring. This is the view from the display:
Installation
On the software side we are going to turn on the I2C (GPIOO or GPIO2 and GPIO1 or GPIO3) in our RPi, by means of running raspi-config, then choose Interfacing Options–>>I2C–>Enable
After reboot – we should install the software, but first – let’s update the system:
sudo apt-get update && sudo apt-get upgradeNext the software:
sudo apt-get install build-essential python-dev python-pip python-imaging python-smbus gitThen the RPi.GPIO:
sudo pip install RPi.GPIONow – let’s get via git the Adafruit library with examples:
sudo python -m pip install --upgrade pip setuptools wheel
git clone https://github.com/adafruit/Adafruit_Python_SSD1306.git
cd Adafruit_Python_SSD1306
sudo python setup.py install
Test!
Let’s find out if this works…
cd Adafruit_Python_SSD1306/examples/
nano shapes.py
Now edit the shapes.py and find the line that tells it to use the I2C version of the display:
disp = Adafruit_SSD1306.SSD1306_128_64(rst=RST, i2c_bus=1)This is correct, add “#’ at the begging of the other lines that define the ‘disp‘ variable
Run:
sudo python shapes.pyWow, it works! There’re more examples – a very nice – animate.py and image.py, just don’t forget to edit them to use the proper definition of the ‘disp’.
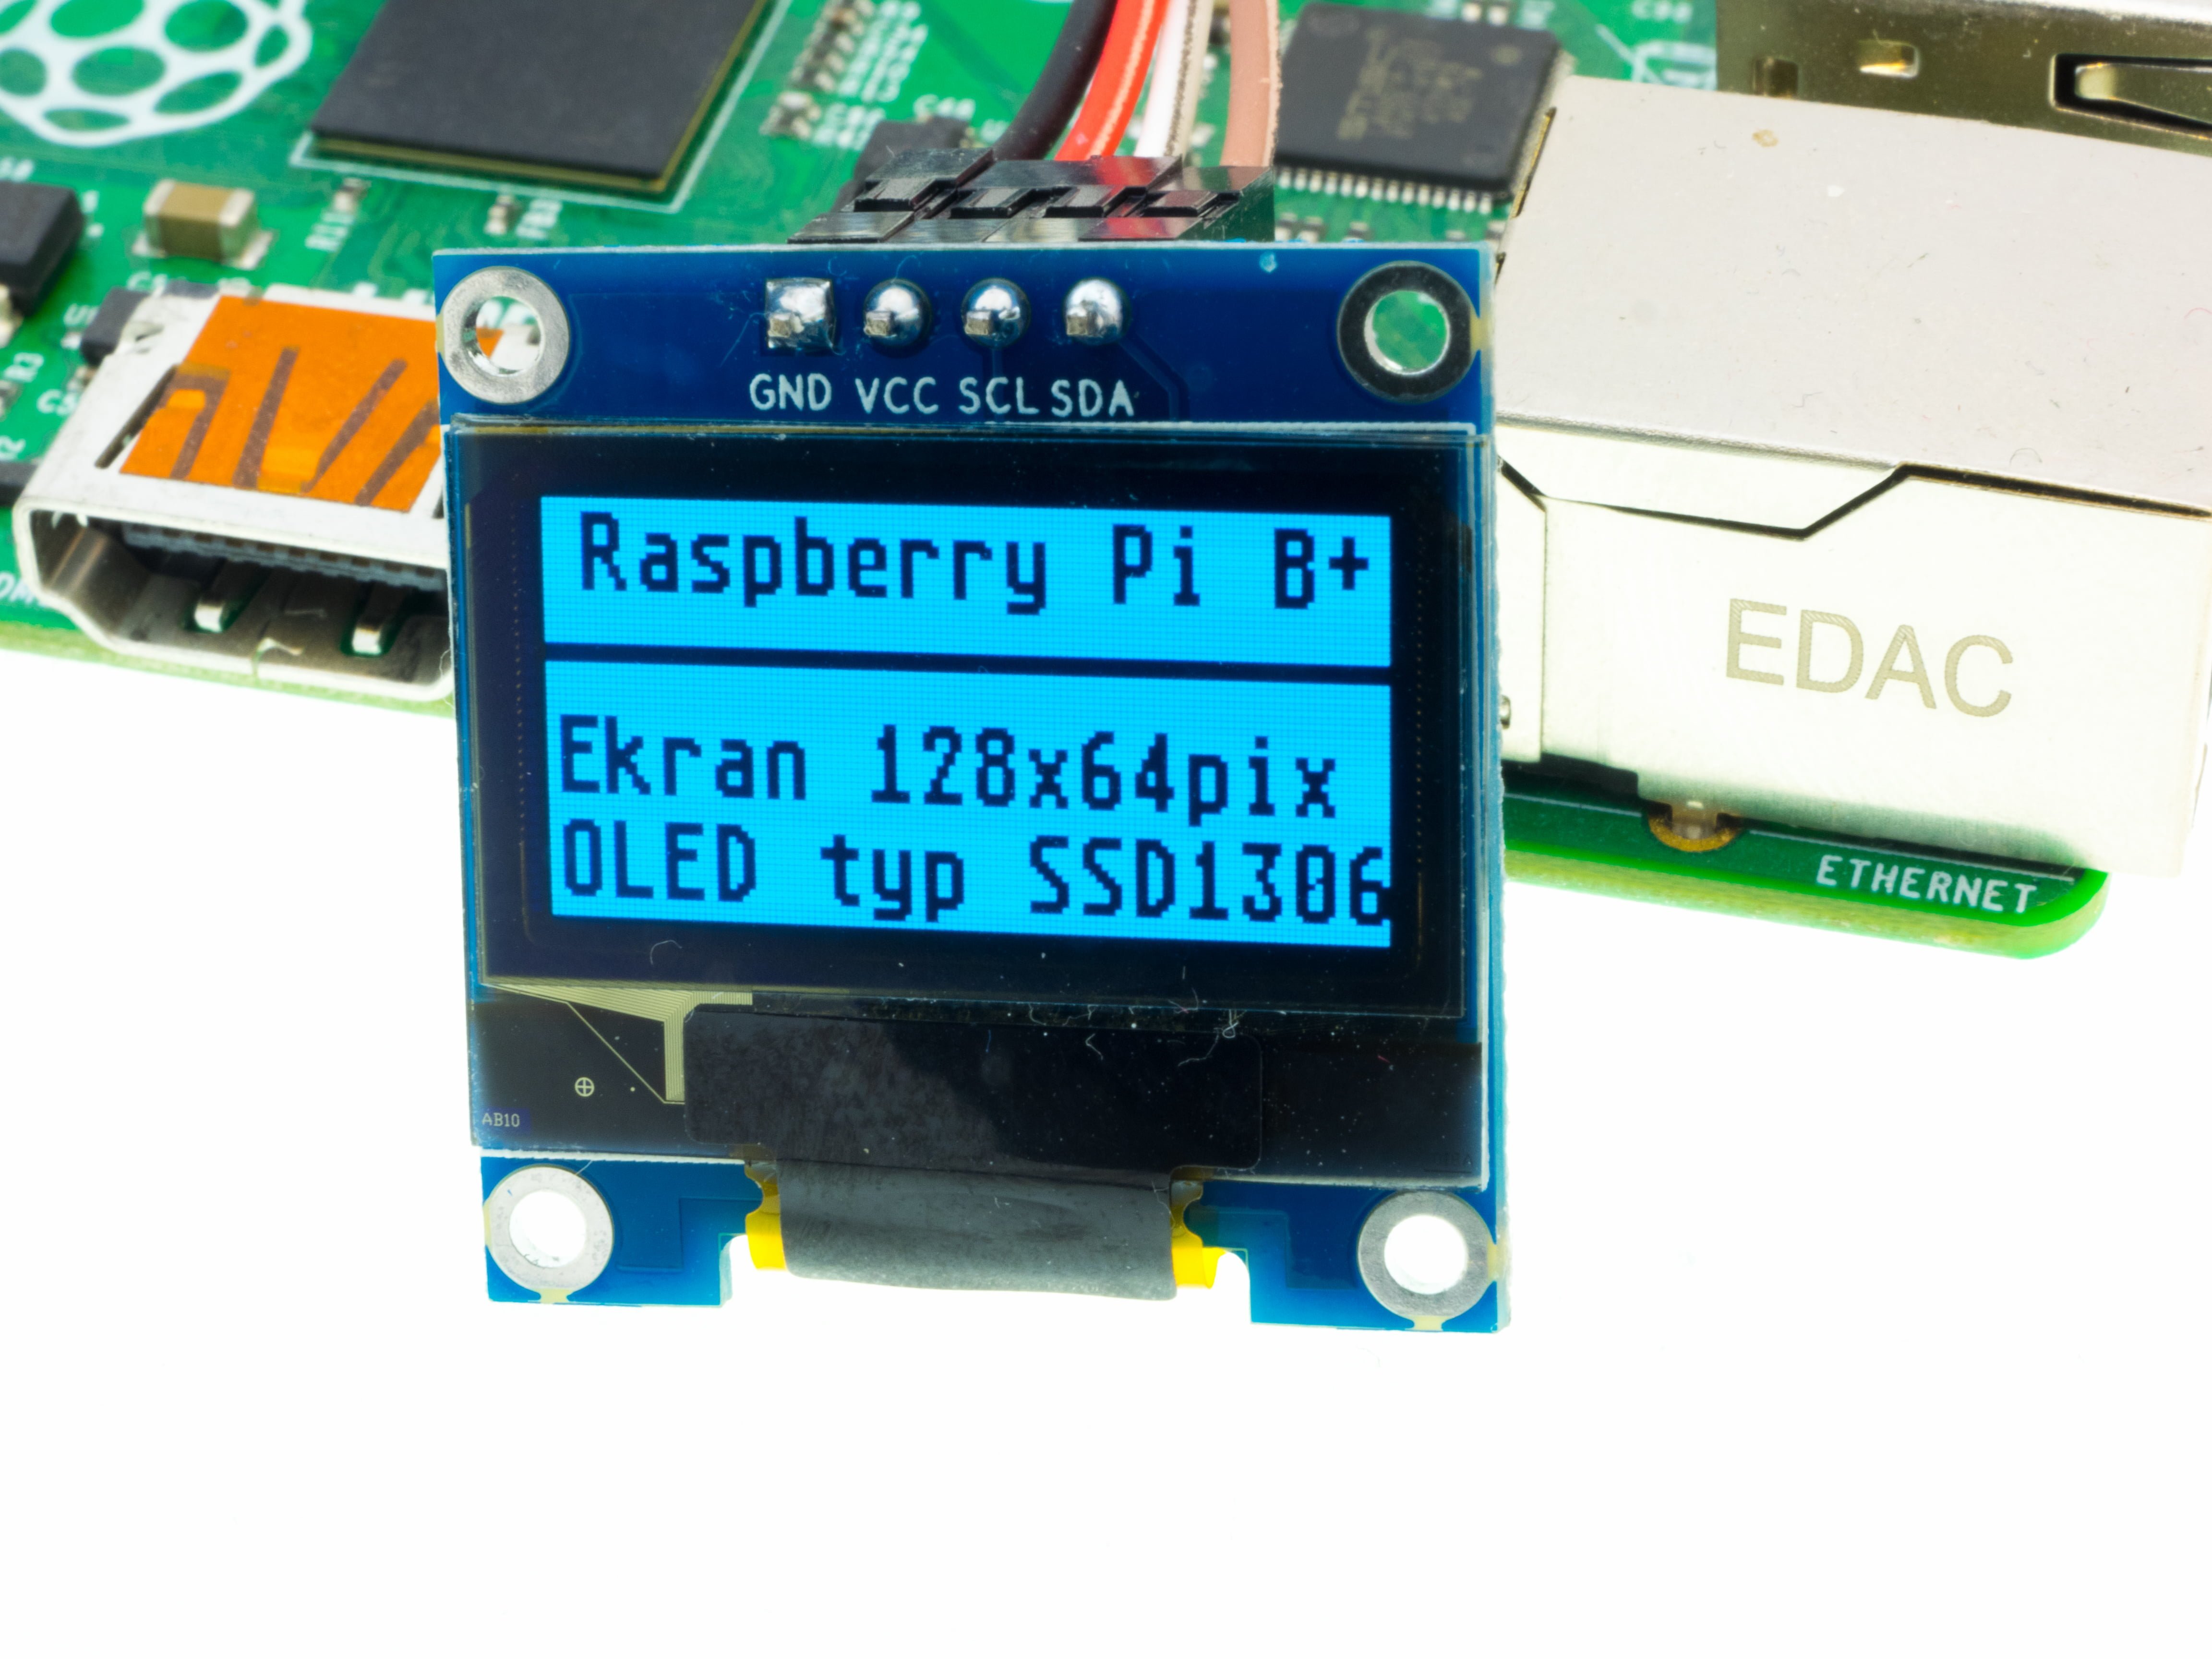
As bonus – we can use our own fonts (TTF format) – i.e.: 16pix height:
The image.py allows you to display monochrome picture in PPM – use GIMP to save and use dithering to get acceptable results:
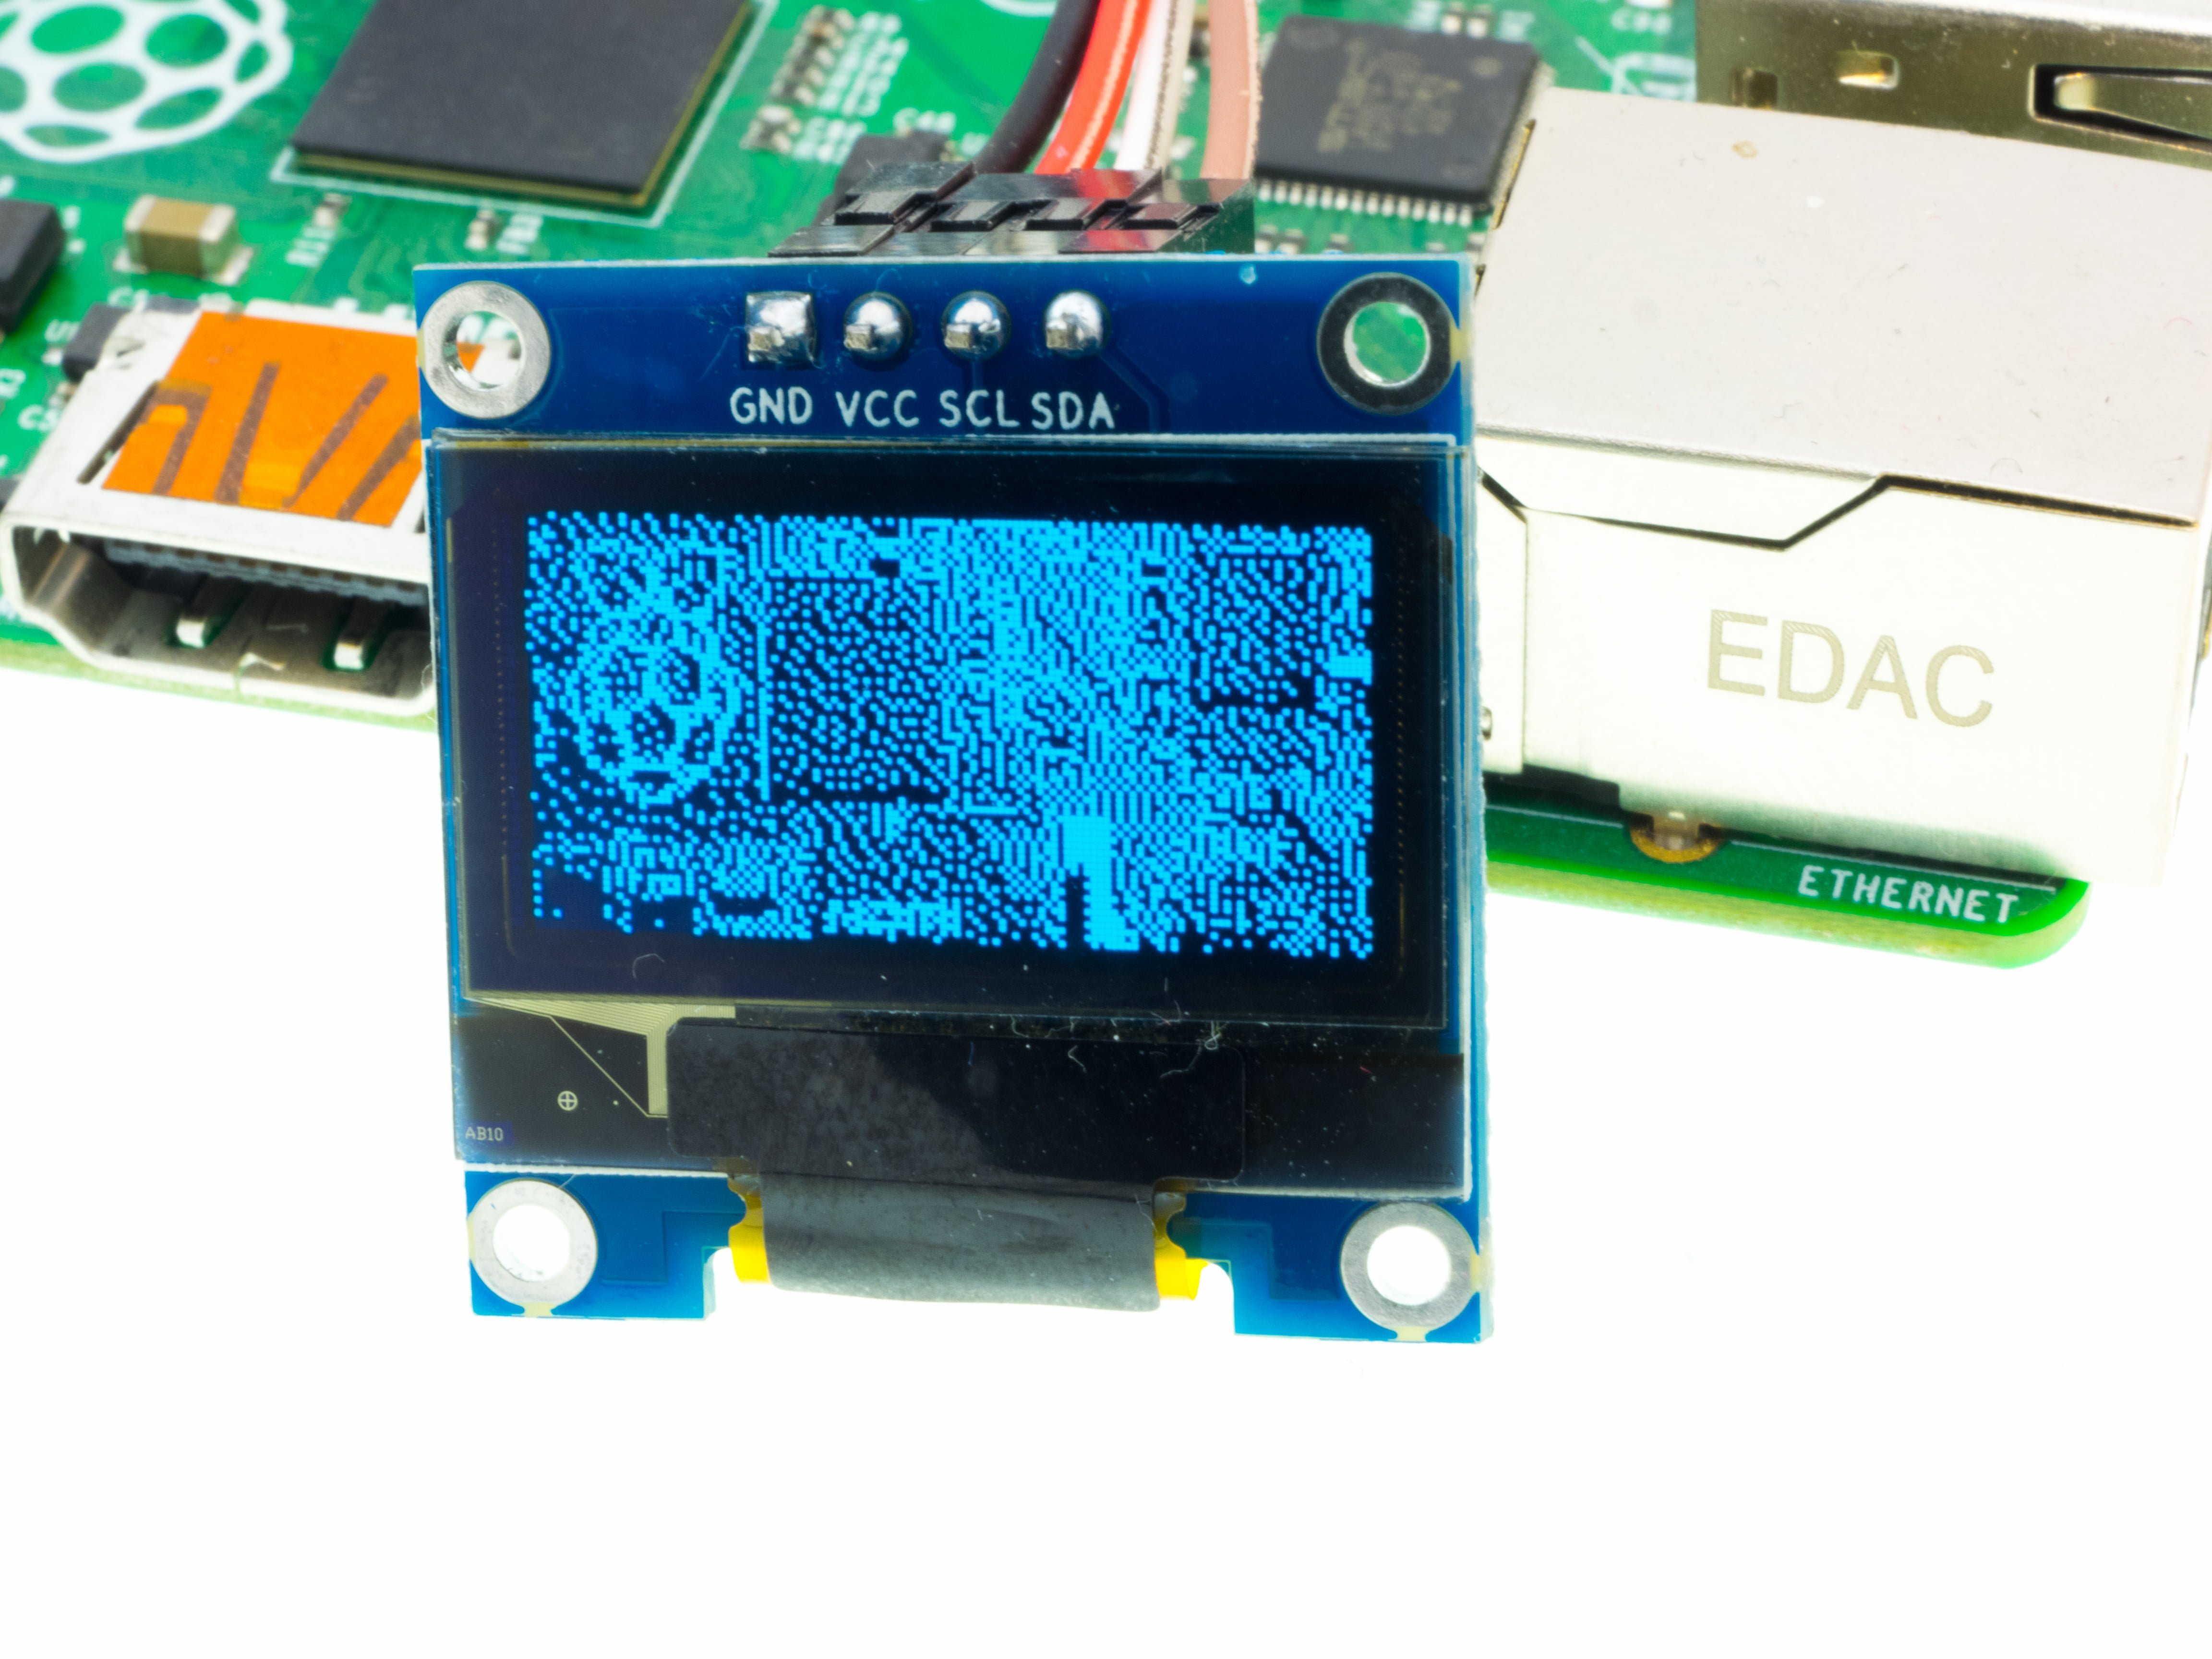
Well, as you see – the input characteristics of the image matters, but at leas you can see the logo
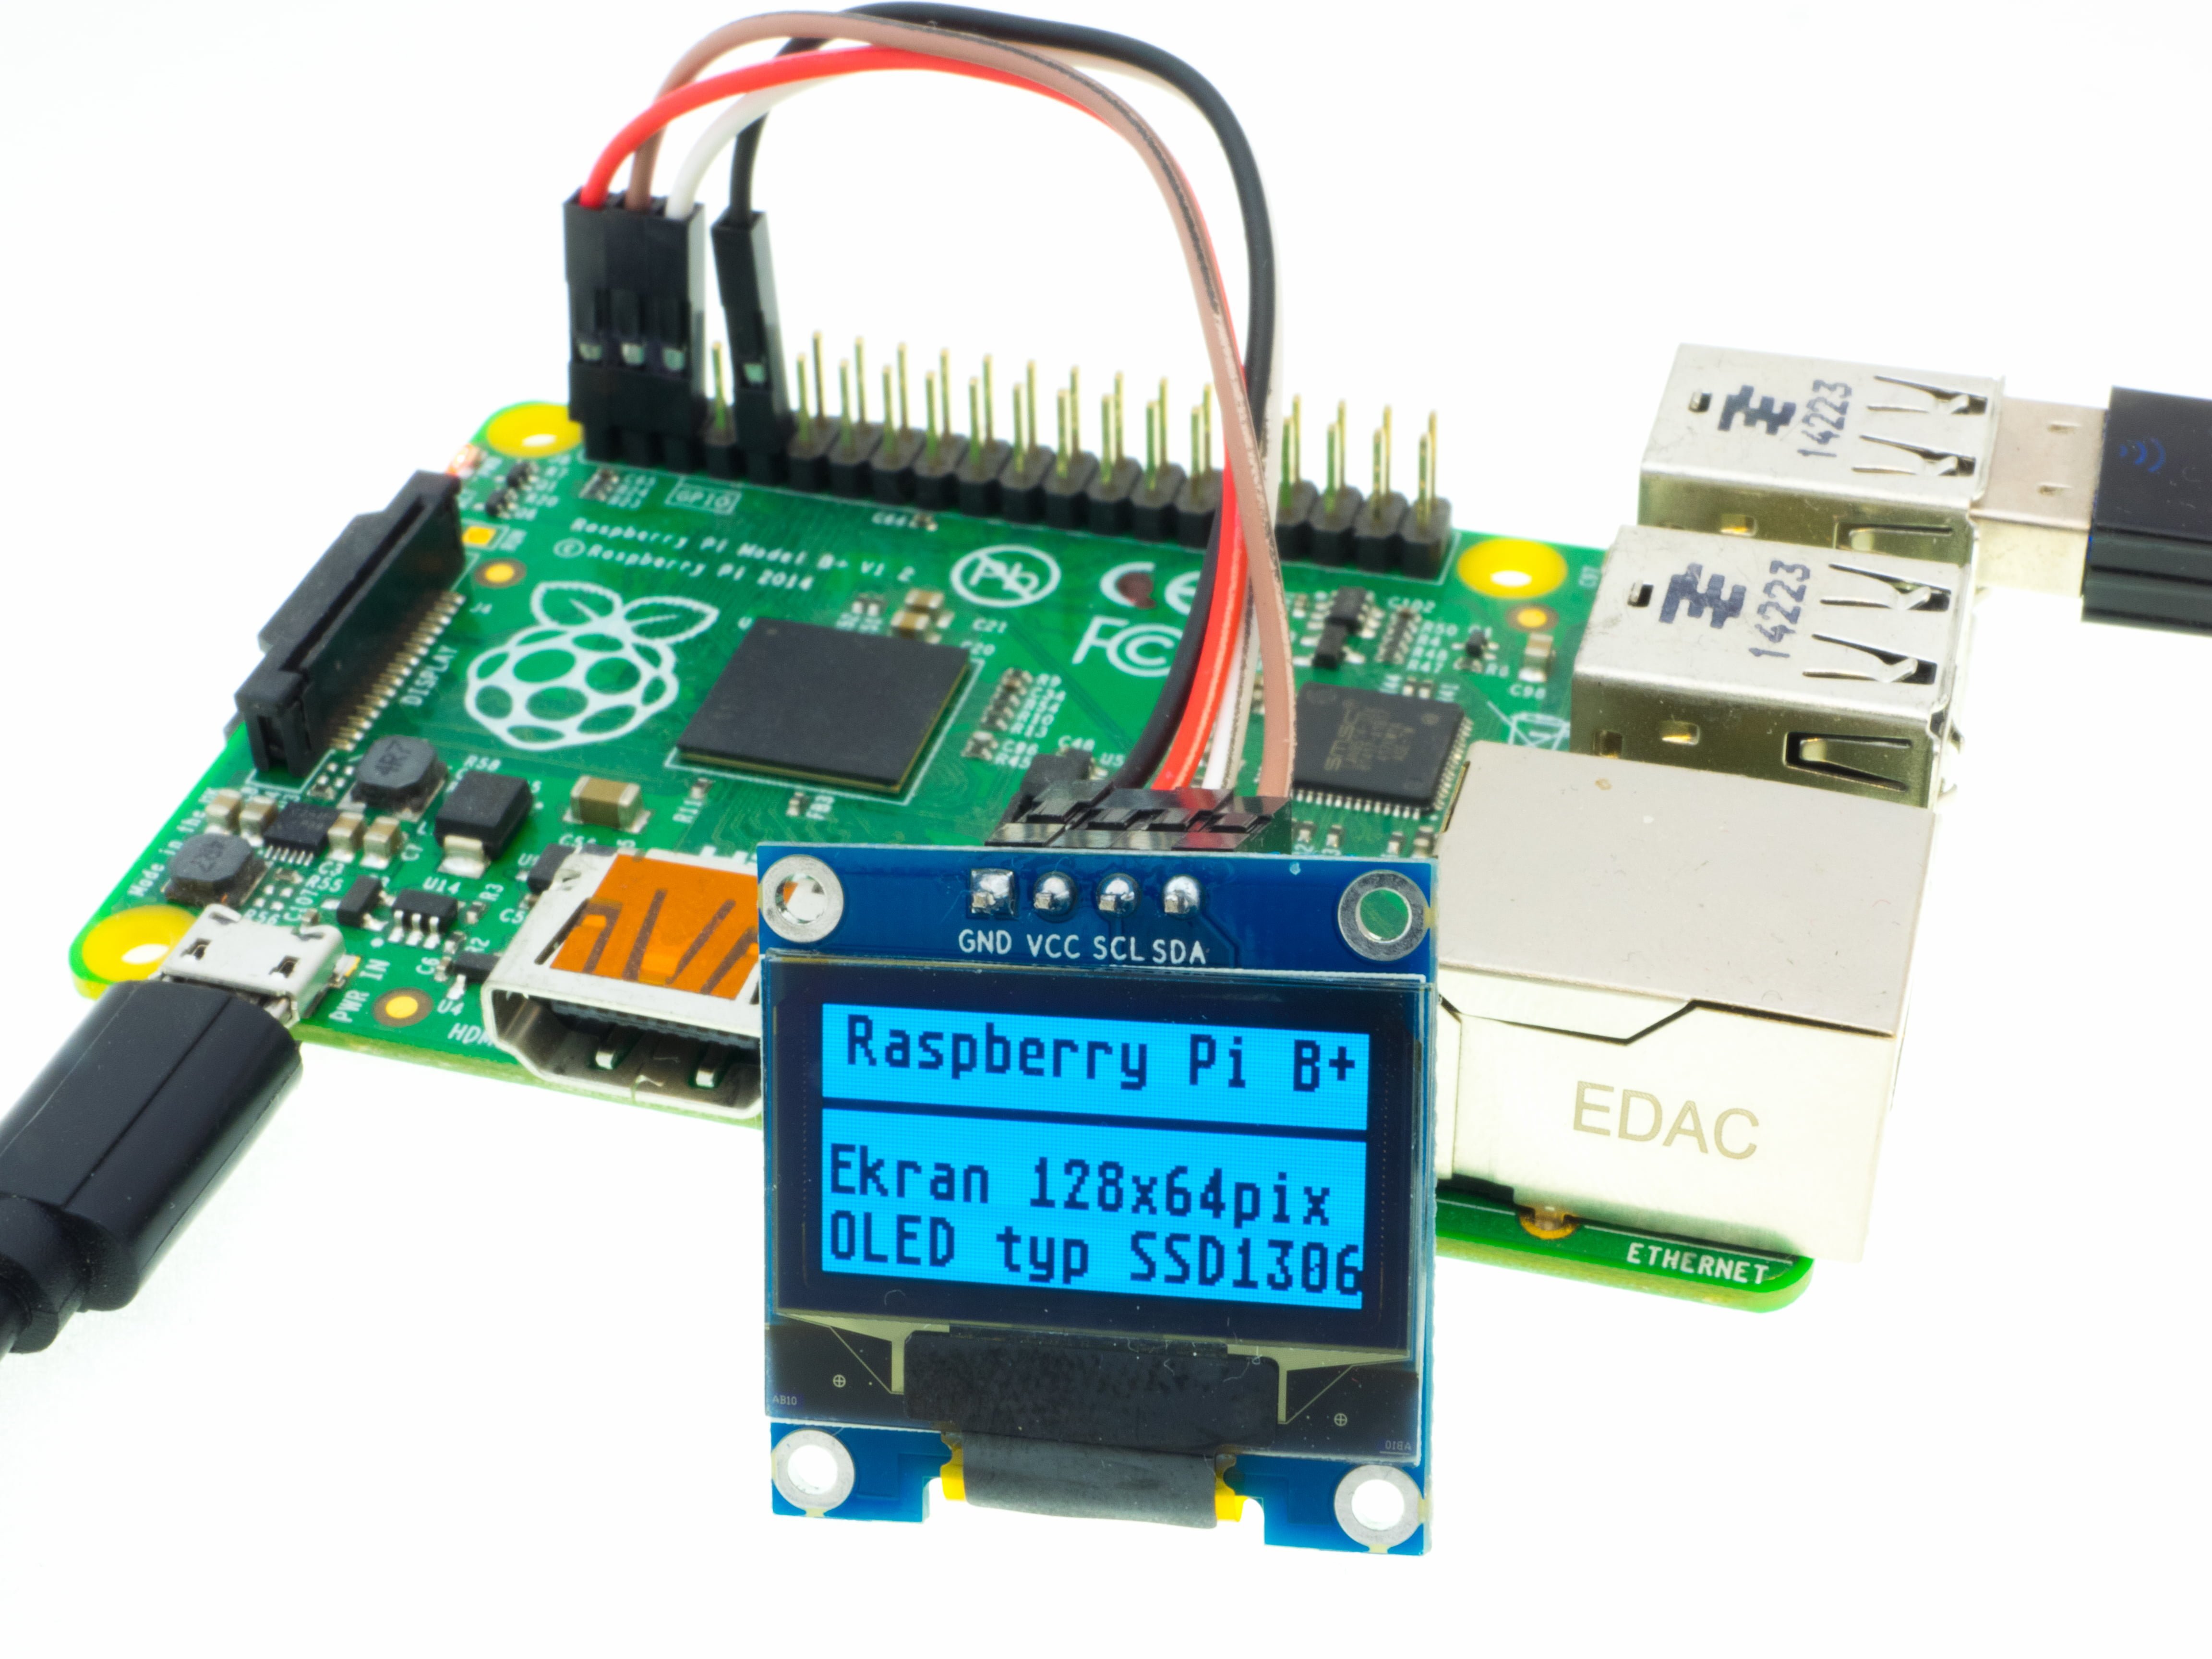
Now all that is left is to use python or bash to display IP address of you RPi!

This work is licensed under a Creative Commons Attribution-NonCommercial-NoDerivatives 4.0 International License (c) 2014-2024 Łukasz C. Jokiel, [CC BY-NC-SA 4.0 DEED](https://creativecommons.org/licenses/by-nc-sa/4.0/)