Raspberry Pi Zero – let's update the gate opener with new hardware and add meter reading recognition (OCR)
My Raspberry Pi 1B+ has been opening garage and letting me know of the conditions for work nearly 4 years. Recently I’ve decided to replace this 2014 small board computer (SBC) with newer version. I’ve also looked at better (the principle Keep it Small and Simple – KISS) solutions that became available – i.e. ESP Easy on ESP8266 (controlling the relay and reading the contact switch is not too much for this platform, even with addition of environmental sensors), but after some thinking – the option of leaving the Raspberry Pi in place won because of one additional perk that I wanted to handle – a classic water meter. Yes, such an old analogue water meter. Fun!
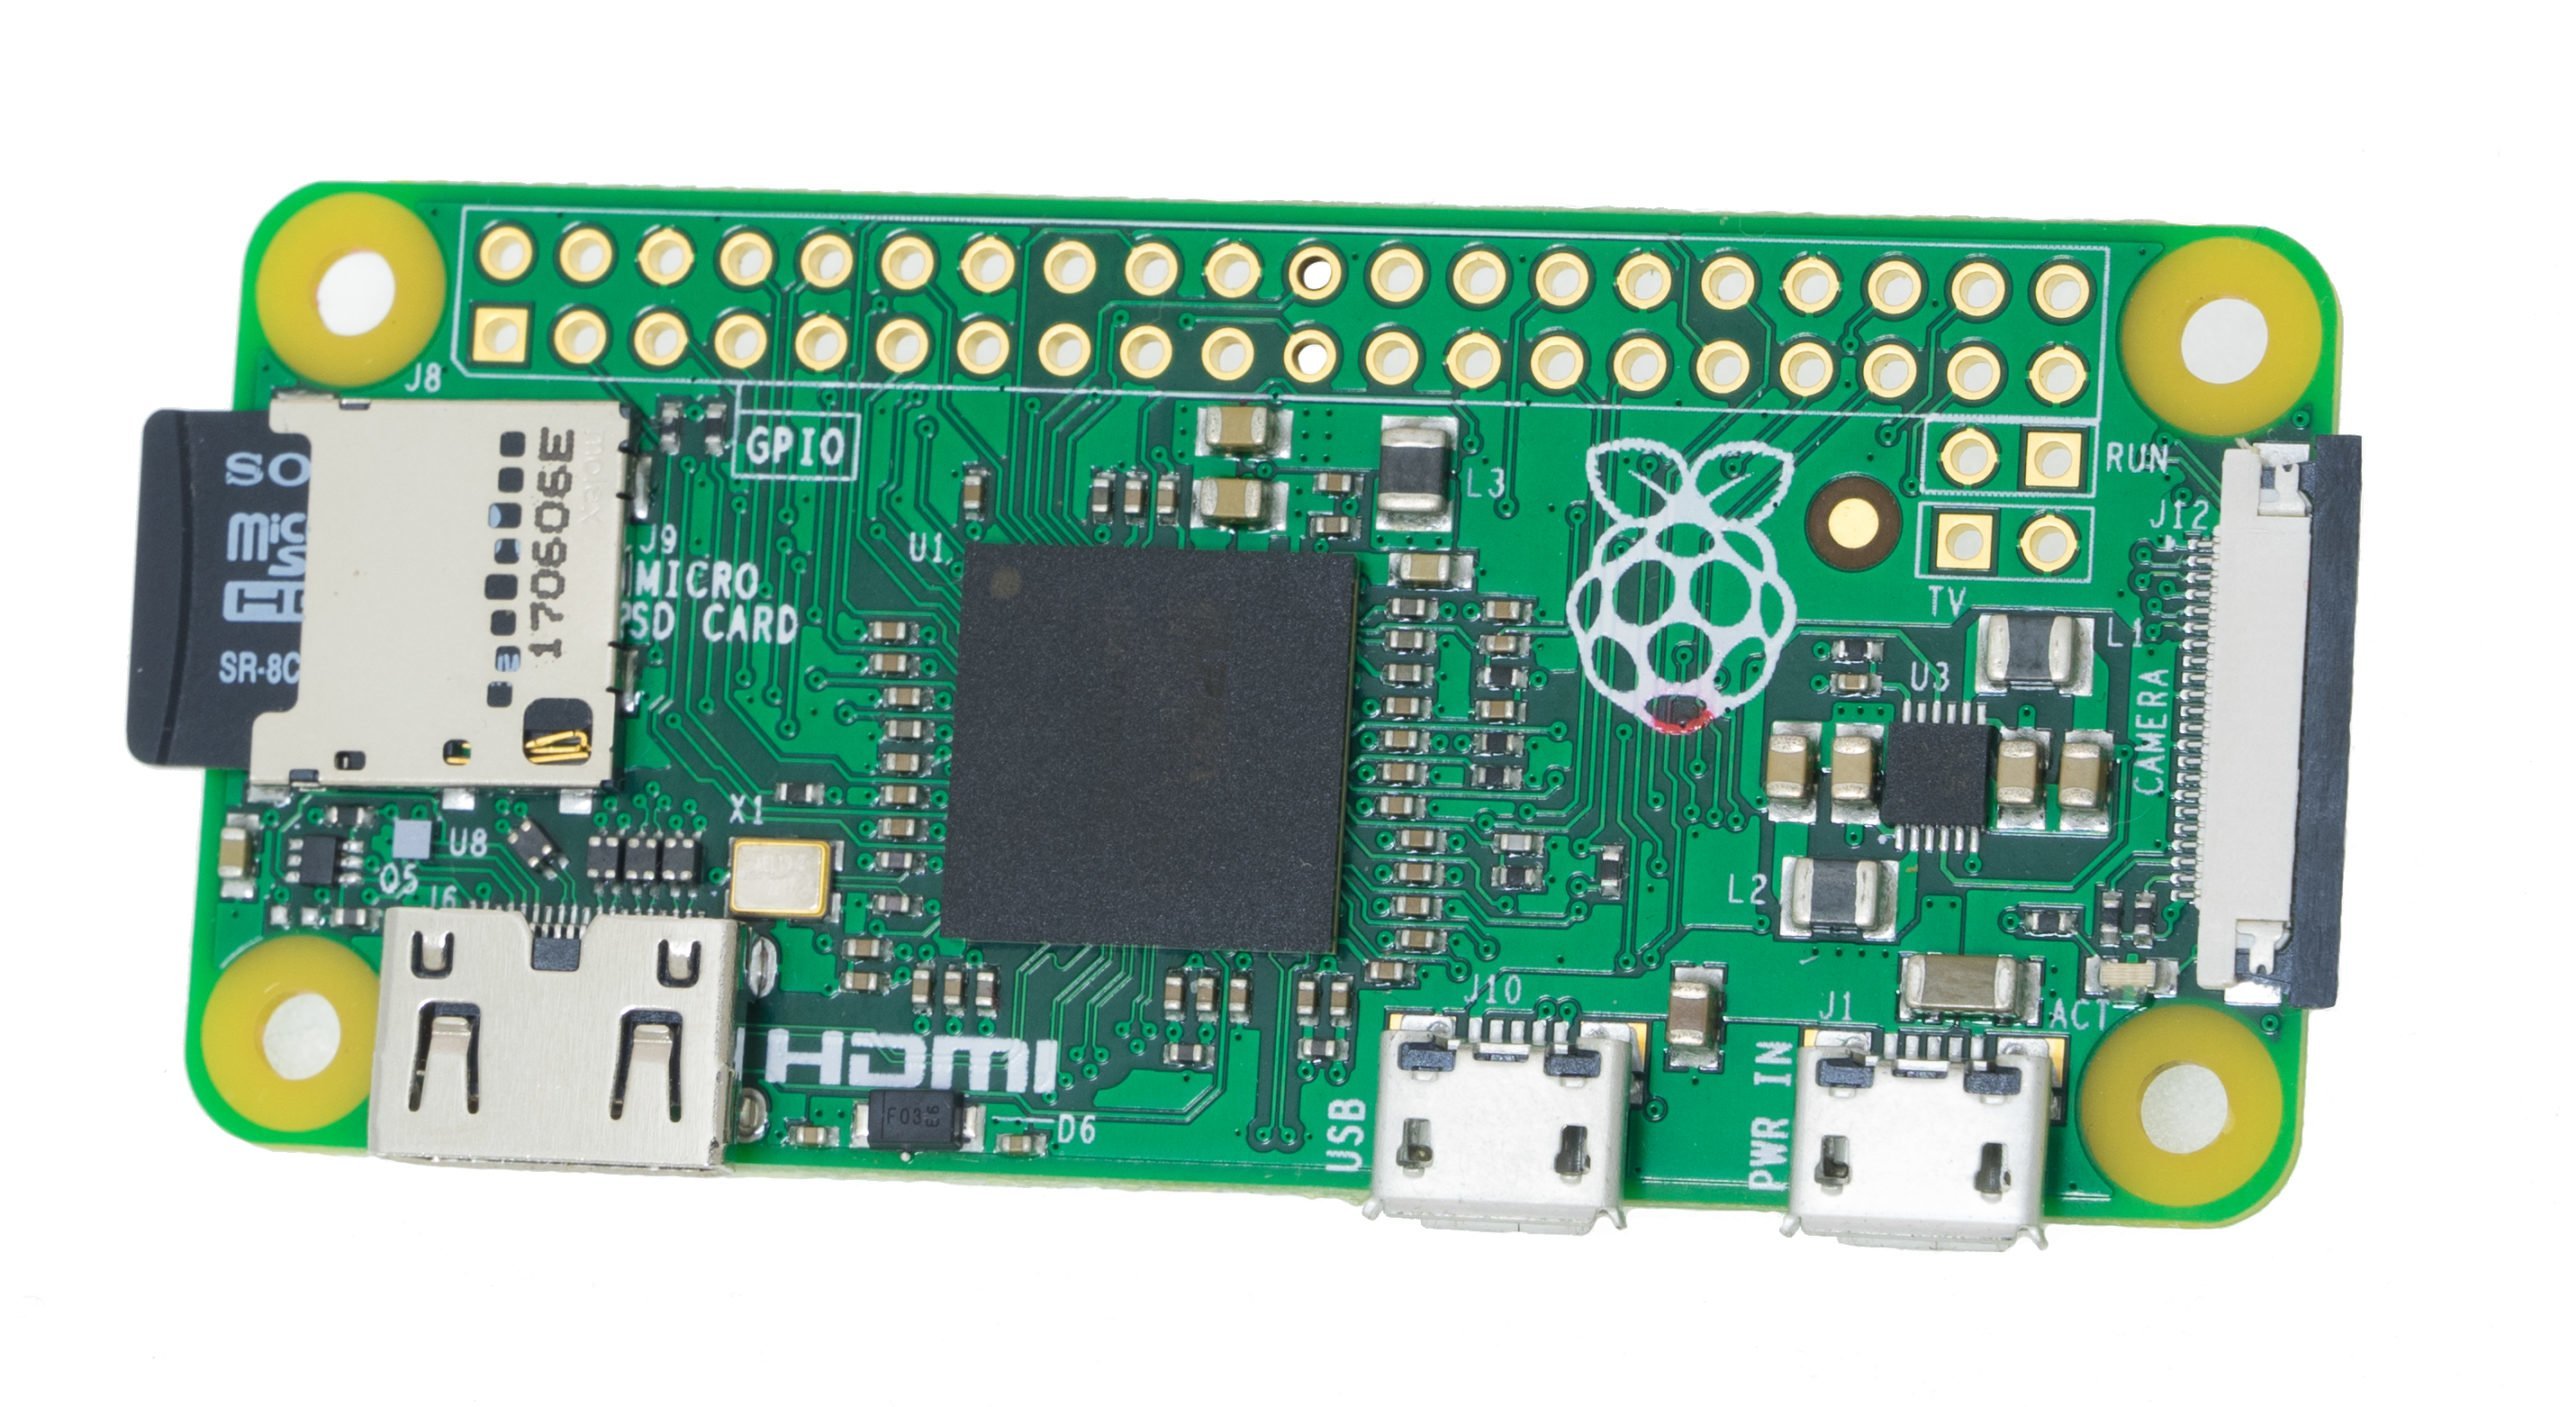
Raspberry Pi Zero
Since 2014, the number of Raspberry Pi versions has grown quite significantly – which one should I choose? I decided on the underrated Raspberry Pi Zero, although the question of choosing between Zero and Zero W remained. So let’s see:
Raspberry Pi Zero:
- CPU: Broadcom BCM2835, identical to the Raspberry Pi B+
- Clock: 1GHz, previously 700MHz
- RAM: 512MB
- Mass storage: microSD, formerly SD
- USB: 1 microUSB port, previously 4 USB-A ports
- HDMI: miniHDMI port (special cable or adapter may be required)
- Camera connector, slightly narrower, requires a different cable type than before.
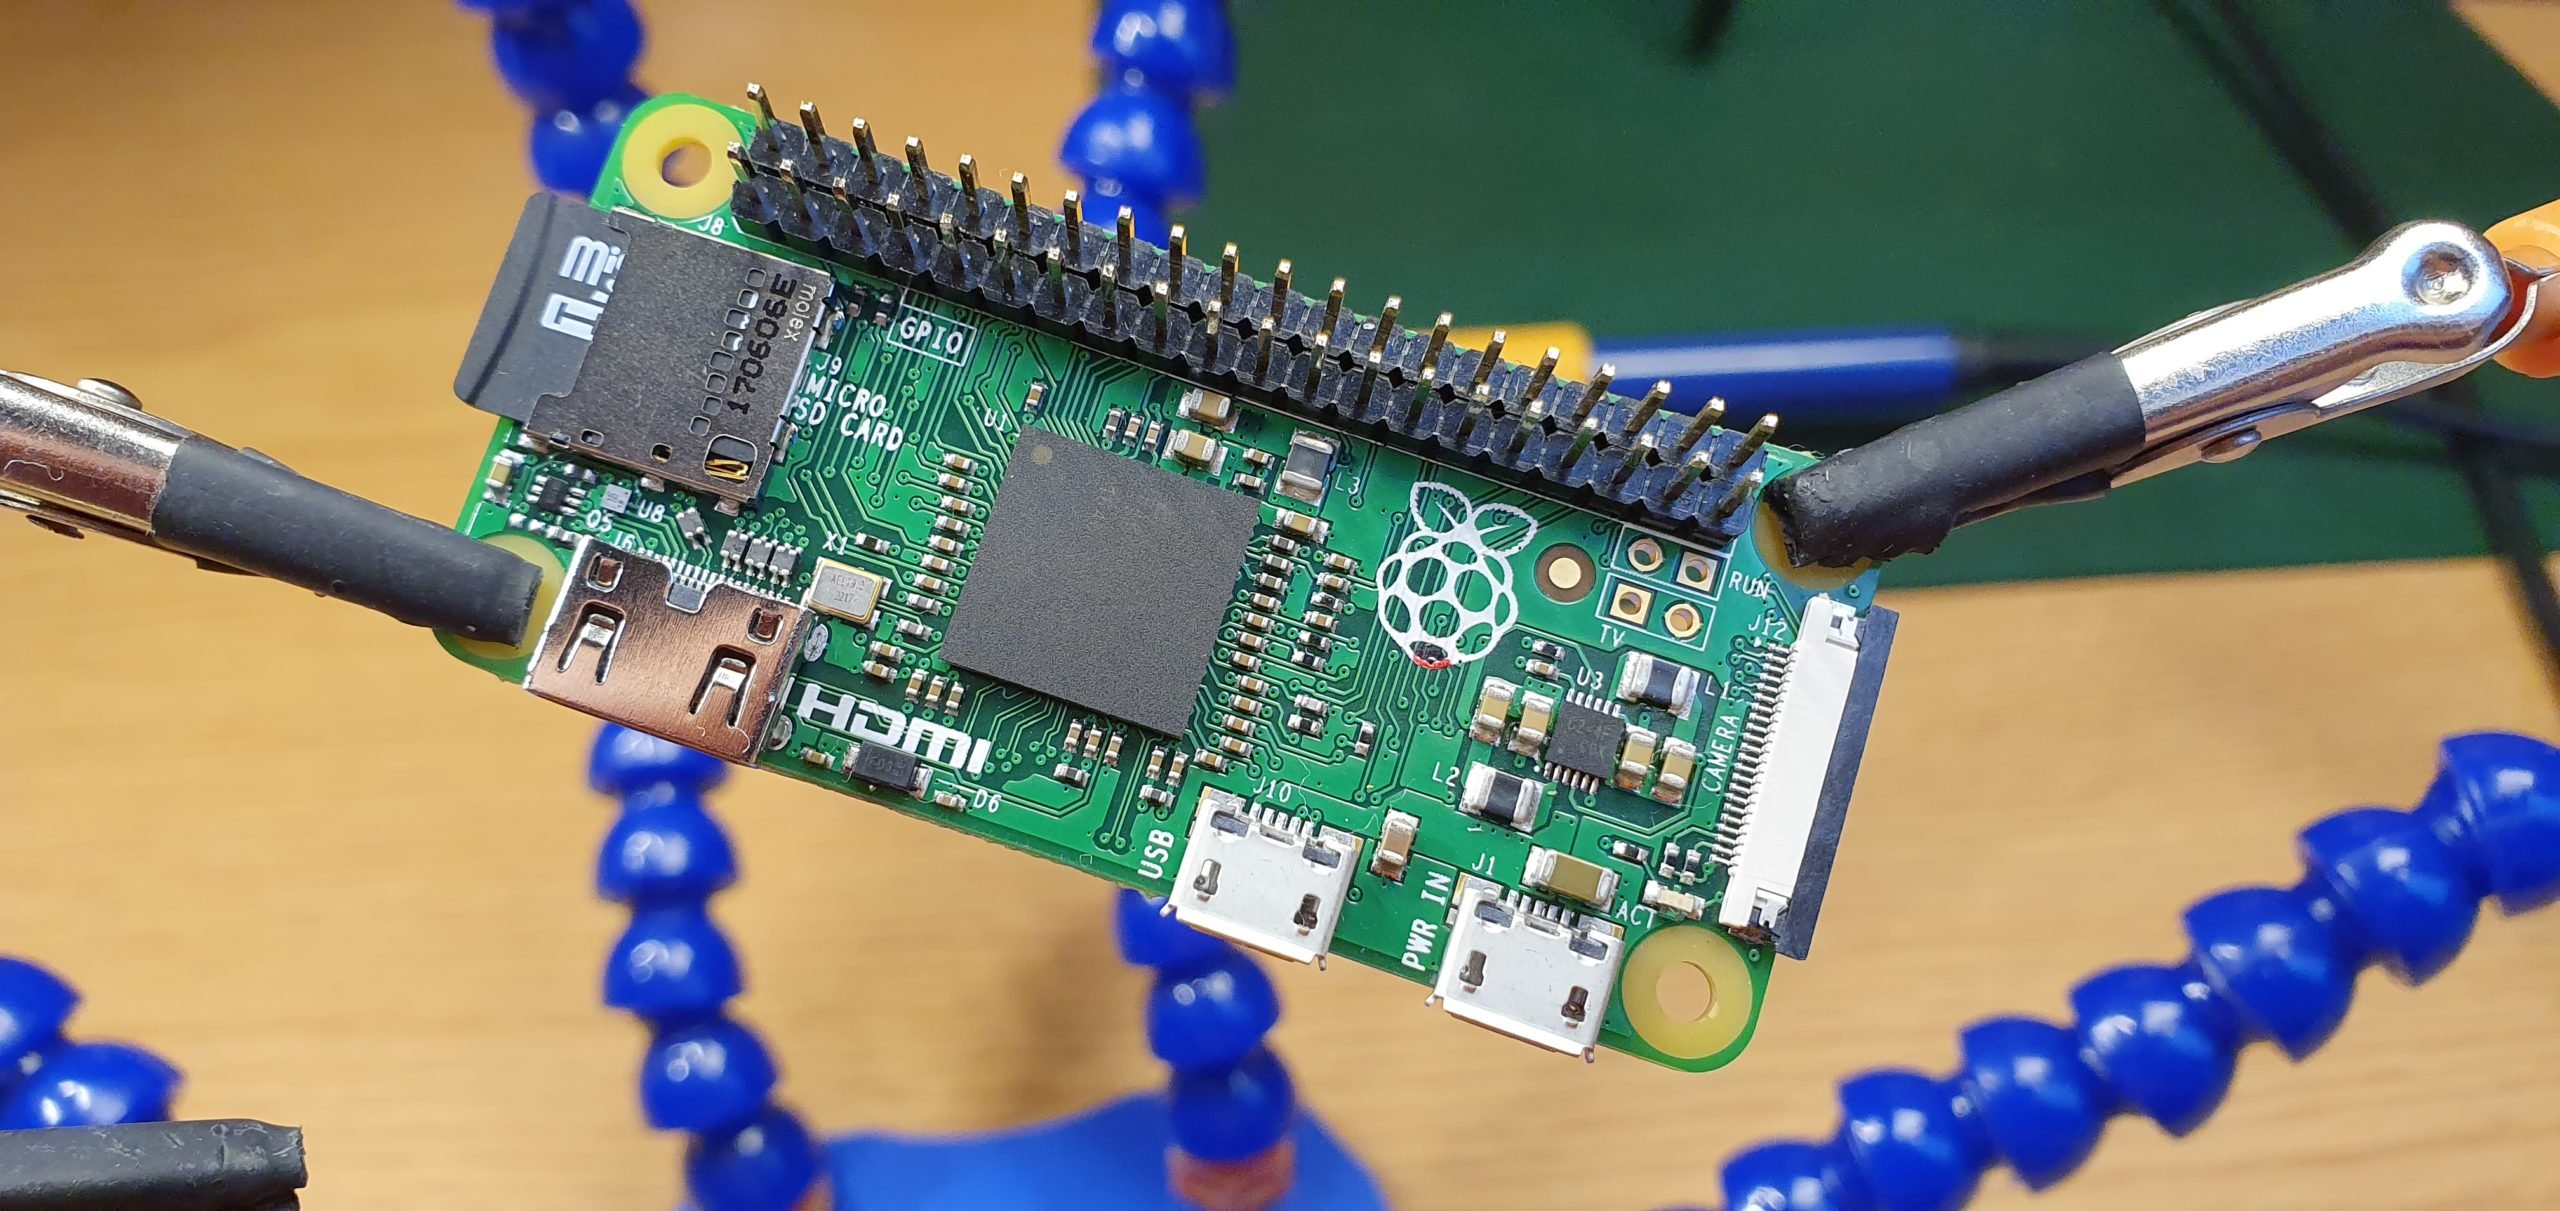
- GPIO – standard pins are not soldered to the board
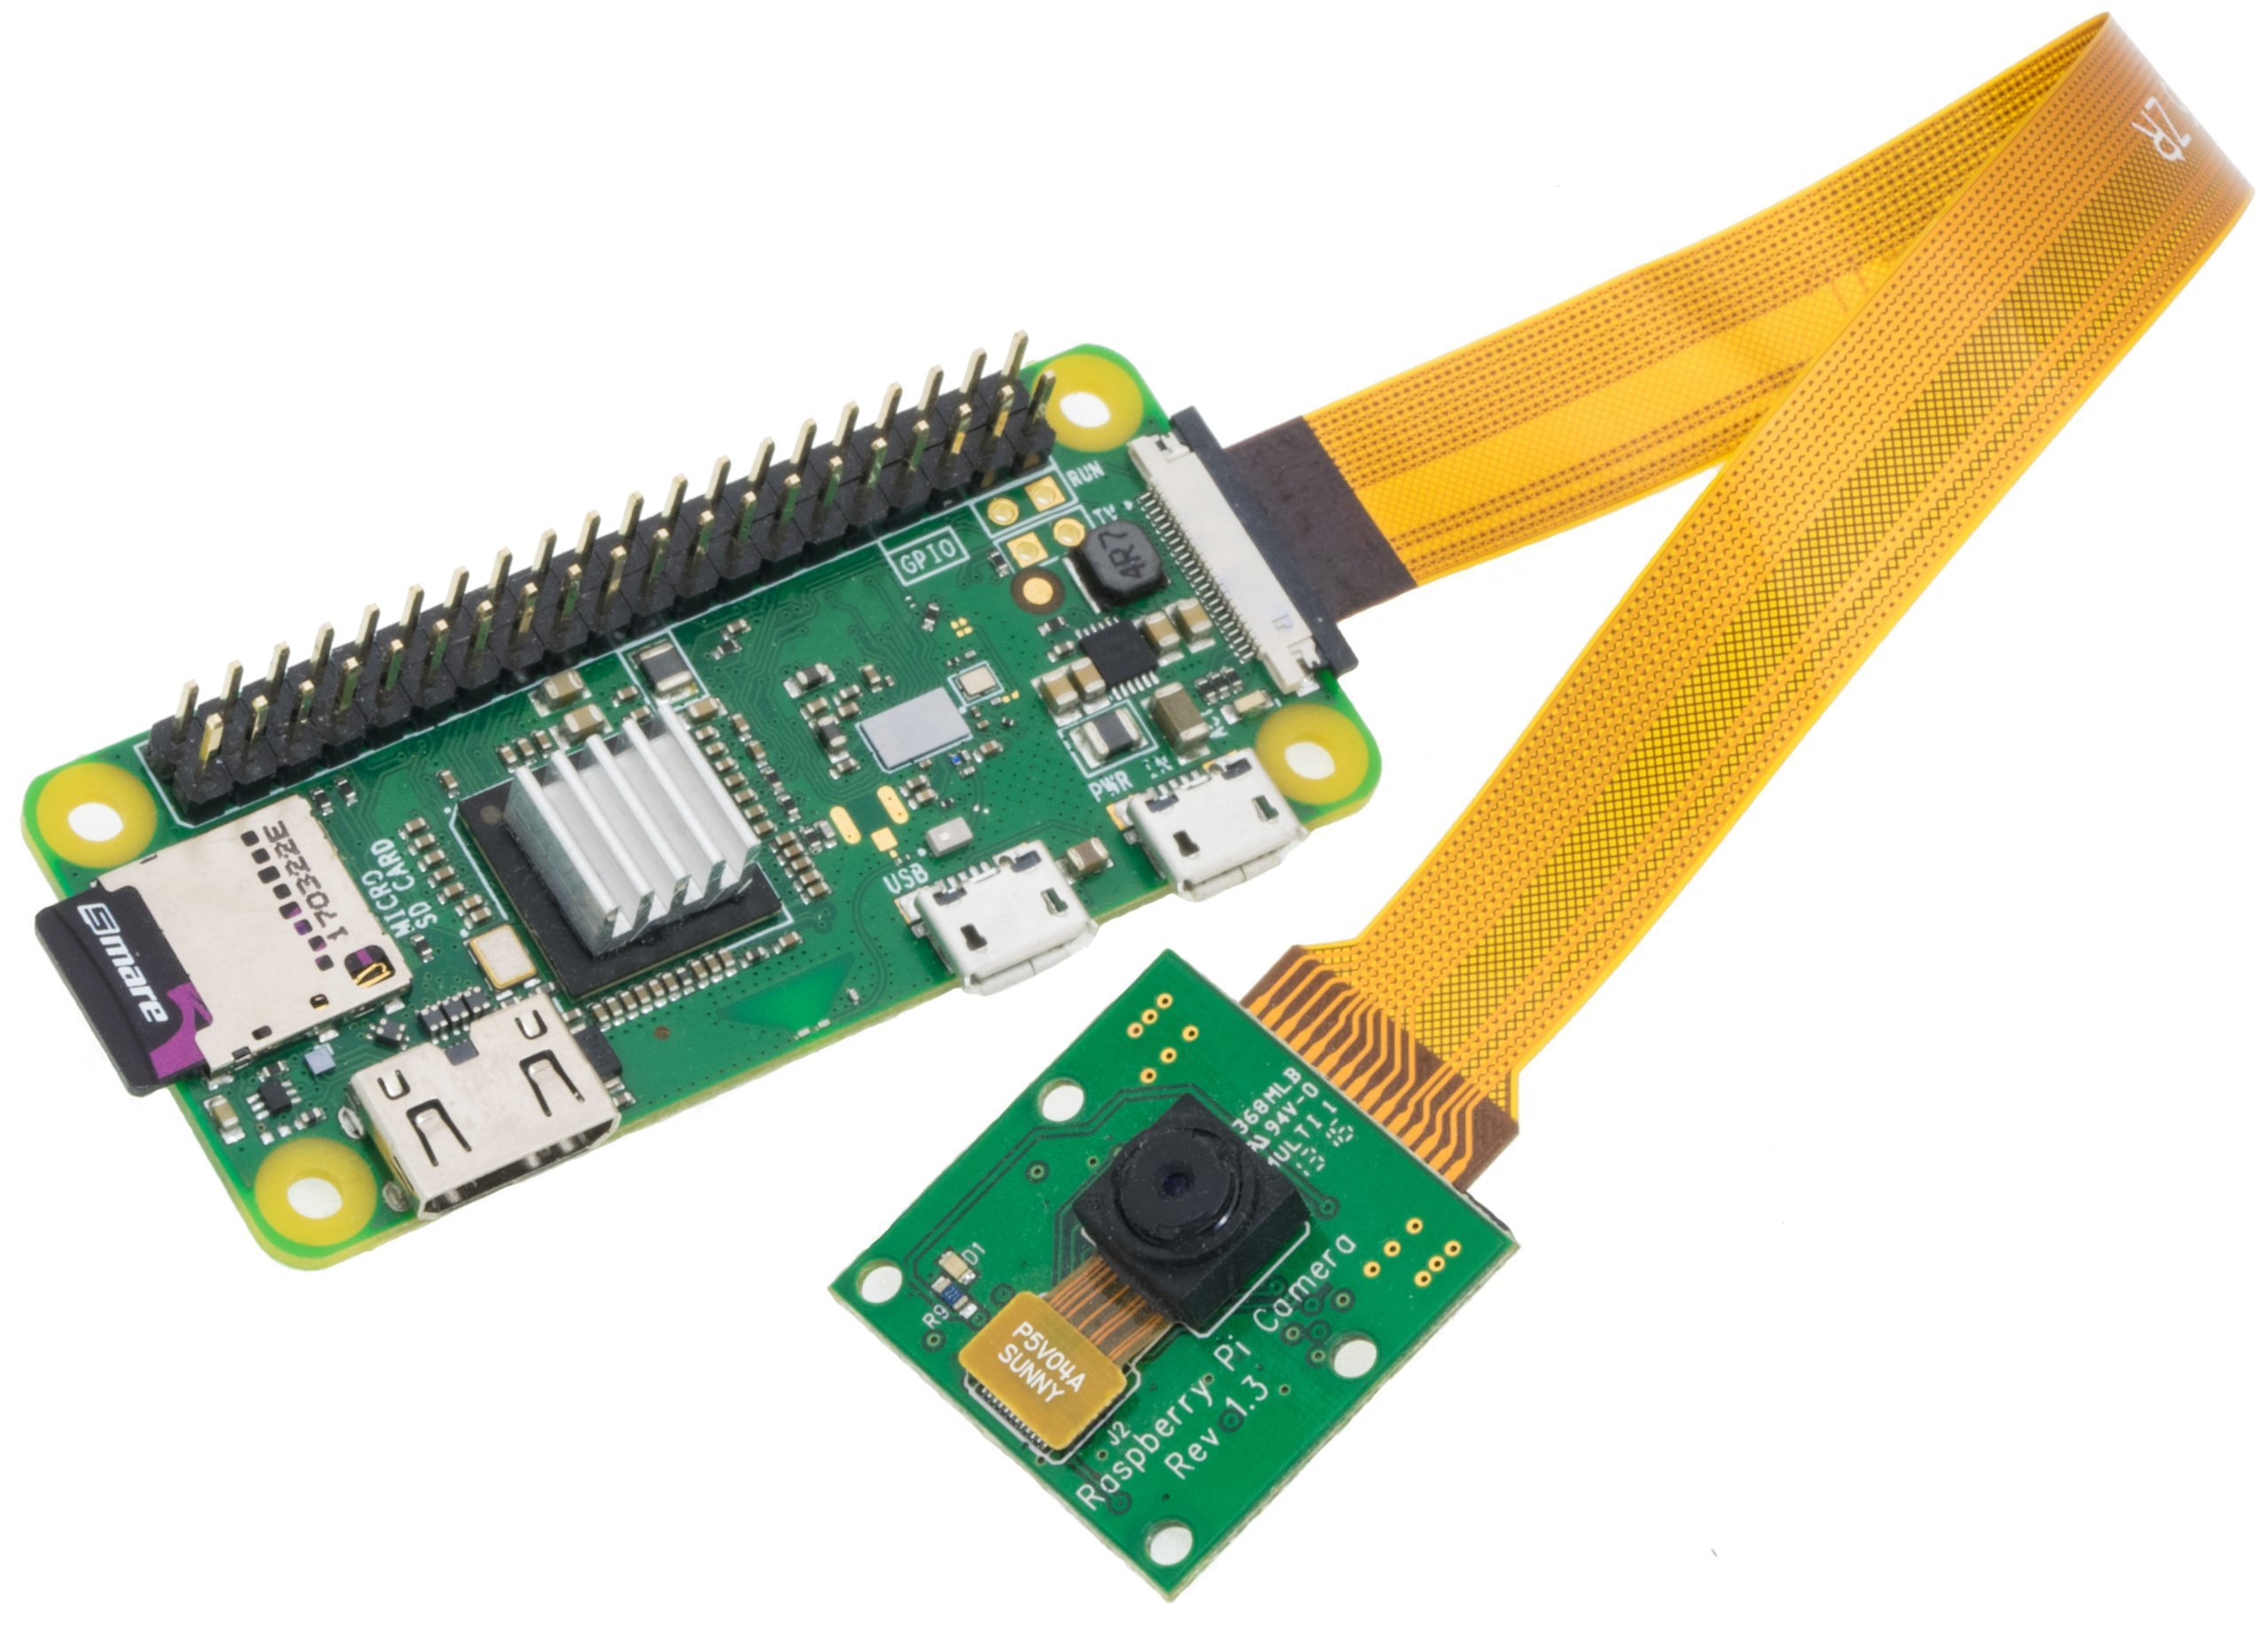
Raspberry Pi Zero W:
-
additionally WiFi and Bluetooth
Let’s prepare the upgrage!
We will need:
Hardware:
-
Rasbpberry Pi Zero (or other version of Raspberry Pi)
-
Camera for Raspberry Pi with the appropriate cable
-
OPTION: HDMI extension cable for Raspberry Pi camera – if we can’t place Raspberry over the counter
Software:
-
ImageMagick – image manipulation program that will allow us to manipulate the recorded counter photo by the camera so that recognition is easier and more reliable
-
Tesseract OCR – text recognition program: https://github.com/tesseract-ocr/tesseract
The final choice was the Raspberry Pi Zero, and any version (also the W) works with the current version of Raspbian – Stretch today and (writting this in early 2020) Buster. As in previous entry first you need to install the operating system using a microSD card. Please do remember that after installation one needs to an empty file called “ssh” (without extension, only the word ssh) in the root directory of the first partition on the freshly installed card (the partition is called boot) – so that when you start Raspberry Pi Zero – the SSH daemon (sshd) is also launched – for remote access. The actual need for the “ssh” file presence is the safety measure against running the Raspberry Pi with the default password “rasbperry”. First thing that you do after starting should be changing the default password, and turning on ssh permanently!
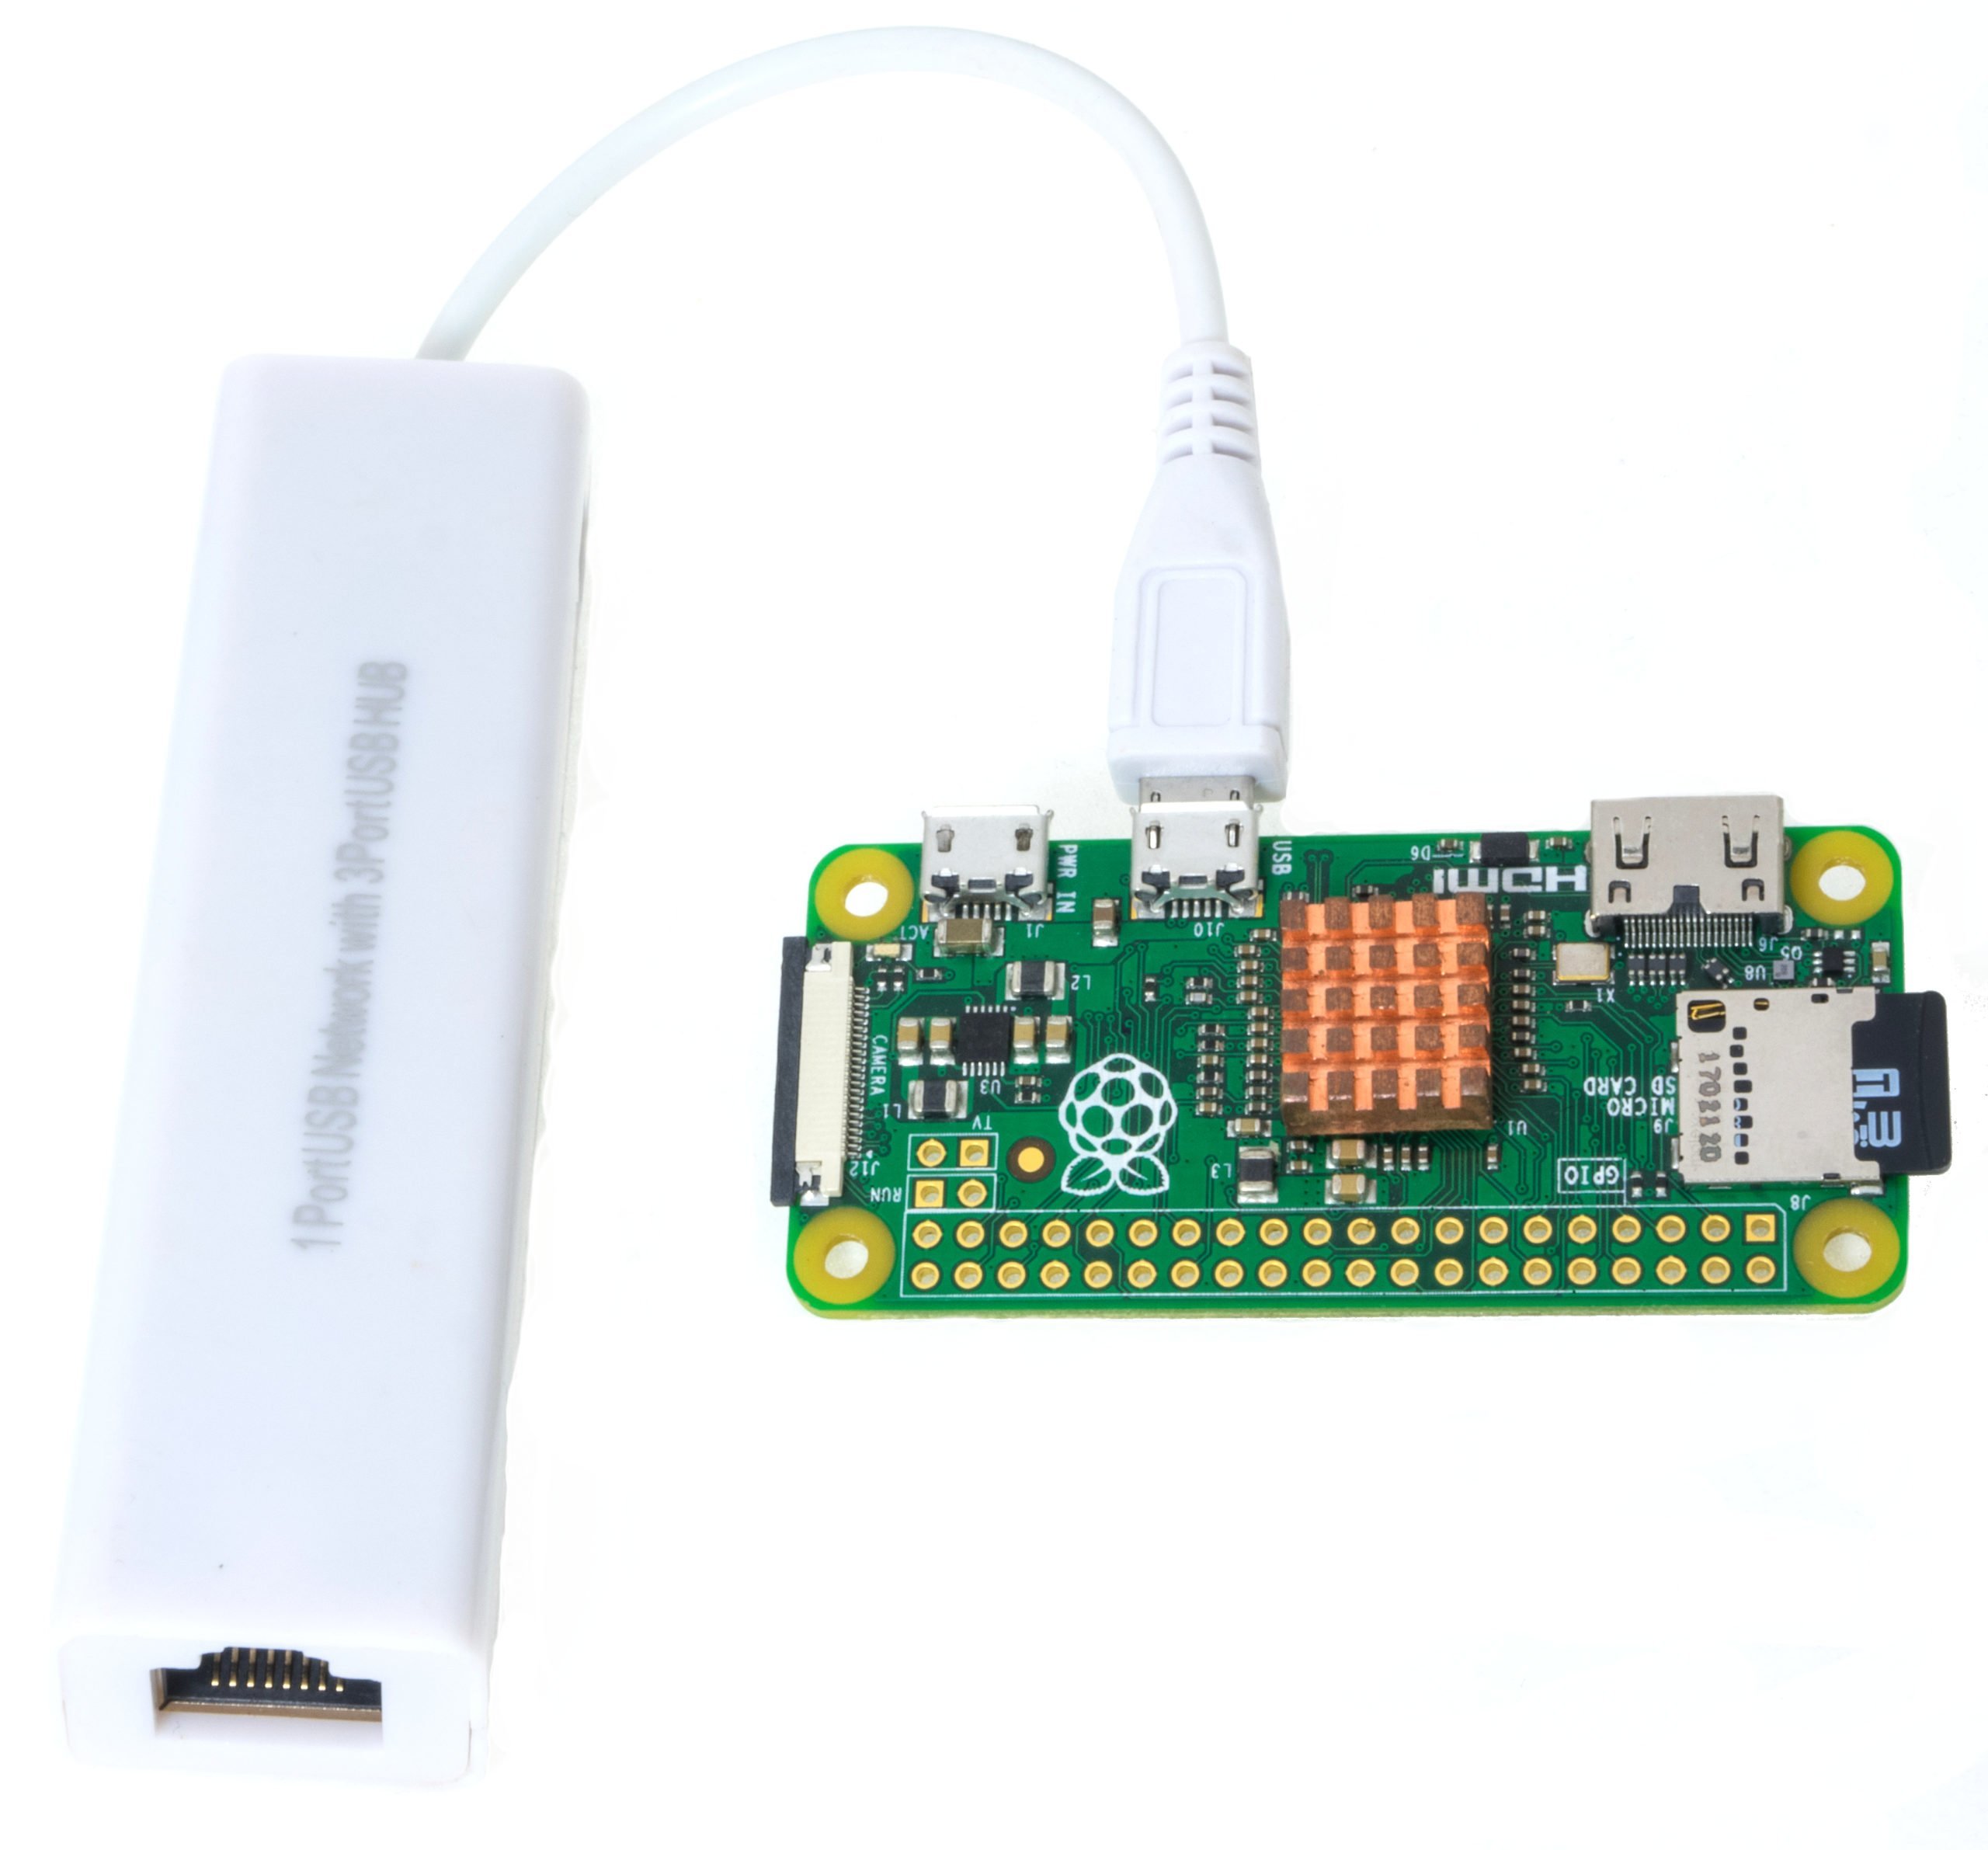
So finally, I’m using Raspberry Pi Zero here (of course you can also W, if you do not have access to the ethernet cable in the garage), so in the case of the Zero version a USB hub with Ethernet (and a cute copper radiator!):
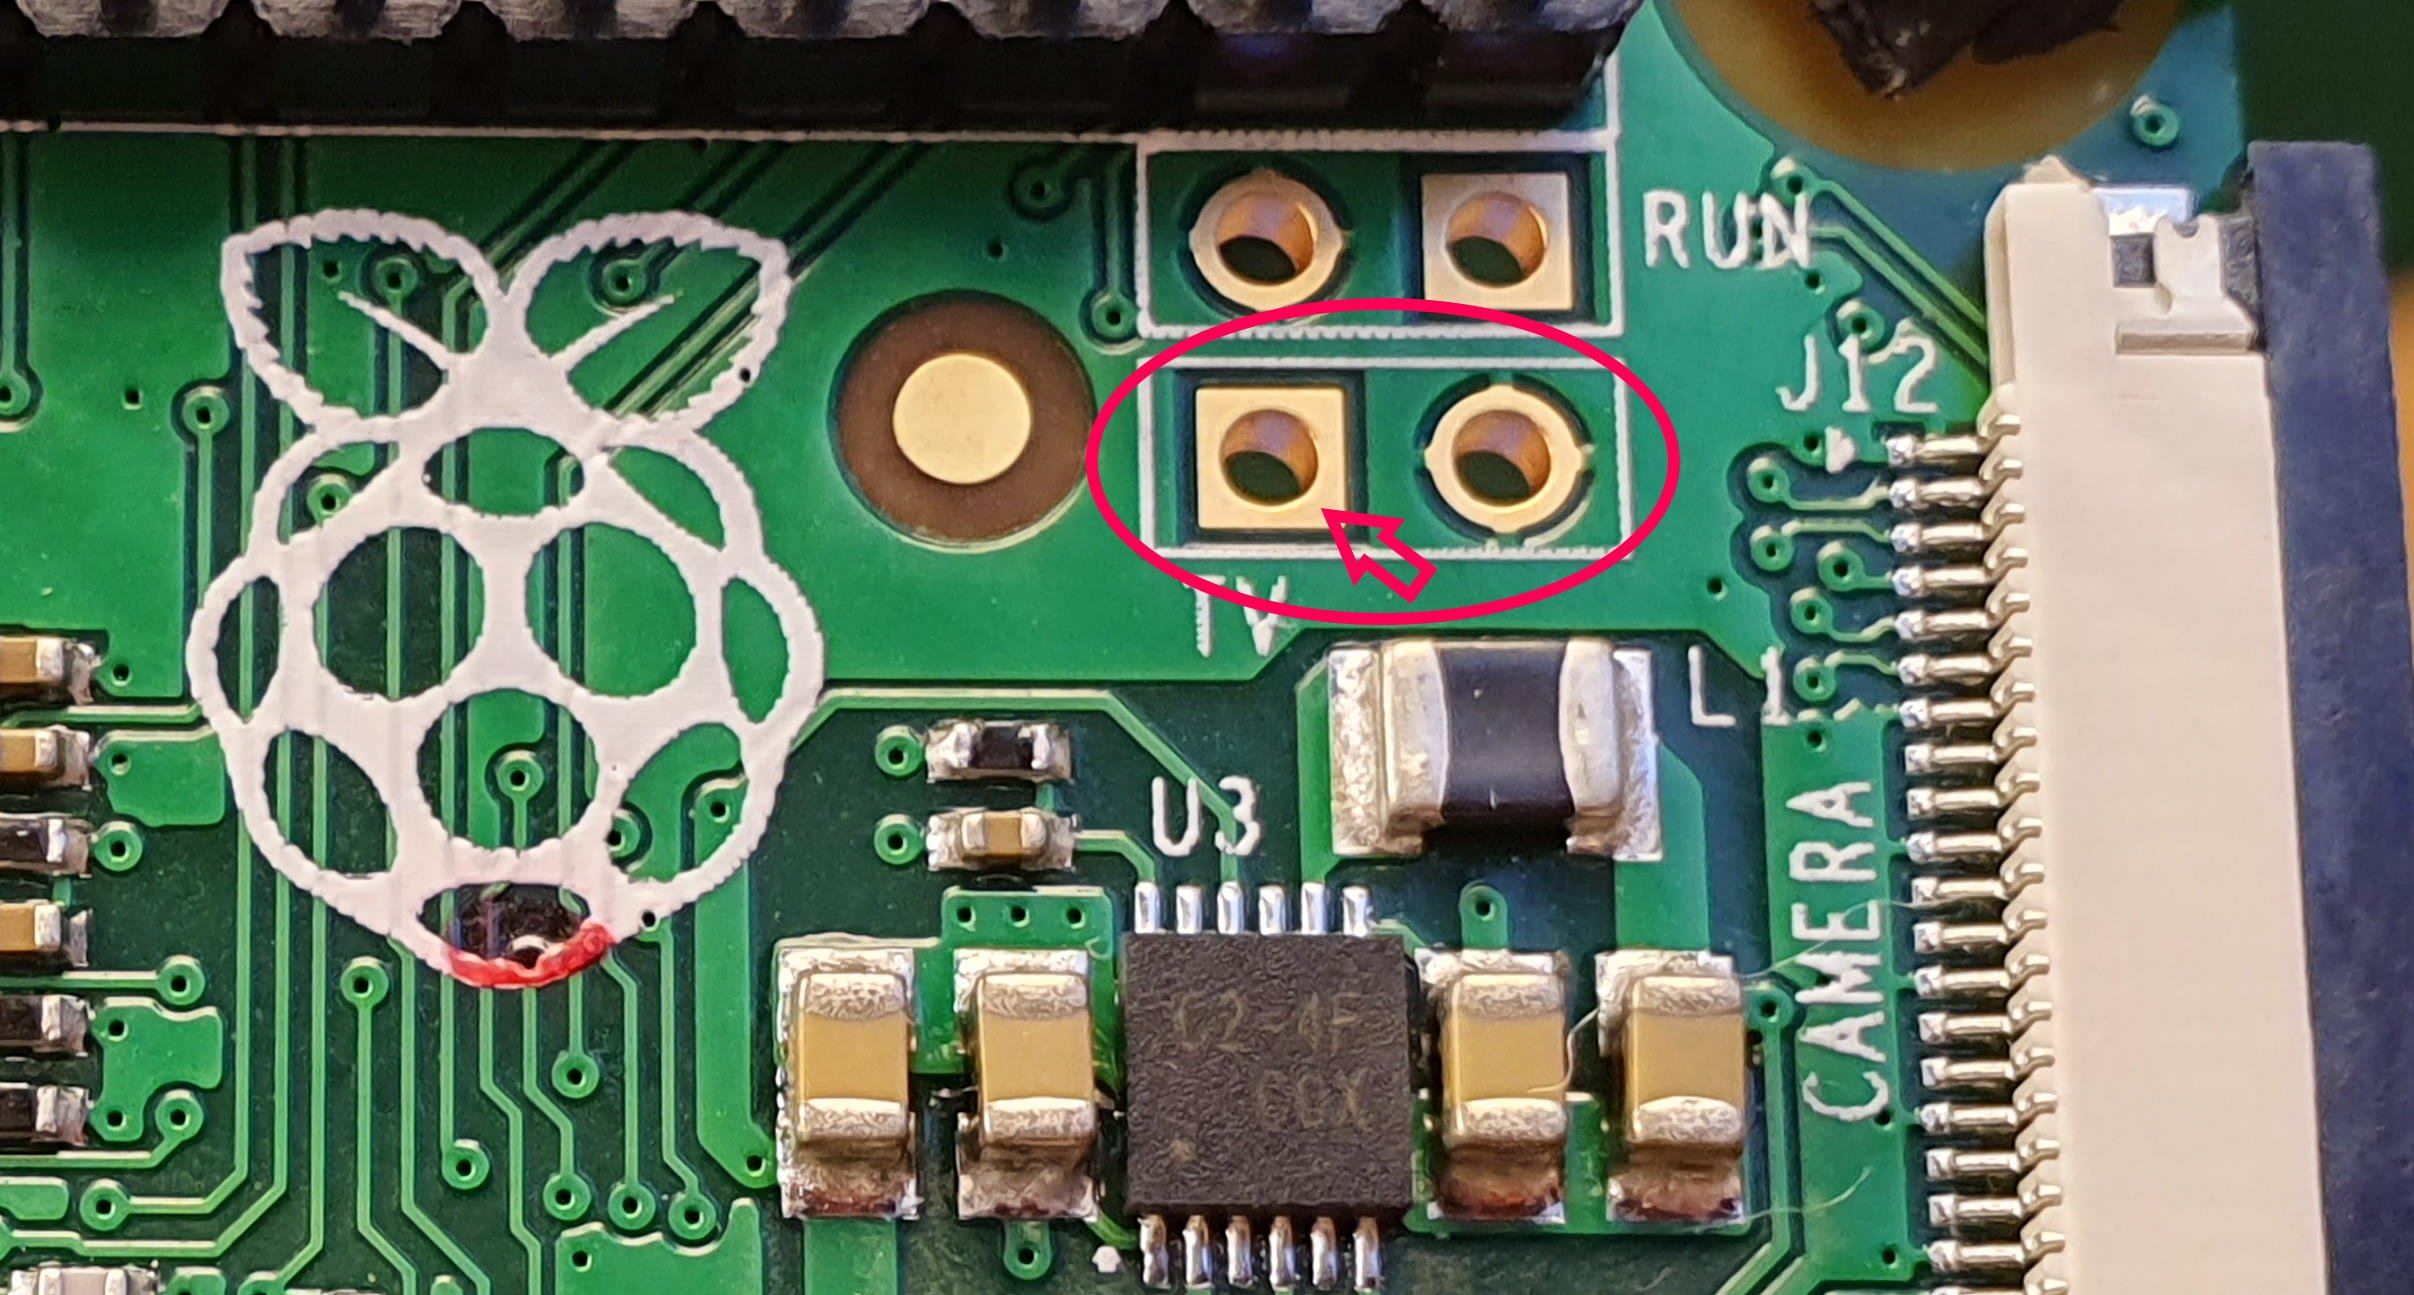
If we do not have an adapter or cable, we can solder pins to the CVSB output (AV on the TV) – the hot signal is marked with an arrow on the left:
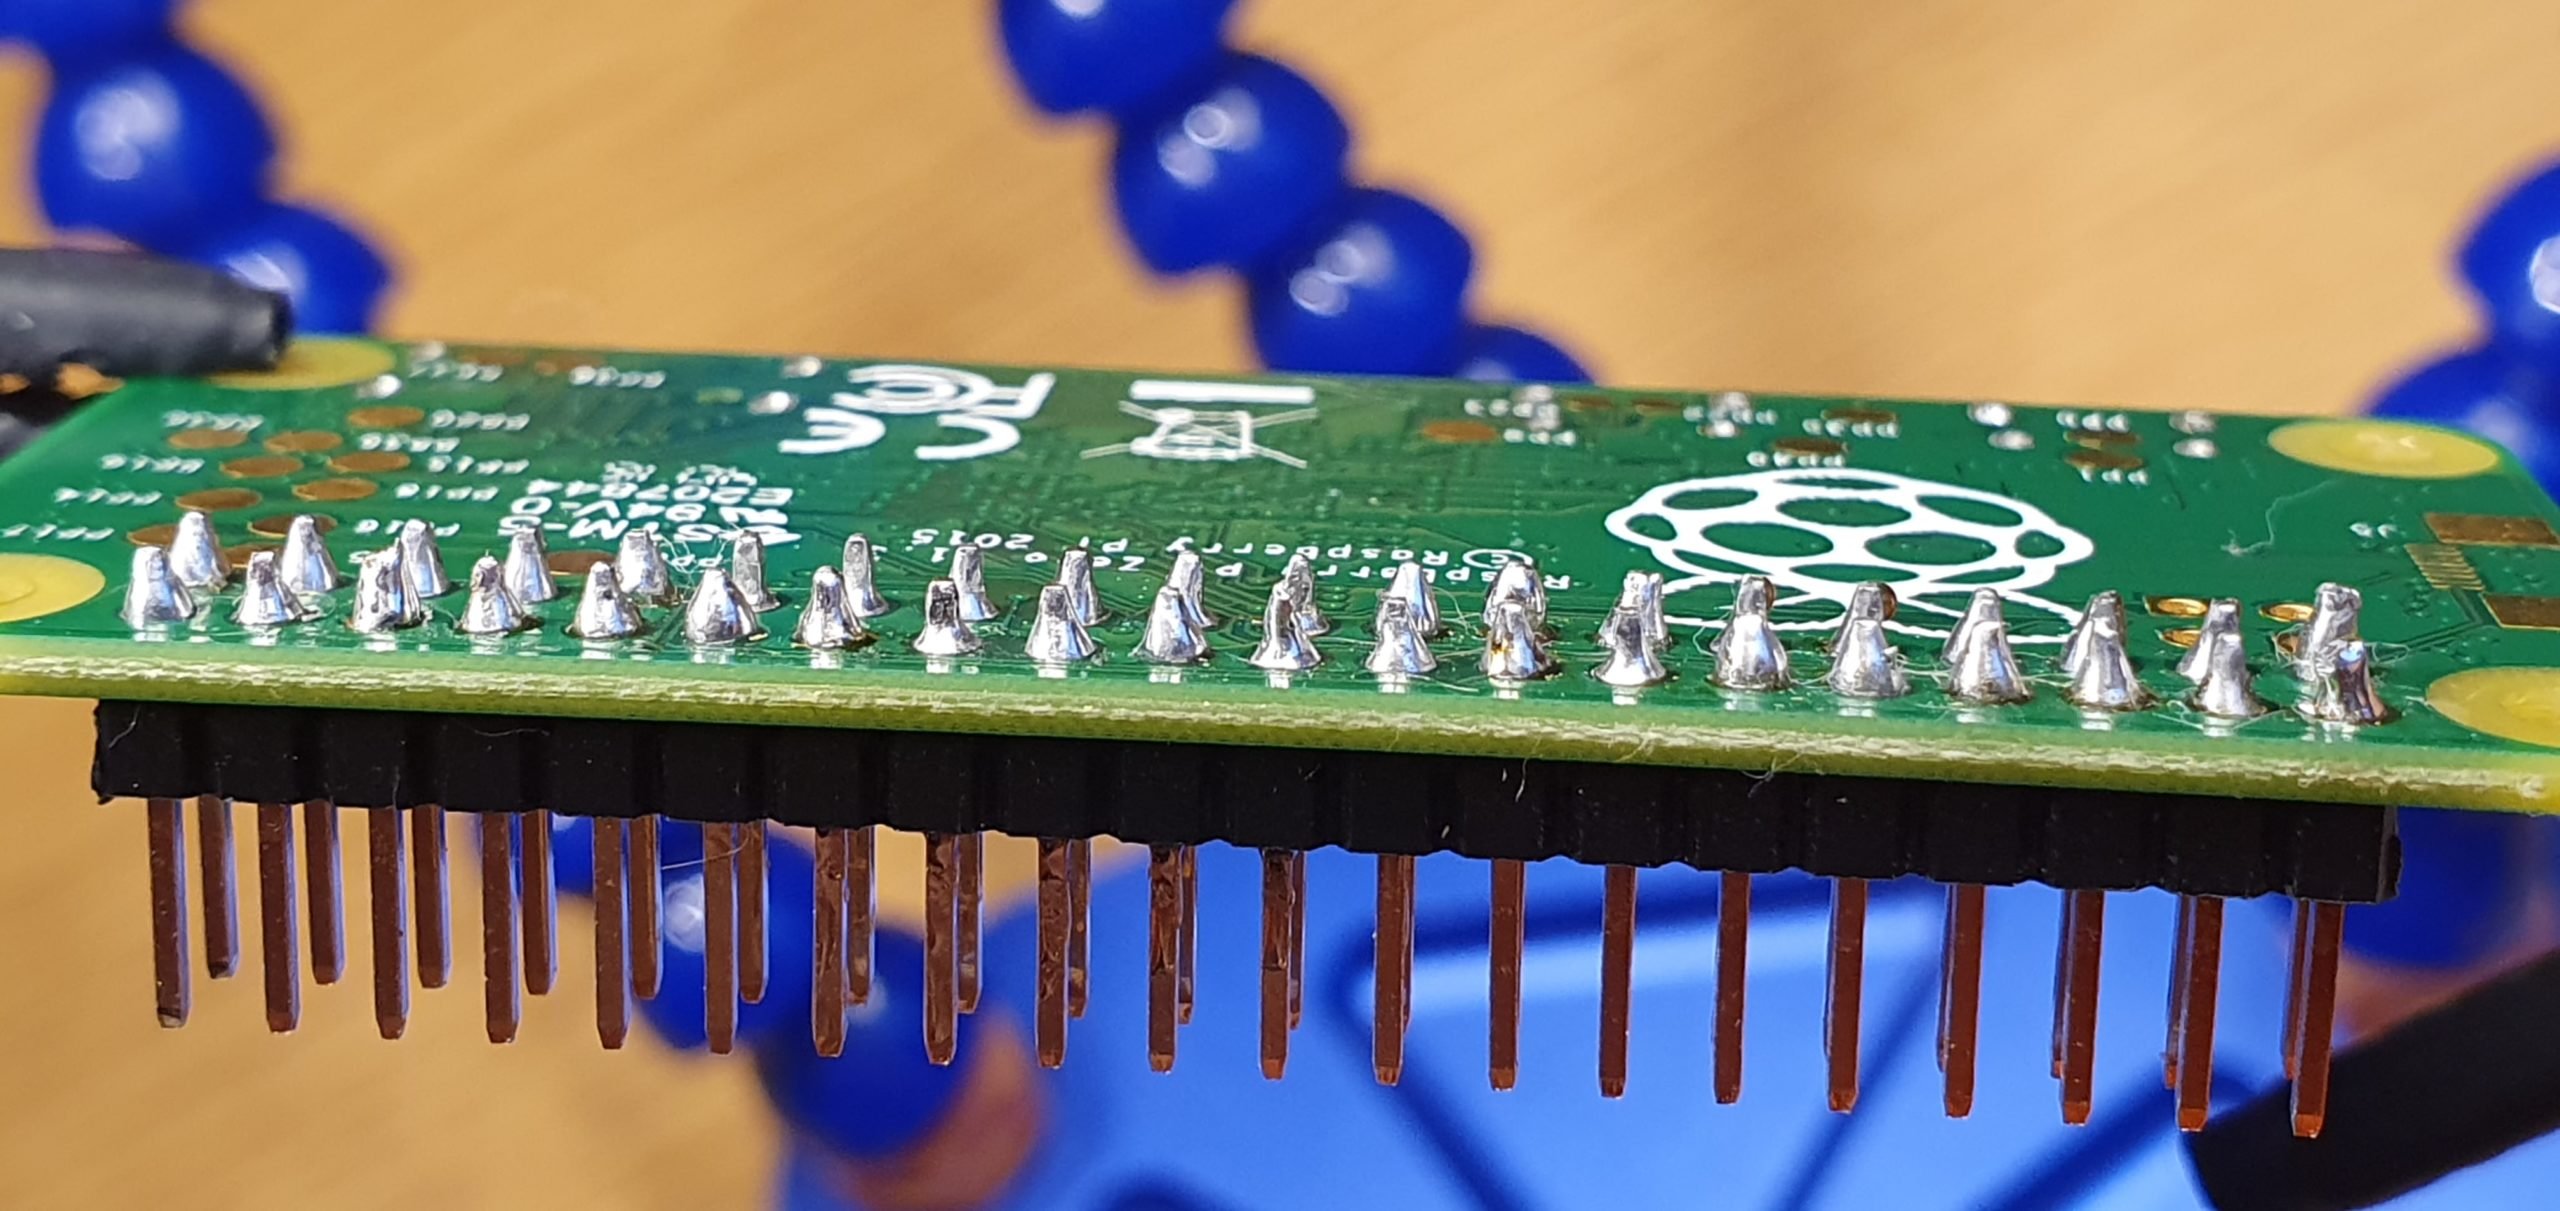
Another issue is soldering pins for GPIO – we need to connect the Raspberry Pi Zero with sensors and reed switches – so the header is a “must have”. Soldering is a process that requires quite a lot of practice – from time to time it is worth training and checking with how many pins we are satisfied…
Personally – here I’m happy with 75% 😉
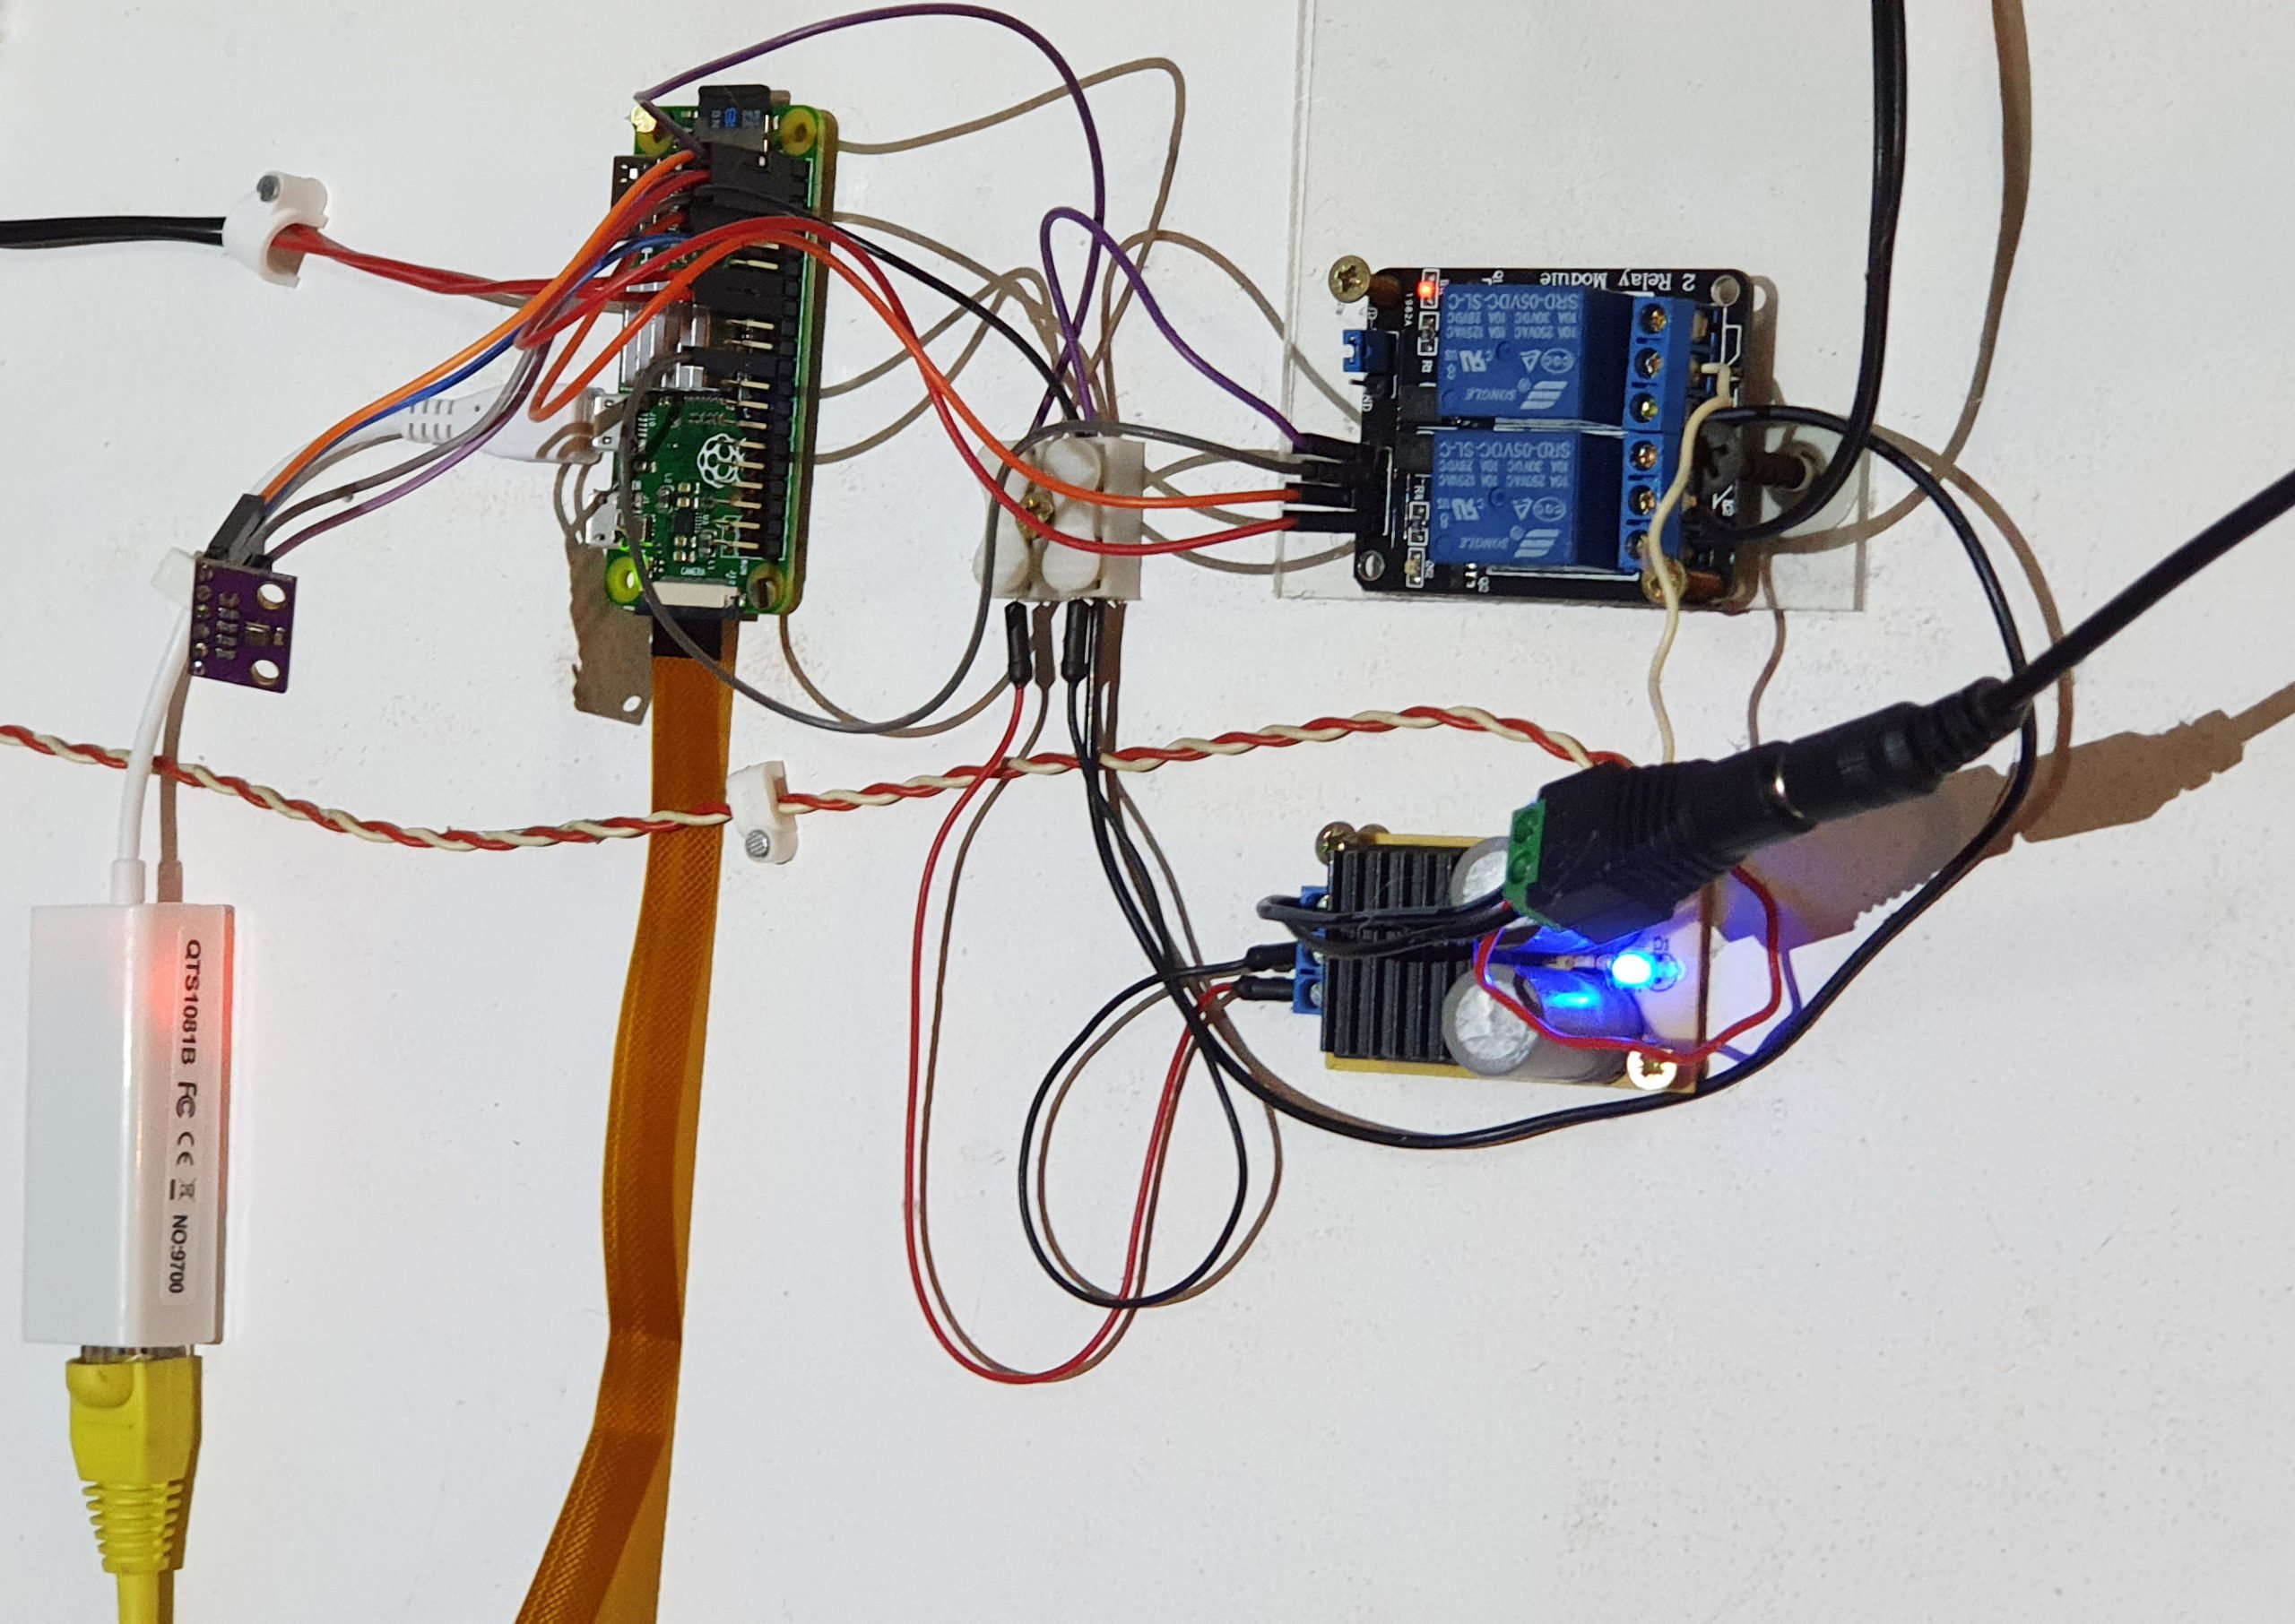
OK, now it it’s time to move everything from the previous entry about opening the garage, and add a new item – Raspberry Pi camera – for Raspberry Pi Zero. Then – connect the power supply (just as before – power via GPIO pins)
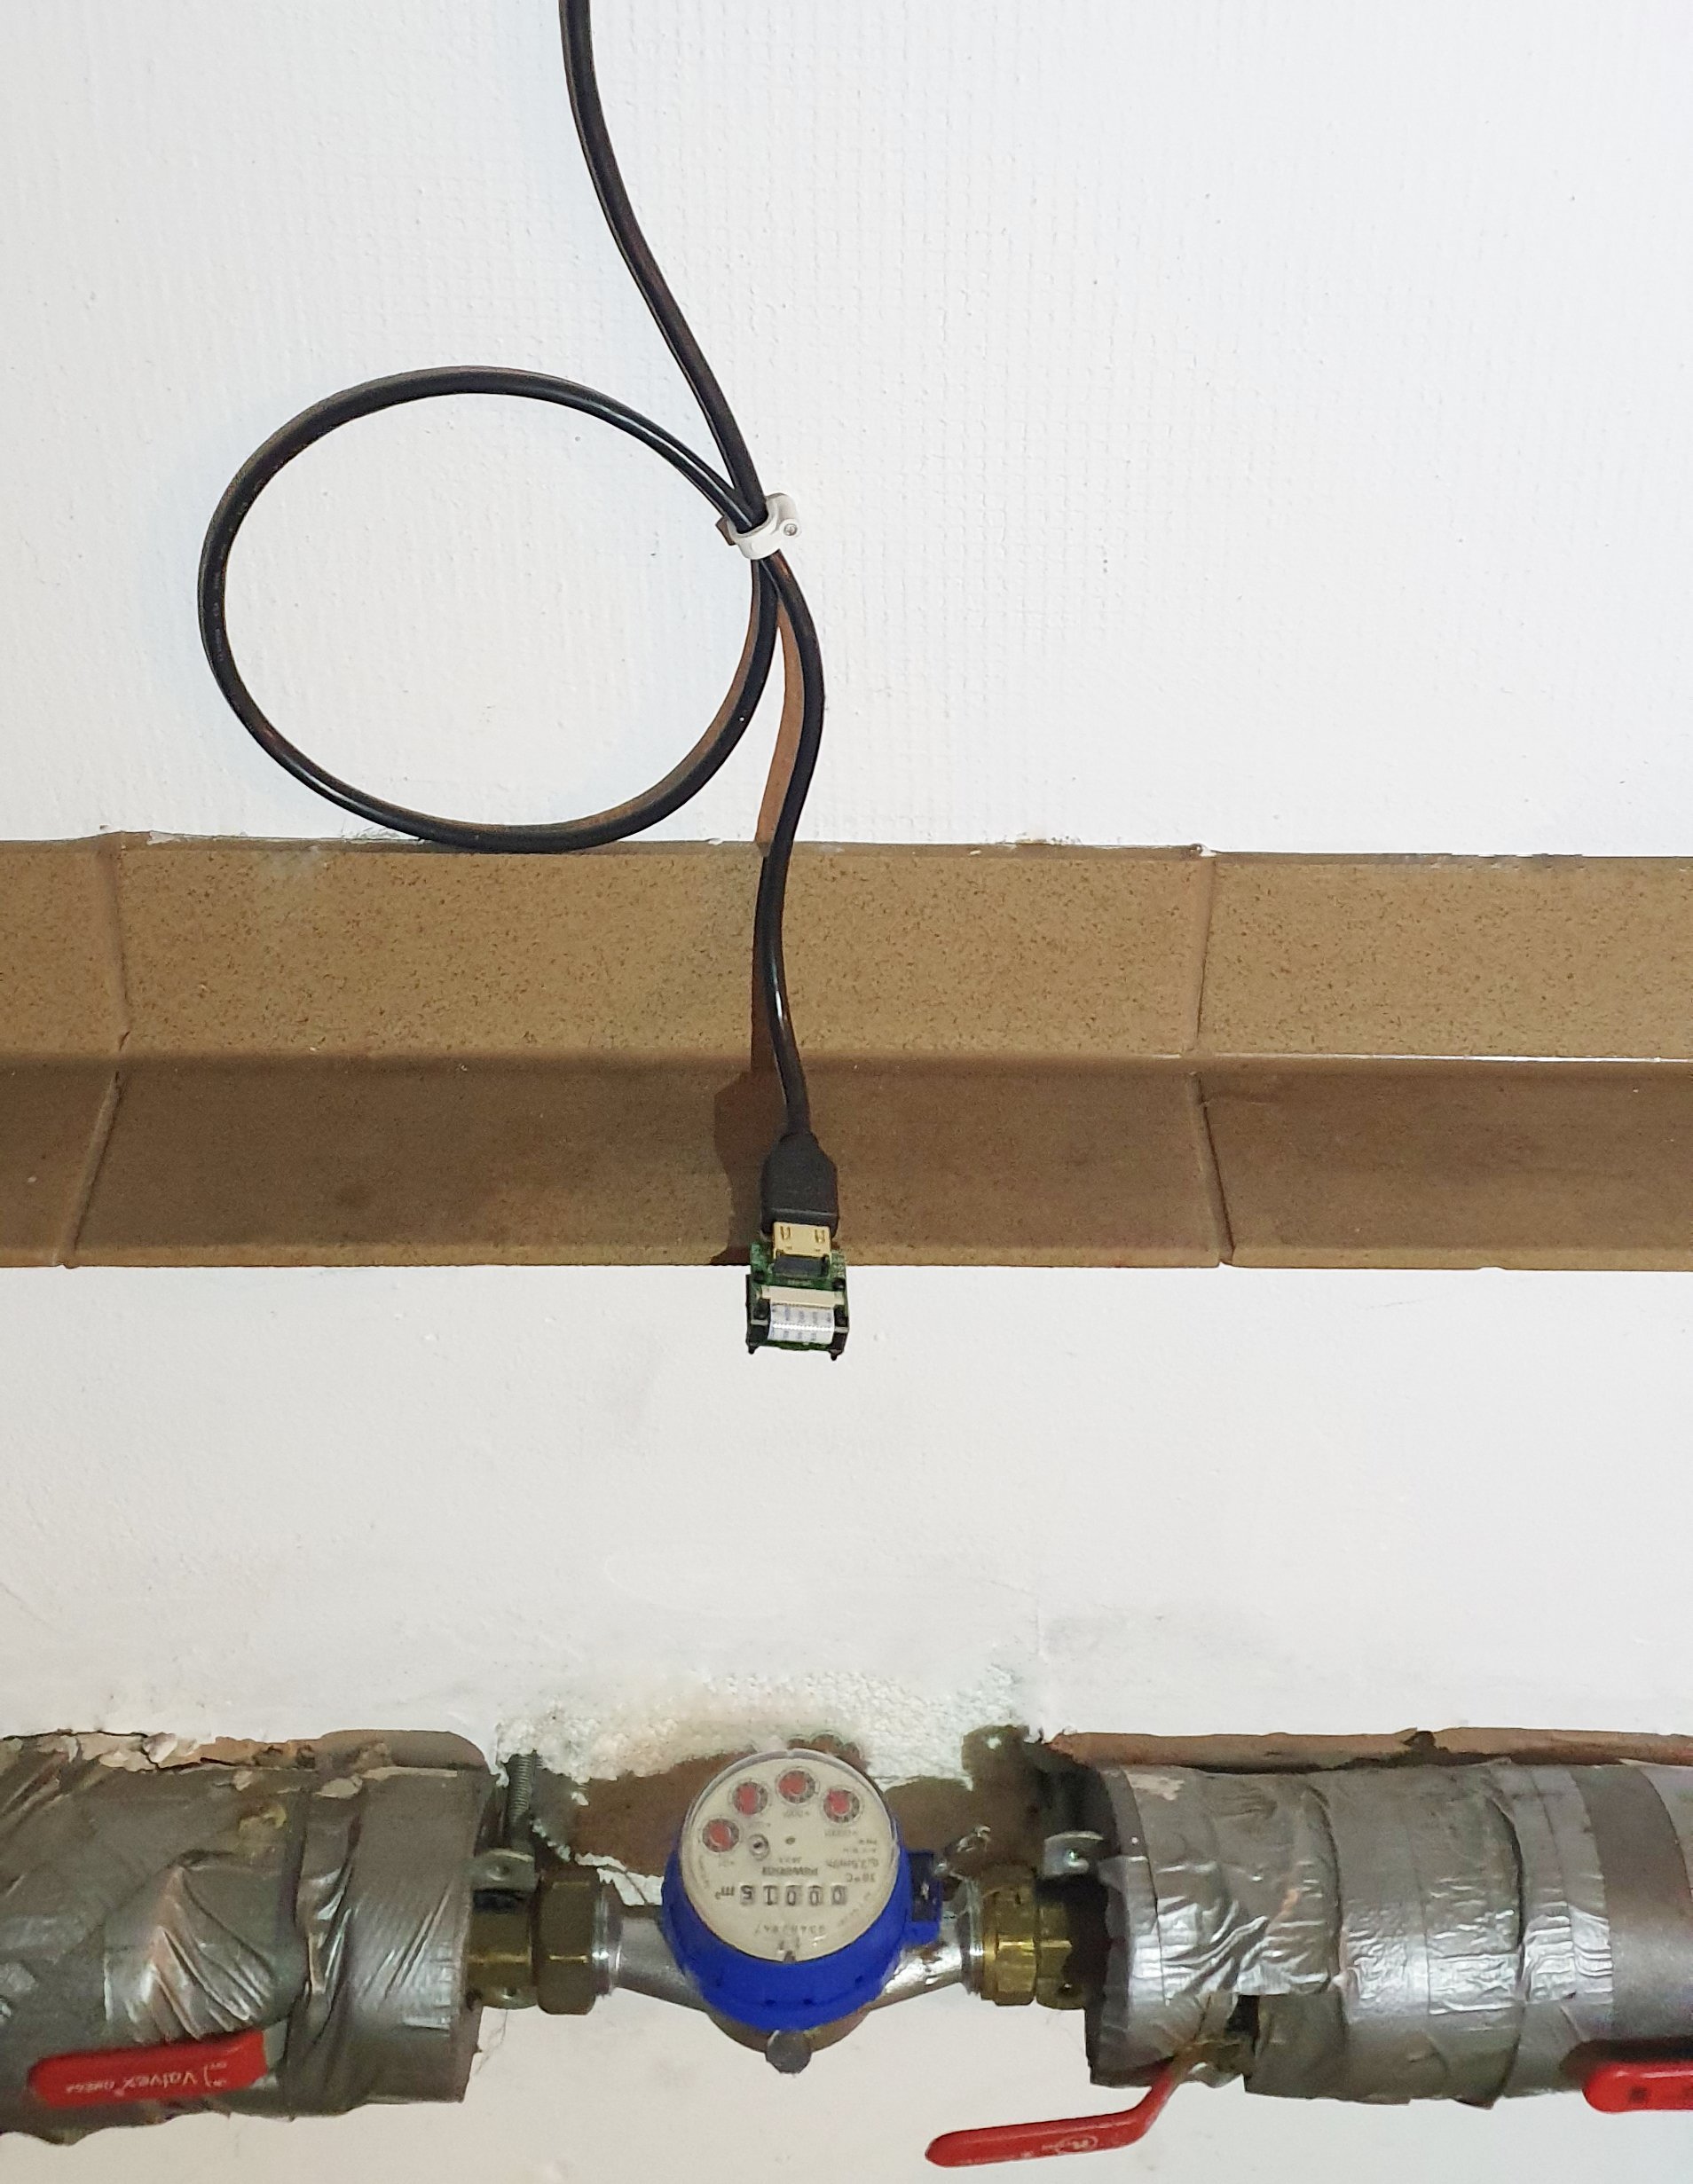
In my case – I was unable to phisically move my Raspberry Pi Zero – so I used a camera extension cable – using solutions using the HDMI cable . Let’s check out how the setup looks, and this time I changed the heat sink to the aluminum version. As before, we have a gate opening relay, a closing sensor (reed switch) and, additionally – 12V LED light that switches on the second of the relays. The only change from the previous entry is the replacement for Raspberry Pi Zero from older version:
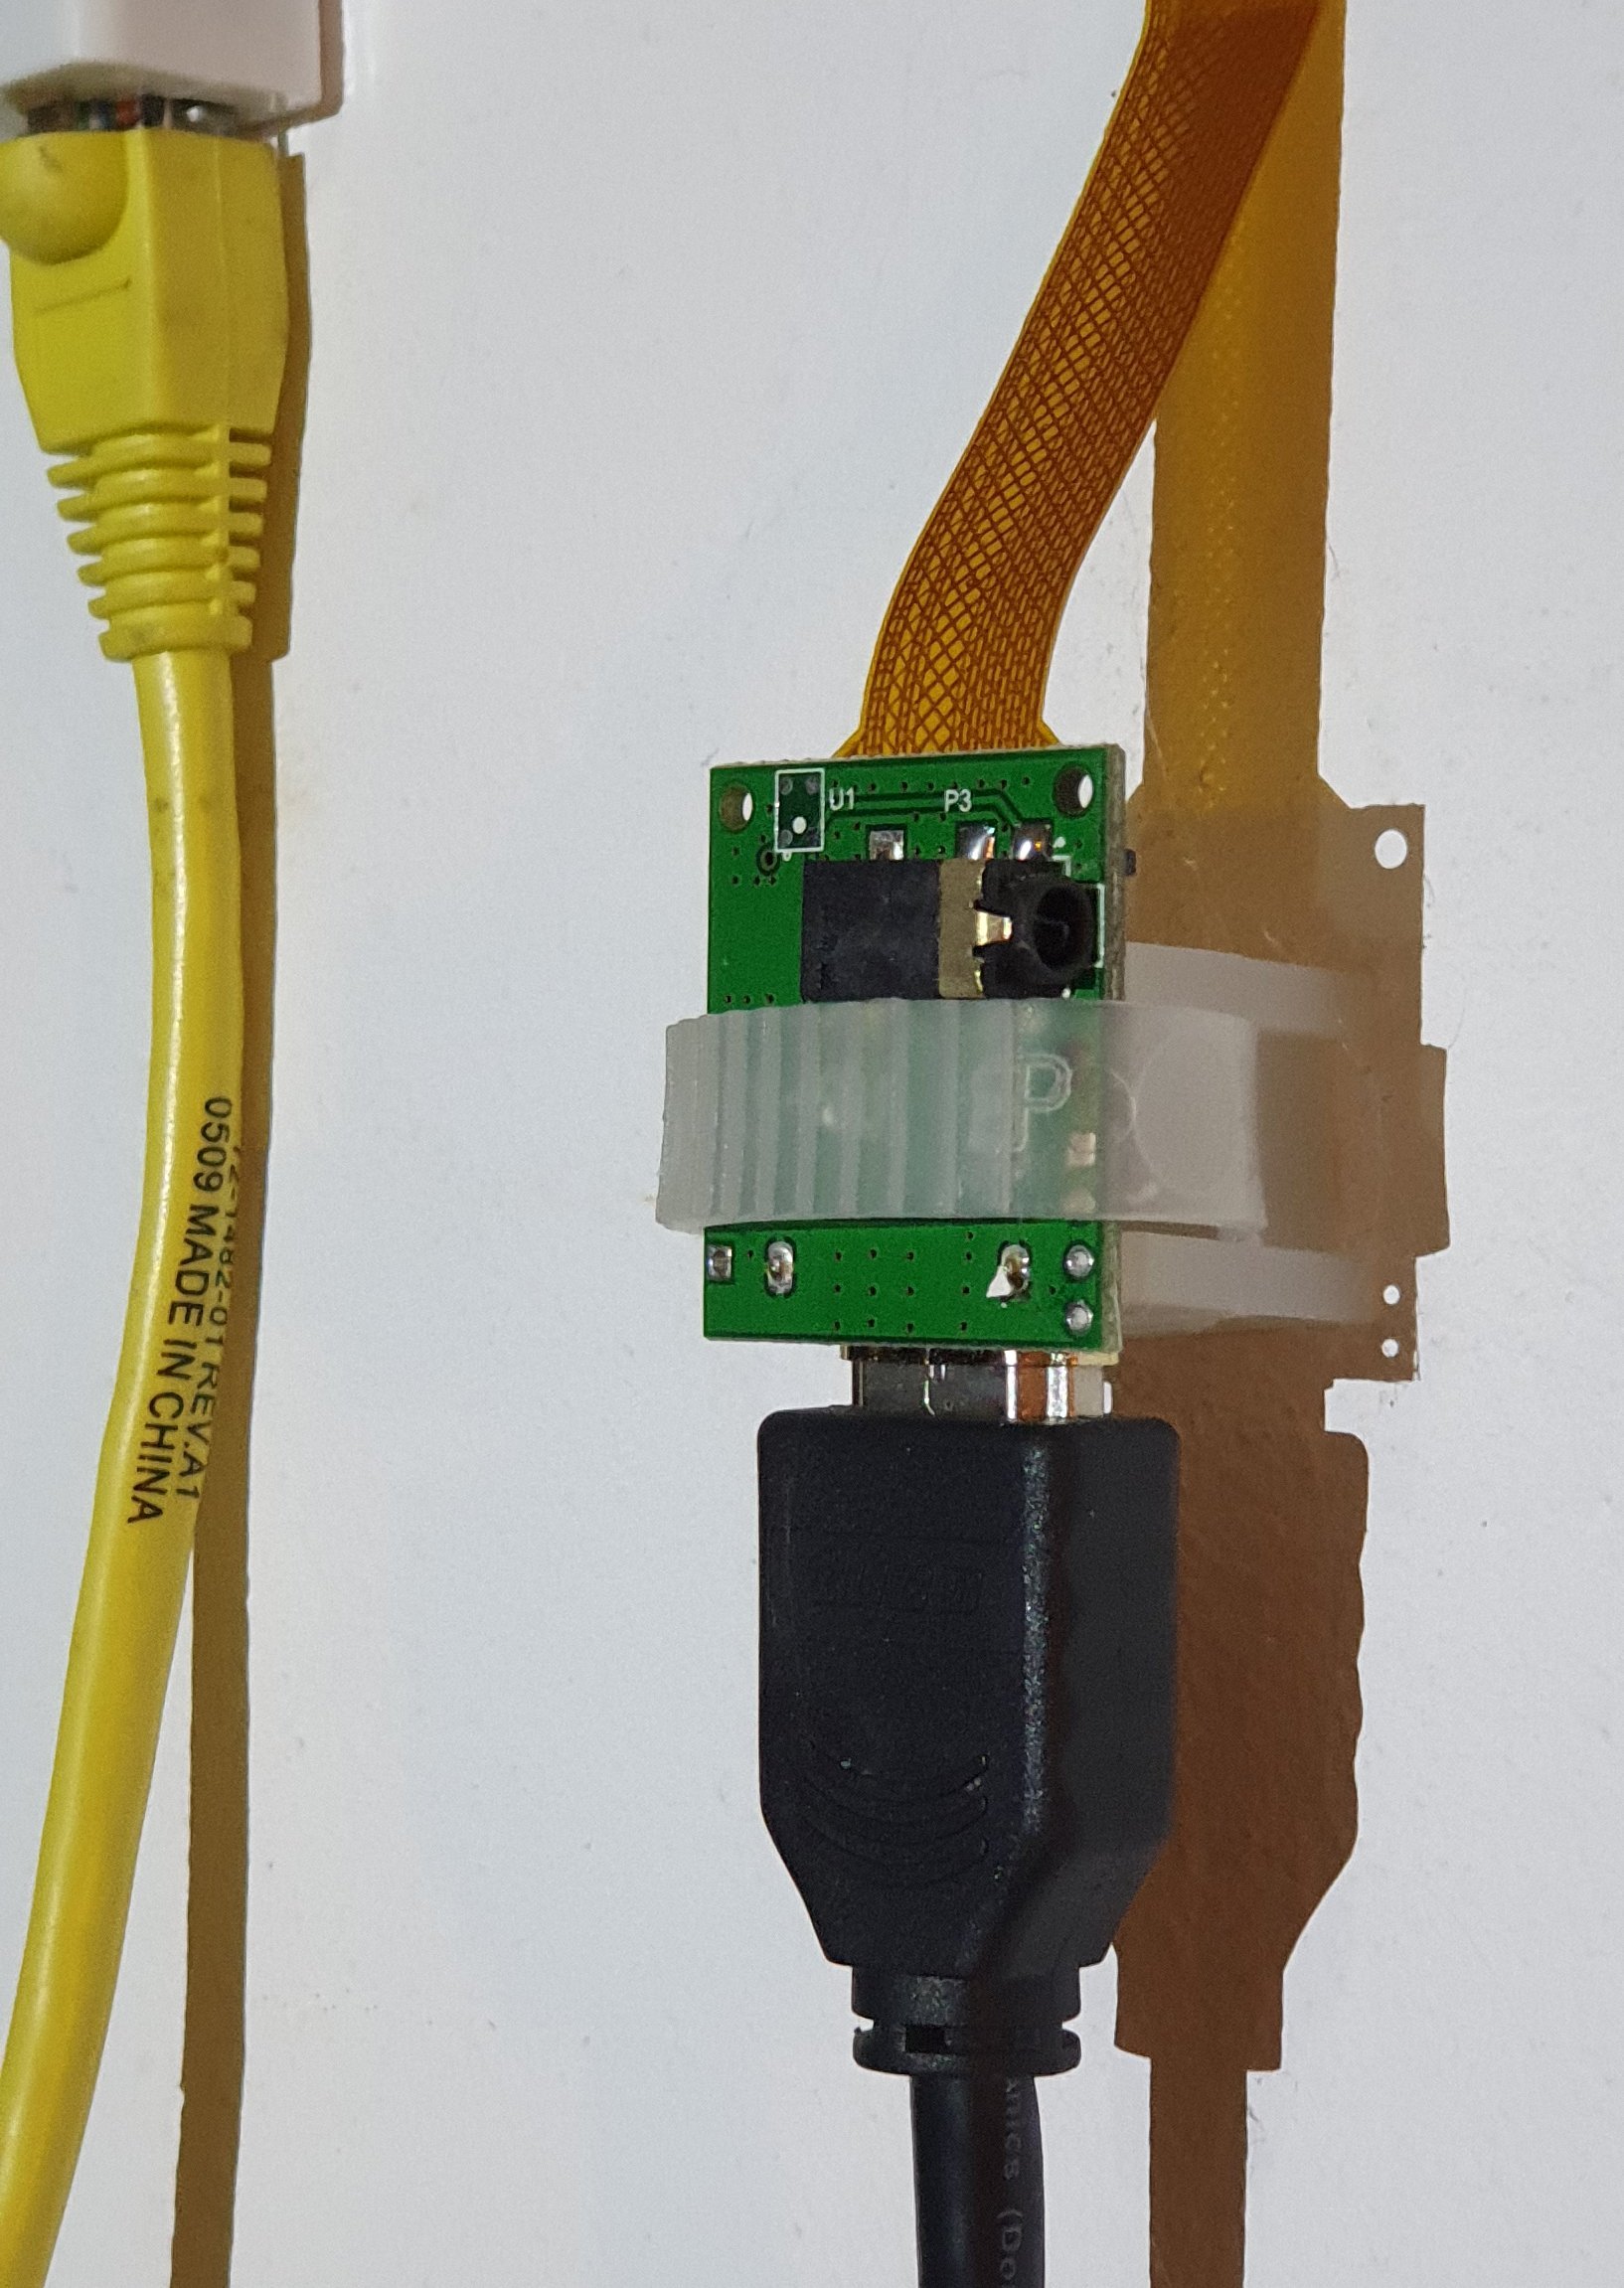
The camera using an extension cord looks like this:
Whereas its other end with the camera is positioned above the meter:
Counter reading and OCR
To recognize how much water we have used, you need to take a picture and recognize the numbers – replace them with a form that you can use in the programs – Domoticz, Home Assistant etc.
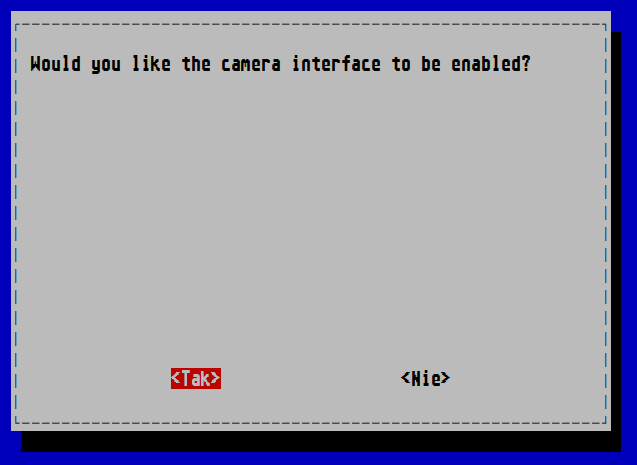
First of all – let us turn on the camera:
sudo raspi-config

Now let’s restart Raspberry and proceed to the software installation:
sudo apt install tesseract-ocr imagemagickLet’s take a picture:
/usr/bin/raspistill -o /home/pi/water-meter-raw.jpgWe will receive something similar to:
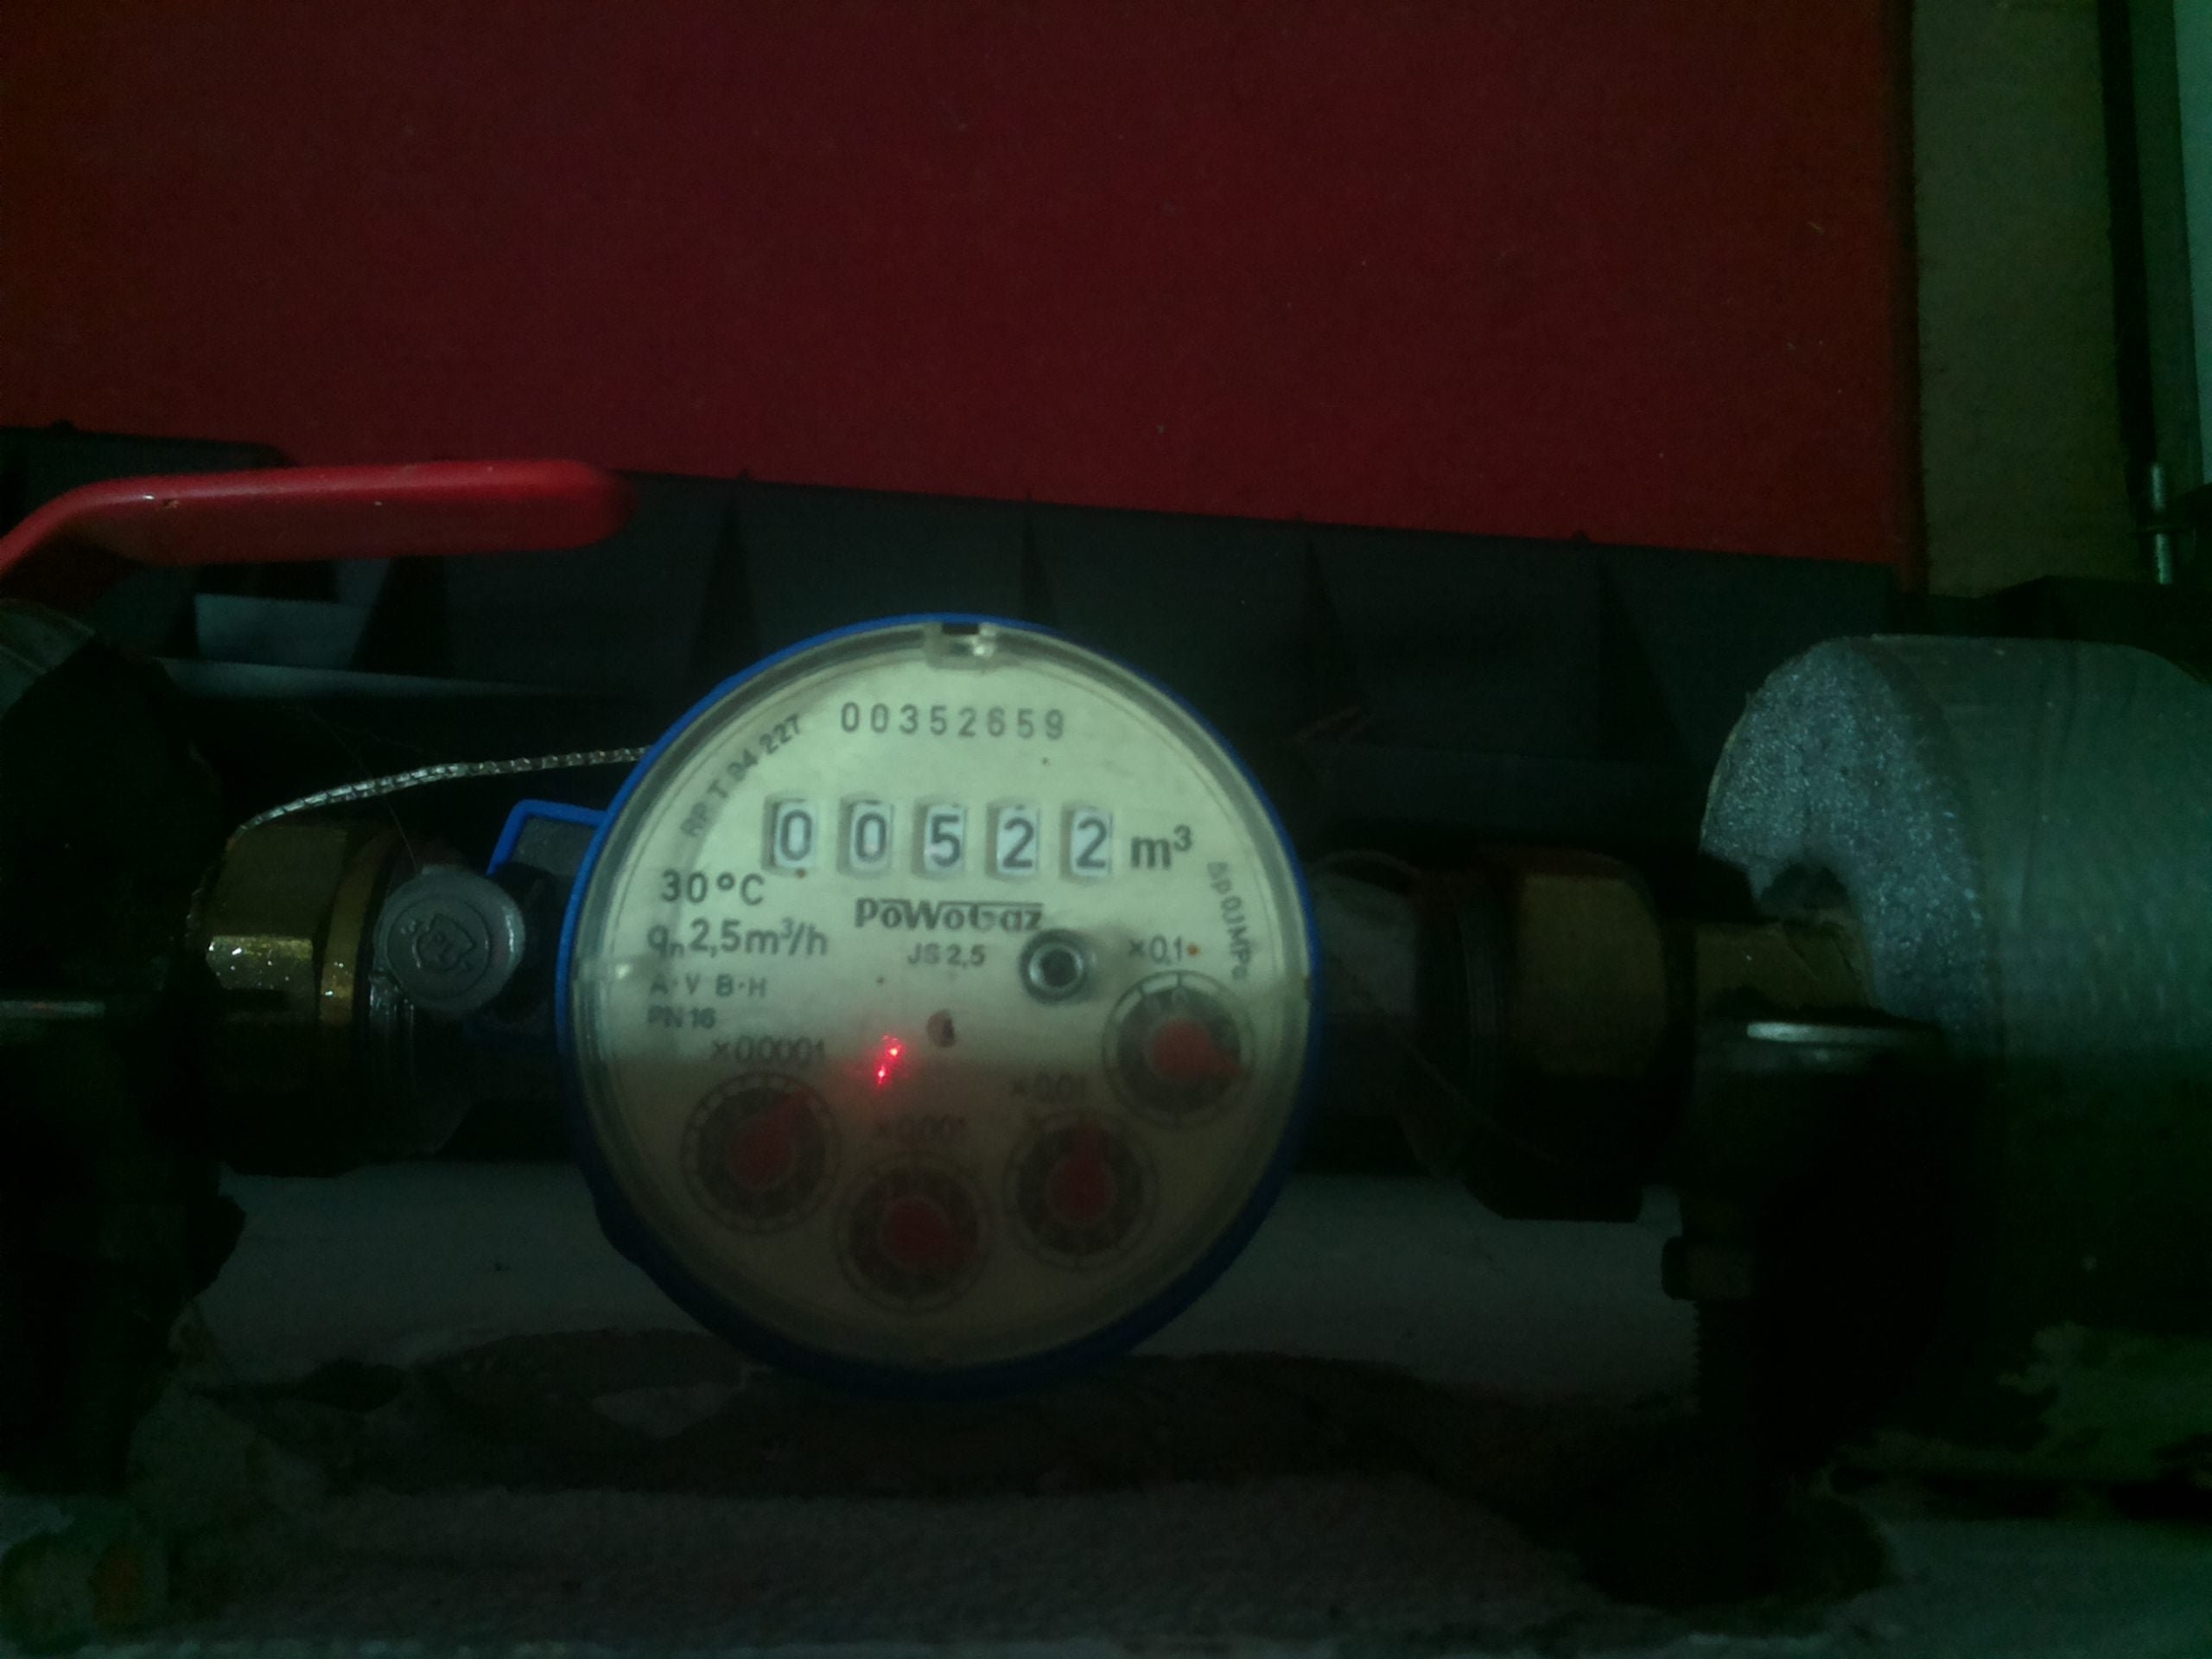
Now you need to cut and then convert the image to black and white (monochrome). This will allow a better recognition. We will use Image Magick for this, like this but do not enter the whole command yet:
/usr/bin/convert /home/pi/water-meter-raw.jpg -crop 420x114+890+912 -threshold 54% /home/pi/maska-pic-cropped-bw.jpg -compose minus -composite /home/pi/water-meter-ocr.jpgThe steps are as follows in the pictures, -crop is the area where the meter is and the 54% parameter should be chosen so that the numbers are clear as in the picture below:


We can now specify exactly where the numbers appear and perform the so-called a mask. Subtracting this mask from the image – we will remove the unwanted artifacts around digits. How? Exactly the opposite – erase only the digits – leaving only the undesirable artifacts in the next image:

Now we can run the full command:
/usr/bin/convert /home/pi/water-meter-raw.jpg -crop 420x114+890+912 -threshold 54% /home/pi/maska-pic-cropped-bw.jpg -compose minus -composite /home/pi/water-meter-ocr.jpgand get

Let’s fire up Tesseract OCR:
/usr/bin/tesseract /home/pi/water-meter-ocr.jpg stdout -c tessedit_char_whitelist = 0123456789To help it even more let’s run the tesseract with only the possible characters (digits): 0123456789, and if everything was processed correctly, we should receive:
00522That’s all!

This work is licensed under a Creative Commons Attribution-NonCommercial-NoDerivatives 4.0 International License (c) 2014-2024 Łukasz C. Jokiel, [CC BY-NC-SA 4.0 DEED](https://creativecommons.org/licenses/by-nc-sa/4.0/)